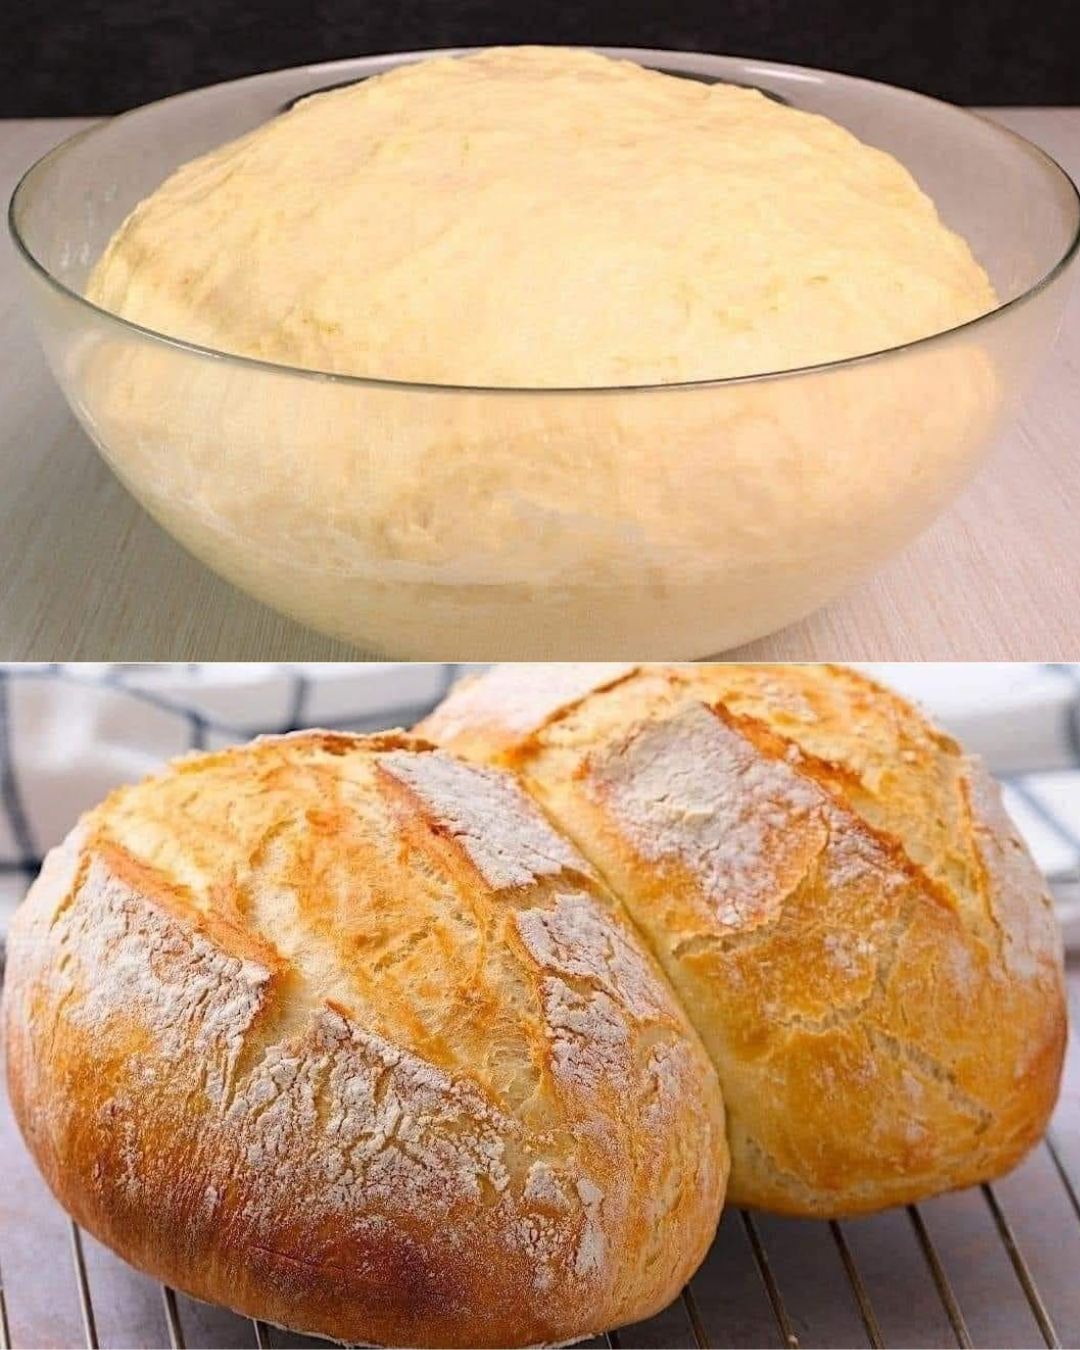
Ingredients
Method
Preparation
- Combine Dry Ingredients: In a large mixing bowl, add 800g of wheat flour. Sprinkle 7g of dry yeast and 25g of salt over the flour. Mix well to ensure even distribution of the yeast and salt.
- Add Water: Gradually pour in 540g of water. Use a wooden spoon or your hands to mix the ingredients until a rough dough forms. The dough will be somewhat sticky, but it should come together. If the dough seems too dry, add a small amount of water. If it’s too wet, add a bit more flour.
- Initial Resting: Cover the bowl with a clean kitchen towel or plastic wrap. Let the dough rest in a warm, draft-free area for about 1 hour. During this time, the yeast will ferment, causing the dough to rise and develop a light, airy texture.
- Why Resting is Important: This resting period allows the dough to develop flavor and structure. Skipping this step can result in dense bread.
- Shape and Fold: After the dough has risen, gently press it down to deflate. Transfer the dough to a lightly floured surface. Fold the dough over itself three times, which helps develop elasticity and creates a better texture in the final bread.
- Why Fold the Dough? Folding helps to create layers in the bread and strengthens the dough’s gluten network.
- Preheat and Prepare: Preheat your oven to 250°C (480°F). Place a Dutch oven or a similar heavy ovenproof pot inside the oven to preheat as well. This creates a hot, steamy environment that is ideal for a crispy crust.
- Transfer and Bake: Carefully remove the hot Dutch oven from the oven. Place the dough inside. Cover the Dutch oven with its lid to trap steam, which helps the bread rise and develop a crisp crust. Bake for 30 minutes.
- Uncover and Finish Baking: After 30 minutes, remove the lid to allow the top of the bread to brown. Continue baking for an additional 20 minutes, or until the bread is a deep golden brown.
- Cooling Time: Once baked, remove the Dutch oven from the oven and carefully transfer the bread to a wire rack. Let it cool for at least 1 hour before slicing. Cooling the bread allows the interior to set properly and makes slicing easier.
- Why Cool Before Slicing? Slicing bread before it has cooled can result in a gummy texture inside. Allowing it to cool helps the crumb set and enhances the flavor.