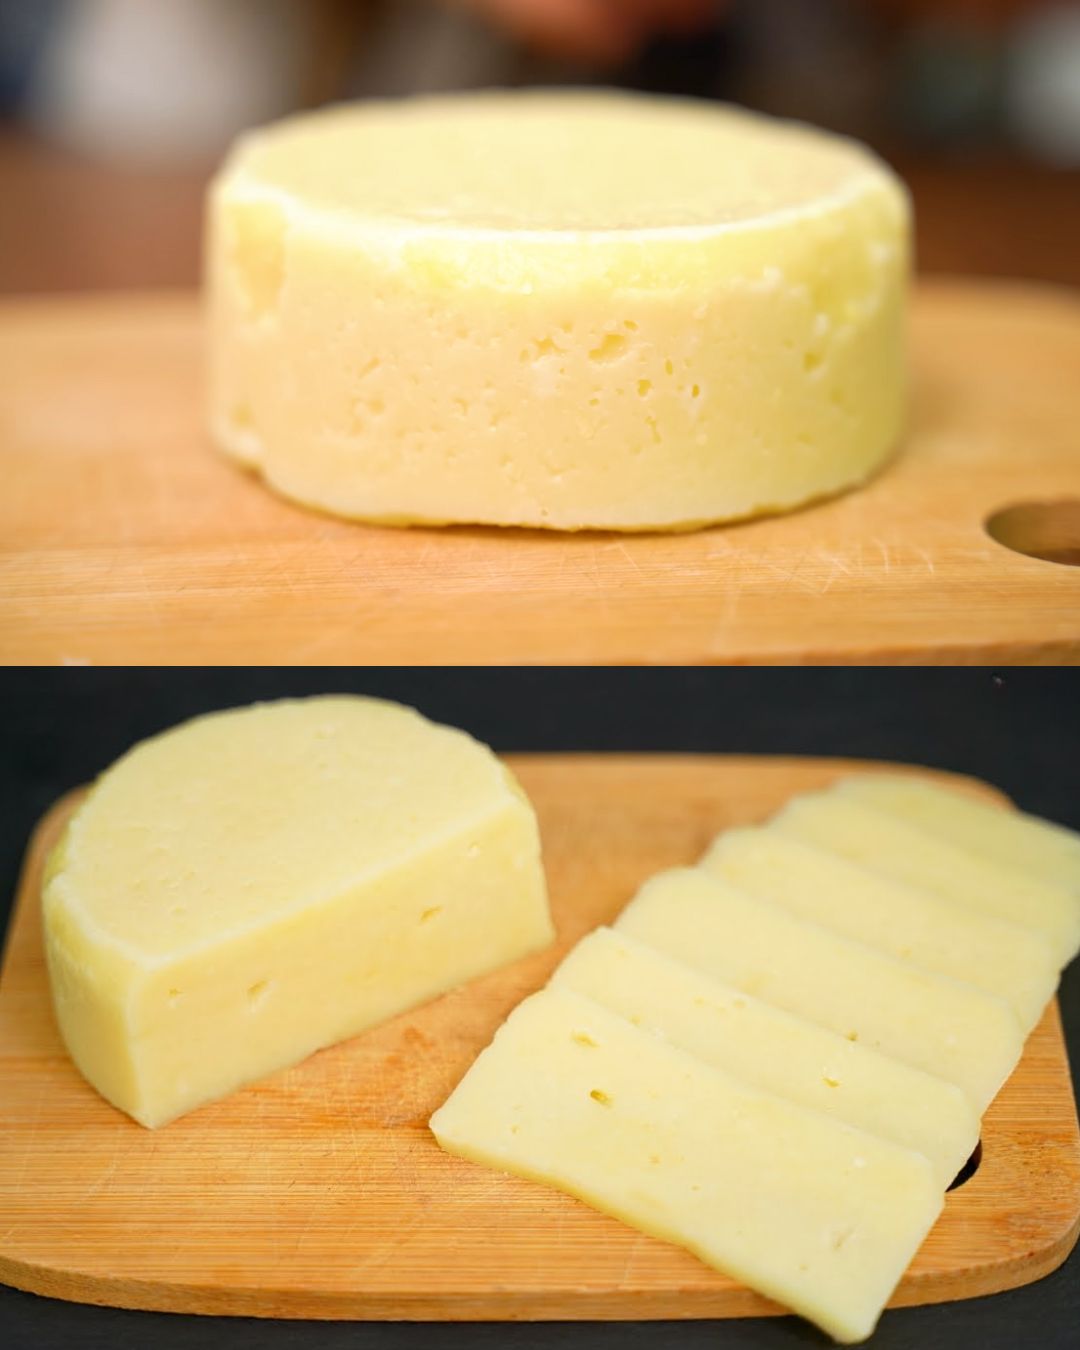
Ingredients
Method
Preparation
- Combine Cottage Cheese and Milk: Place 400g of cottage cheese into a medium-sized saucepan. Add 400ml of milk to the cottage cheese and stir gently to combine.
- Heat the Mixture: Heat the mixture over medium heat, stirring occasionally. Do not bring the mixture to a boil. You're looking for the point where the mixture becomes hot enough for the whey to start separating from the curds. This should take a few minutes, and the curds will become more defined as the yellowish whey appears.
- Strain the Whey: Once you see the whey separating, remove the saucepan from the heat. Pour the mixture through a colander lined with cheesecloth to drain the whey from the curds. Press gently to remove as much liquid as possible. You should be left with the curds.
- Season with Salt: Transfer the curds to a bowl and sprinkle with about 0.5 teaspoons of salt (or to taste). Stir to combine evenly.
- Add Baking Soda: Add one-third of a teaspoon of baking soda to the mixture. This will help the cheese melt smoothly. You may add up to half a teaspoon of baking soda if needed, but be careful not to exceed this amount as it can affect the taste. Mix well.
- Melt the Curds: In a clean saucepan, melt the curds over low heat or in a double boiler (a water bath). Stir constantly as the curds begin to melt. You will notice the curds transform into a smooth, stretchy consistency as the baking soda reacts and breaks down the proteins in the curds.
- Optional Butter Addition: If you want a creamier texture, add 10-15g of butter to the melting curds. Stir continuously until the butter is fully melted and incorporated into the cheese. If you prefer a low-fat cheese, you can skip this step.
- Continue Stirring: Keep stirring until the mixture becomes a smooth, homogenous mass. This process should only take a few minutes, but it’s essential to keep stirring to prevent burning or sticking.
- Prepare the Mold: Grease a small mold or container with a bit of butter to prevent sticking.
- Transfer the Cheese: Pour or transfer the melted cheese mixture into the prepared mold. Use a spatula to smooth the top and press down firmly to ensure there are no air pockets.
- Cool the Cheese: Let the cheese sit in the mold at room temperature for a few hours to cool down and firm up. Once cooled, transfer it to the refrigerator to fully set. This usually takes several hours, or you can leave it overnight for the best results.
- Remove from the Mold: Once the cheese is firm, gently remove it from the mold. Your homemade hard cheese is now ready to slice and enjoy!