Ingredients
Method
Preparation
- Heat the Milk: Pour the 1.5 liters of milk into a large pot. Heat it over medium heat, stirring occasionally to prevent the milk from scorching. Heating the milk slowly and stirring regularly ensures an even temperature and prevents burning.
- Monitor the Temperature: Heat the milk until it reaches a temperature of around 85°C (185°F). If you don’t have a thermometer, look for small bubbles forming around the edges of the pot, indicating the milk is hot enough. Proper heating is crucial for the milk to curdle effectively when vinegar is added.
- Add the Vinegar: Once the milk is heated, remove the pot from the heat. Slowly add 2 tablespoons of apple cider vinegar while stirring gently. You should start to see curds (solid chunks) forming and separating from the whey (liquid). Adding vinegar causes the milk to curdle, separating into curds and whey.
- Rest the Mixture: Let the mixture sit for about 5-10 minutes to allow the curds to fully form. Allowing the curds to rest ensures they are fully separated and ready for straining.
- Strain the Cheese: Line a colander or sieve with a clean cheesecloth or a thin kitchen towel. Pour the curdled milk mixture into the cloth, allowing the whey to drain away. Straining removes the liquid whey, leaving behind the solid curds that will form the cheese.
- Drain Excess Whey: Gather the corners of the cloth and gently squeeze to remove any remaining whey. Be careful not to squeeze too hard, as this can result in drier cheese. Gentle squeezing ensures a smooth, creamy texture in the final cheese.
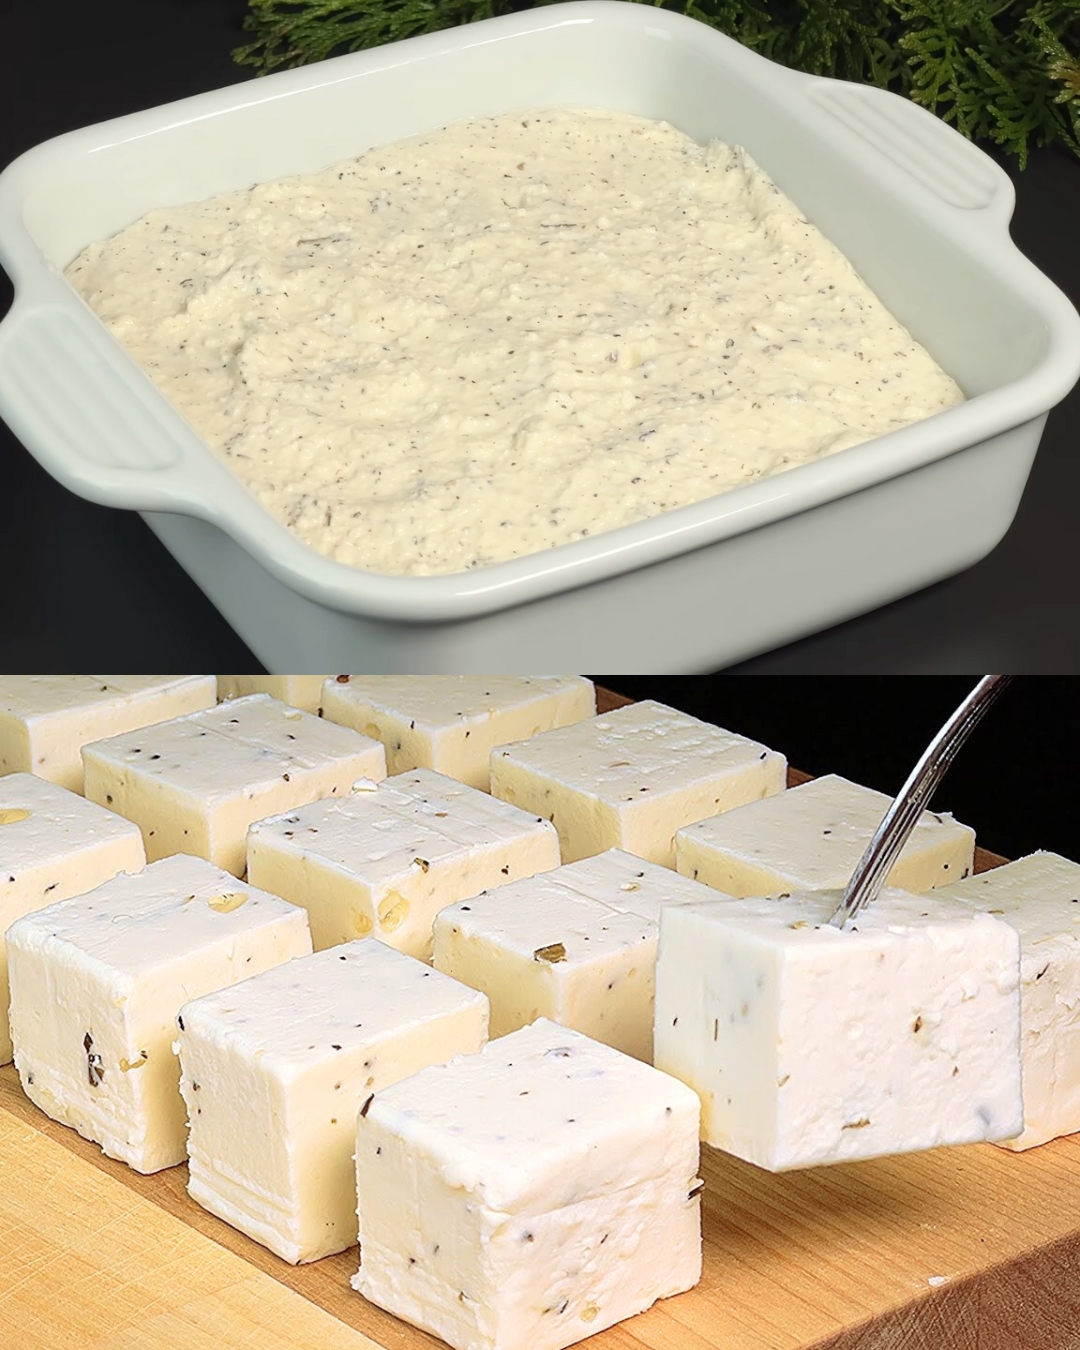
- Transfer to a Bowl: Place the drained curds into a mixing bowl. Add the 50 grams of melted butter, mixing it in thoroughly to create a creamy consistency. Adding butter gives the cheese a smooth, rich texture.
- Season the Cheese: Add salt to taste and, if desired, mix in 1 tablespoon of Provencal herbs for extra flavor. Salt enhances the natural flavors of the cheese, while herbs add a savory touch.
- Shape the Cheese: You can either press the cheese into a mold to shape it or leave it in the bowl for a more rustic look. Shaping the cheese allows you to customize its appearance for serving.
- Chill the Cheese: Cover the cheese and refrigerate for at least 1-2 hours to allow it to firm up. Chilling helps the cheese set and improves its texture.
- Serve: Once the cheese has chilled and firmed up, it’s ready to be served. Enjoy it spread on bread, crumbled over salads, or as a snack on its own. Fresh cheese is versatile and can be used in a variety of dishes.