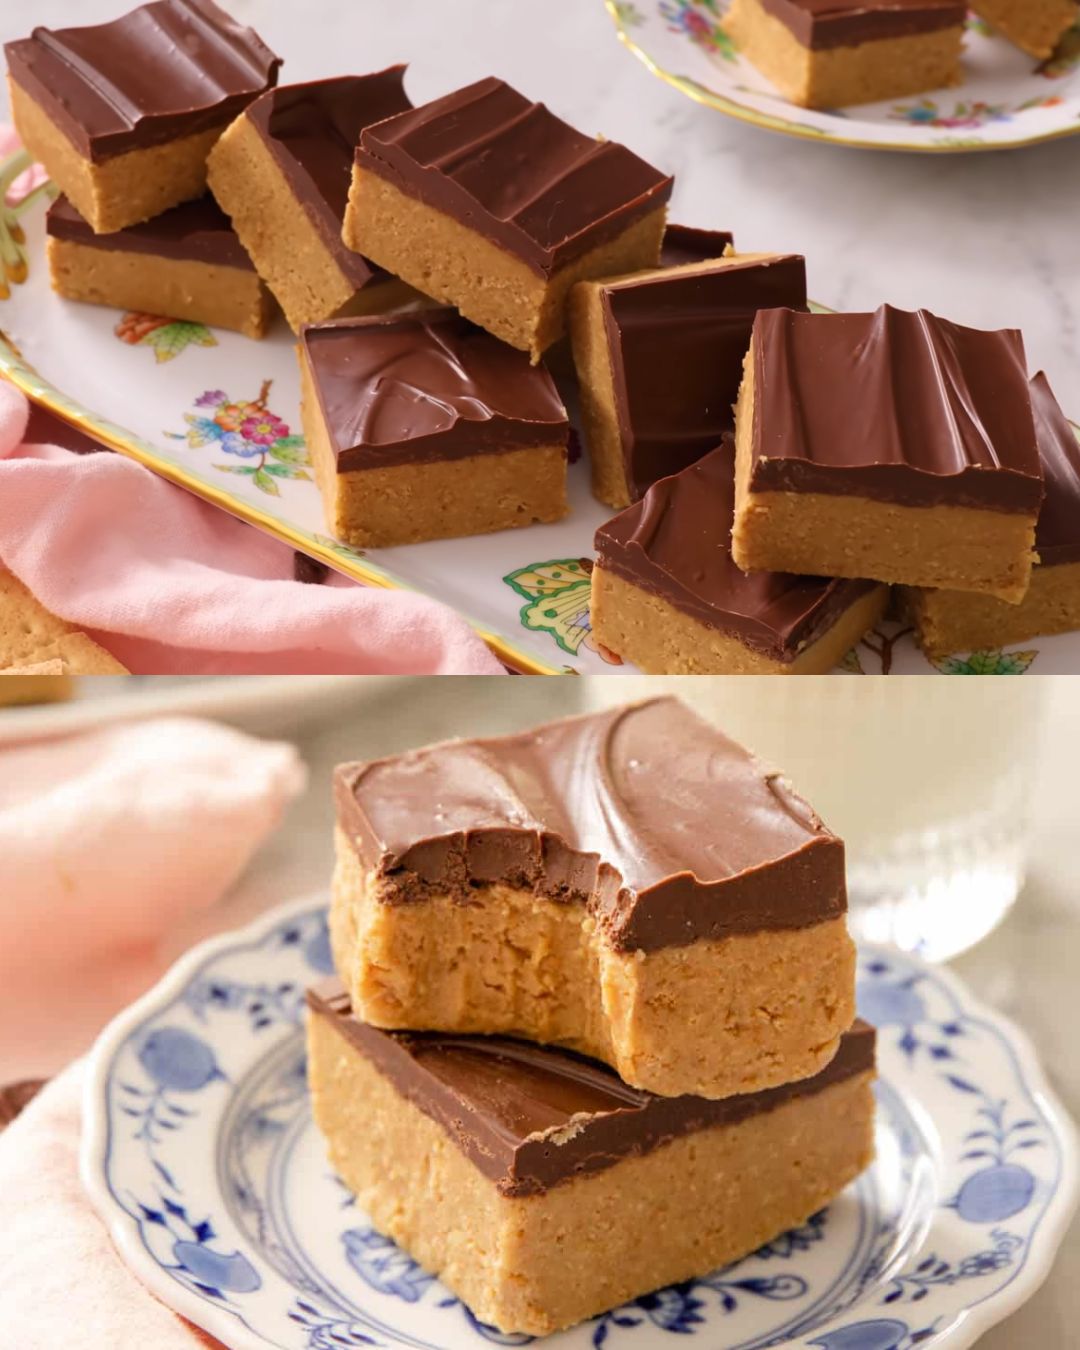
If you’re looking for a simple yet indulgent treat, these Peanut Butter Bars are the perfect solution. Combining the rich, creamy goodness of peanut butter with a smooth and decadent chocolate topping, these bars are an absolute crowd-pleaser. Whether you’re making them for a special occasion, a party, or just to satisfy a sweet craving, this recipe is incredibly easy to follow and requires only a few ingredients. The best part? There’s no baking involved, so you can whip these up in no time!
Full Recipe:
Ingredients:
For the Base:
- 1 cup unsalted butter, melted and slightly cooled (210g): Butter is the foundation of these bars, providing a rich and buttery flavor that pairs perfectly with peanut butter.
- 1 cup creamy peanut butter (300g): The peanut butter is the star of the show, giving the bars their signature taste and creamy texture. You can use smooth peanut butter for a classic feel or chunky if you prefer a bit of crunch.
For the Chocolate Topping:
- 1 ½ cups semi-sweet chocolate chips or milk chocolate chips (280g): The chocolate chips melt into a luxurious layer that sits on top of the peanut butter base. You can choose between semi-sweet for a slightly bitter edge or milk chocolate for a sweeter finish.
- 1/4 cup creamy peanut butter (65g): Adding peanut butter to the chocolate topping not only enhances the flavor but also makes the chocolate layer softer and easier to cut.
Instructions:
1. Prepare the Peanut Butter Base:
- Melt the Butter: Start by melting the butter in a microwave or on the stovetop. Let it cool slightly, but not to the point where it starts to solidify again. The butter should be warm but not hot to prevent separation when mixed with the peanut butter.
- Mix with Peanut Butter: In a large mixing bowl, combine the melted butter with the creamy peanut butter. Stir well until the mixture is smooth and homogeneous. This will form the base of your bars, so ensure the mixture is well combined.
- Press into a Pan: Line a 9×13-inch baking dish with parchment paper or lightly grease it with cooking spray to prevent sticking. Pour the peanut butter mixture into the pan, spreading it out evenly. Use a spatula or the back of a spoon to press it down firmly, creating a smooth, even layer.
2. Prepare the Chocolate-Peanut Butter Topping:
- Melt the Chocolate Chips: In a microwave-safe bowl, melt the chocolate chips in 30-second intervals, stirring in between each interval to prevent burning. Alternatively, you can melt the chocolate using a double boiler on the stovetop.
- Incorporate Peanut Butter: Once the chocolate is fully melted, stir in the 1/4 cup of creamy peanut butter until the mixture is smooth and well combined. This step ensures the topping is rich, creamy, and perfectly spreadable.
- Spread over the Base: Pour the chocolate-peanut butter mixture over the peanut butter base in the pan. Use a spatula to spread it out evenly, ensuring that the chocolate layer covers the entire surface.
3. Set the Bars:
- Chill in the Refrigerator: Place the pan in the refrigerator and let the bars chill for at least 1-2 hours. This allows the layers to set firmly, making them easier to cut and serve.
- Cut into Bars: Once the bars are fully set, remove them from the refrigerator. Use a sharp knife to cut them into squares or rectangles of your desired size. If the chocolate topping is too firm to cut easily, let the bars sit at room temperature for a few minutes before slicing.
4. Serve and Store:
- Serving Suggestions: Serve the peanut butter bars as they are, or for an extra treat, top them with a sprinkle of sea salt or crushed peanuts before the chocolate sets. These bars are perfect as a dessert, a snack, or even a gift!
- Storage Tips: Store the bars in an airtight container in the refrigerator to keep them fresh. They will last for up to a week. For longer storage, you can freeze the bars in a freezer-safe container for up to three months. Thaw them in the refrigerator before serving.
Tips for Success:
- Quality Ingredients: Use high-quality chocolate and peanut butter for the best results. The flavor of these two ingredients really shines through, so it’s worth choosing brands you love.
- Cutting the Bars: For clean cuts, use a sharp knife warmed under hot water. Wipe the blade between cuts to keep the edges of the bars looking neat.
- Customize Your Bars: Feel free to experiment with different types of chocolate or add-ins like crushed peanuts, pretzels, or even a layer of caramel between the peanut butter base and the chocolate topping.
Possible Questions:
- Can I use natural peanut butter in this recipe? Yes, you can, but make sure it’s well stirred before using, as natural peanut butter can separate. The consistency might be slightly different, but it will still be delicious.
- What if I don’t have a 9×13-inch pan? You can use a smaller pan for thicker bars or a larger pan for thinner bars. Just adjust the thickness according to your preference and the available pan size.
- Can I make these bars gluten-free? Absolutely! Just ensure that the ingredients you’re using, especially the chocolate and peanut butter, are certified gluten-free.
Conclusion:
These Peanut Butter Bars are a delightful combination of rich peanut butter and smooth chocolate that’s sure to satisfy your sweet tooth. With just a few ingredients and a straightforward process, you can create a dessert that’s both indulgent and easy to make. Perfect for any occasion, these bars are versatile, customizable, and absolutely delicious. Whether you’re a peanut butter lover or simply looking for a quick treat, this recipe is a must-try. Enjoy them with a cold glass of milk, share them with friends, or keep them all to yourself – no judgment here!

