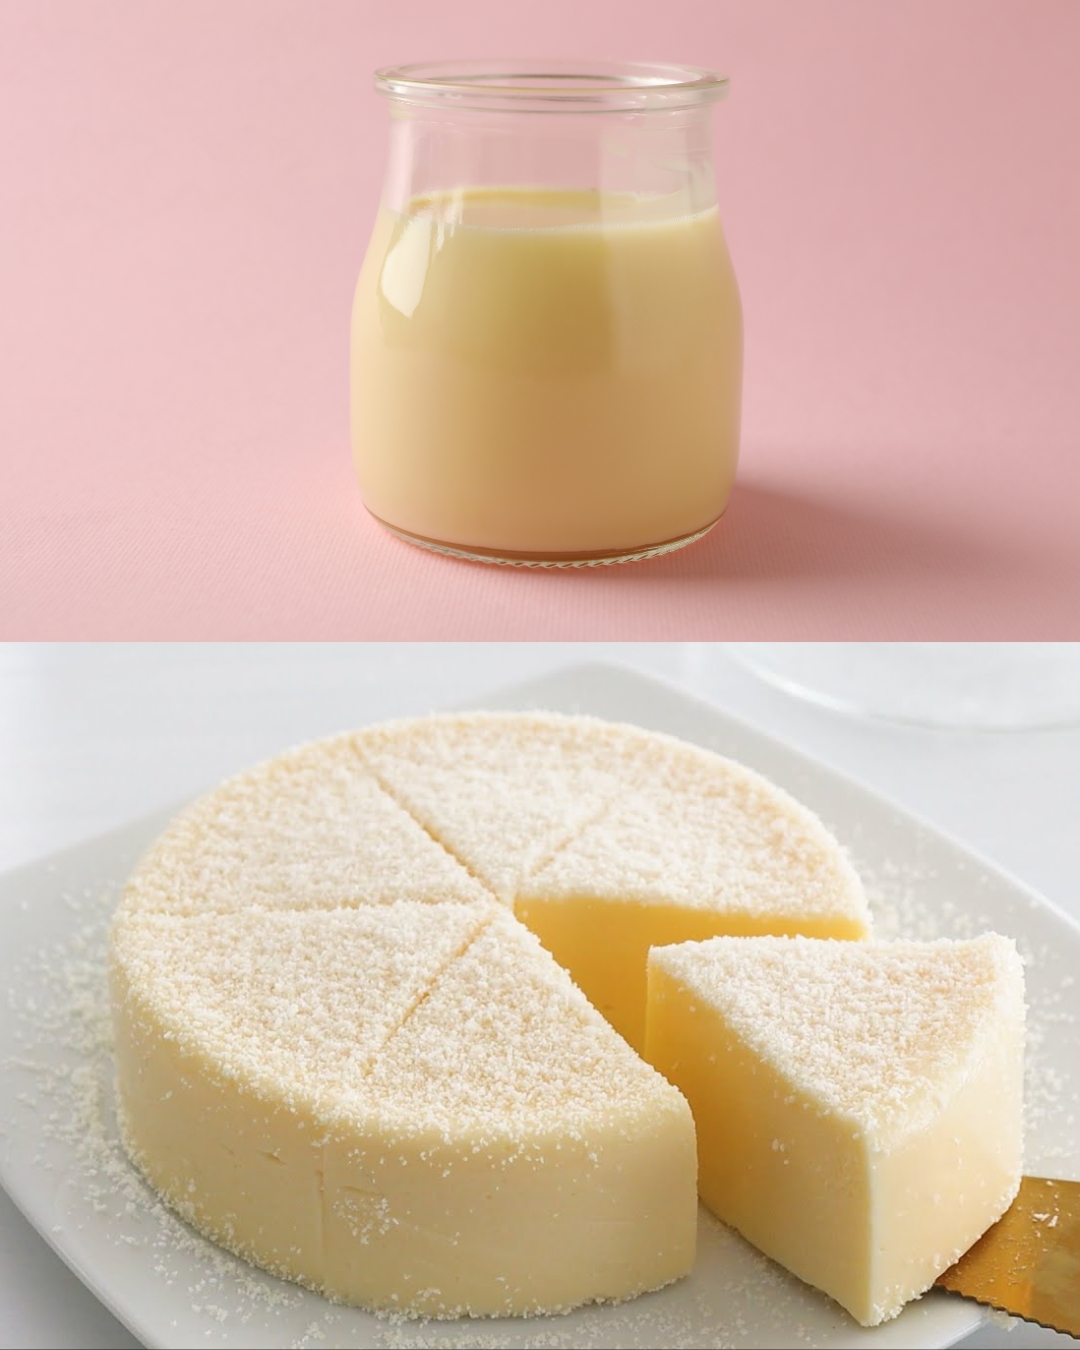
If you’re in the mood for a simple yet indulgent dessert that requires minimal ingredients and effort, this creamy starch cake with cheese is the perfect recipe for you. With just a few pantry staples like milk, sugar, and cornstarch, combined with the rich flavor of cheese, this dessert delivers a unique, soft, and creamy texture that is sure to satisfy any sweet tooth. It’s a versatile dessert that can be enjoyed on its own or enhanced with additional toppings like coconut flakes or milk powder. Whether you’re hosting a dinner party or just looking for an easy treat, this recipe is bound to become a favorite. It’s ideal for those who love creamy desserts without the hassle of baking or using complex ingredients.
Full Recipe:
Ingredients:
- 600 grams (2.5 cups) milk
- 50 grams (4 tablespoons) sugar
- 60 grams (0.5 cup) corn starch
- 2 slices of cheese
- Cooking oil (for brushing the container)
- Optional: coconut flakes or milk powder for topping
Step-by-Step Preparation:
- Mix the Ingredients:
- Begin by preparing the starch mixture, which forms the base of this dessert. In a medium-sized mixing bowl, pour in 600 grams (2.5 cups) of milk. Add 50 grams (4 tablespoons) of sugar and 60 grams (0.5 cup) of corn starch to the milk.
- Using a whisk, mix the ingredients thoroughly until the cornstarch is fully dissolved. Make sure there are no lumps, as this will ensure the cake has a smooth, creamy texture.
- Cook the Mixture:
- Transfer the mixture into a saucepan and place it over low heat. Add the 2 slices of cheese directly to the mixture. As the mixture heats, begin stirring constantly to prevent the cornstarch from sticking to the bottom of the pan.
- Continue stirring consistently until the mixture thickens and becomes sticky. This will take a few minutes. The consistency should be thick but still creamy and smooth.
- Prepare the Container:
- While the mixture is cooking, prepare a container to set the starch cake. A round or square bowl or container with a diameter of about 15 cm works perfectly for this dessert.
- Brush the inside of the container with a thin layer of cooking oil. This will help ensure the cake doesn’t stick to the sides and makes it easier to remove when it’s ready.
- Pour and Chill:
- Once the mixture has thickened and cooked to the right consistency, carefully pour the batter into the oiled container. Use a spatula to smooth out the surface of the batter, ensuring an even layer and a neat presentation.
- Cover the top of the container with plastic wrap, pressing it gently onto the surface of the batter to prevent a skin from forming as it chills. Place the container in the refrigerator for about 4 hours or leave it overnight for best results. This chilling time allows the cake to set fully, giving it its firm yet creamy texture.
- Serve:
- After chilling, take the container out of the fridge. To remove the cake, gently turn the container upside down onto a serving plate. The cake should release easily due to the oiled surface.
- The result should be a smooth, glossy surface, similar to a shelled egg. This cake can be eaten directly as is for a simple, creamy dessert, or you can enhance its flavor by sprinkling coconut flakes or milk powder on top.
Cooking Tips:
- Consistent Stirring: Stirring constantly while cooking the mixture is crucial to avoid lumps and to ensure an even consistency.
- Cheese Selection: Use slices of cheese that melt easily, such as processed cheese, to give the cake its creamy, slightly savory flavor. You can experiment with different cheese varieties, but make sure they complement the sweetness.
- Customization: Feel free to add flavorings like vanilla extract or cinnamon to the mixture for a twist on the basic recipe.
- Serving Ideas: For extra flavor and texture, top the cake with crushed nuts, grated chocolate, or even fruit preserves.
Storage: Store any leftover cake in the refrigerator for up to three days. Make sure to cover the cake well with plastic wrap or keep it in an airtight container to maintain its texture and freshness.
Nutritional Facts:
- Serving Size: Based on a 100-gram serving.
- Calories: 220 kcal
- Fat: 9g (mainly from the milk and cheese)
- Carbohydrates: 28g (mainly from the sugar and cornstarch)
- Protein: 6g (mainly from the cheese and milk)
- Calcium: 15% of daily recommended intake
- Iron: 4% of daily recommended intake
FAQs:
- Can I use plant-based milk instead of regular milk?
- Yes, you can use almond milk, coconut milk, or any other plant-based milk for a dairy-free version. However, keep in mind that the texture and flavor might slightly change.
- What type of cheese works best for this recipe?
- Processed cheese slices melt smoothly and work best for this recipe. You can also experiment with cream cheese for a richer taste.
- Can I add other ingredients to the cake?
- Definitely! You can add flavor extracts such as vanilla, or incorporate layers of fruit puree or chocolate sauce between the batter for added flavor.
- How long can this dessert be stored?
- It can be stored in the refrigerator for up to three days. Make sure it’s well-covered to prevent it from drying out.
Conclusion: This creamy starch cake with cheese is a unique and delightful dessert that combines simple ingredients to create something truly indulgent. The softness of the cake, enhanced by the subtle saltiness of the cheese, creates a flavor profile that’s both comforting and satisfying. Easy to make and customizable with different toppings or flavorings, it’s a perfect dessert for any occasion. The preparation is simple, and the results are impressive—making it an ideal treat for family and guests alike. Give it a try and enjoy a homemade dessert that’s sure to please everyone!

