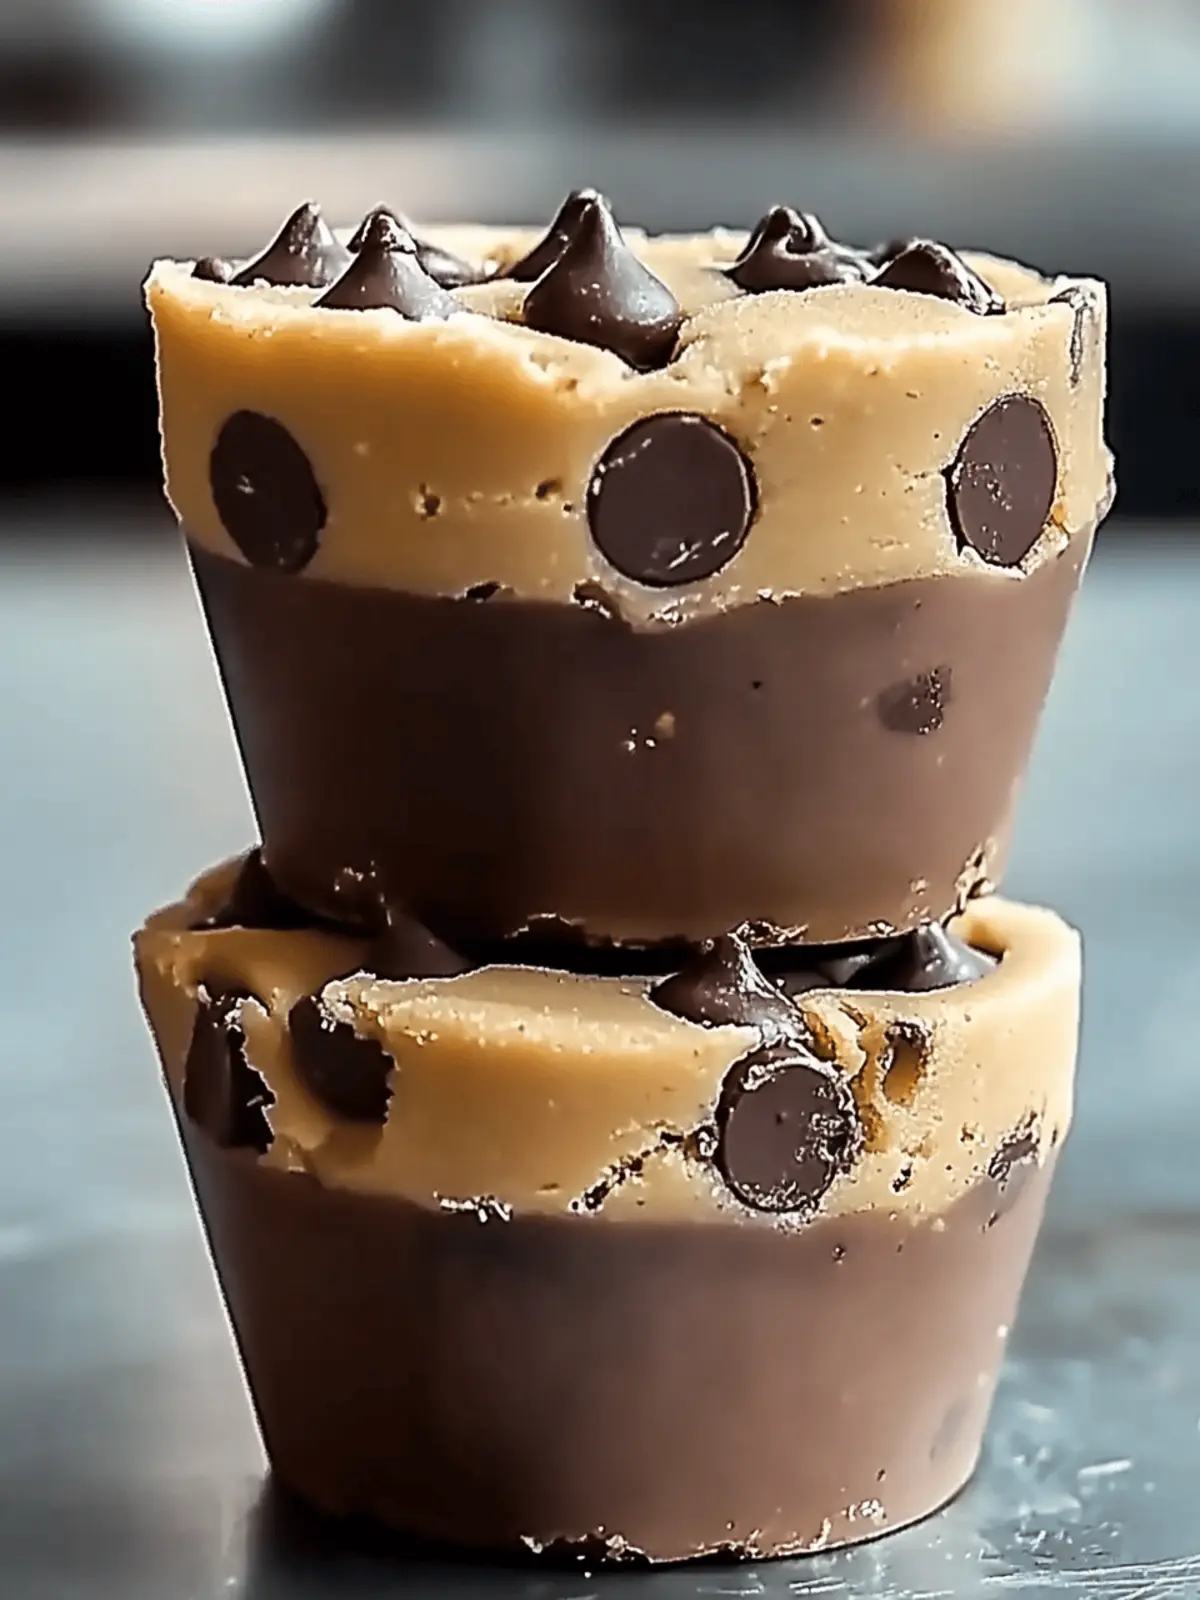
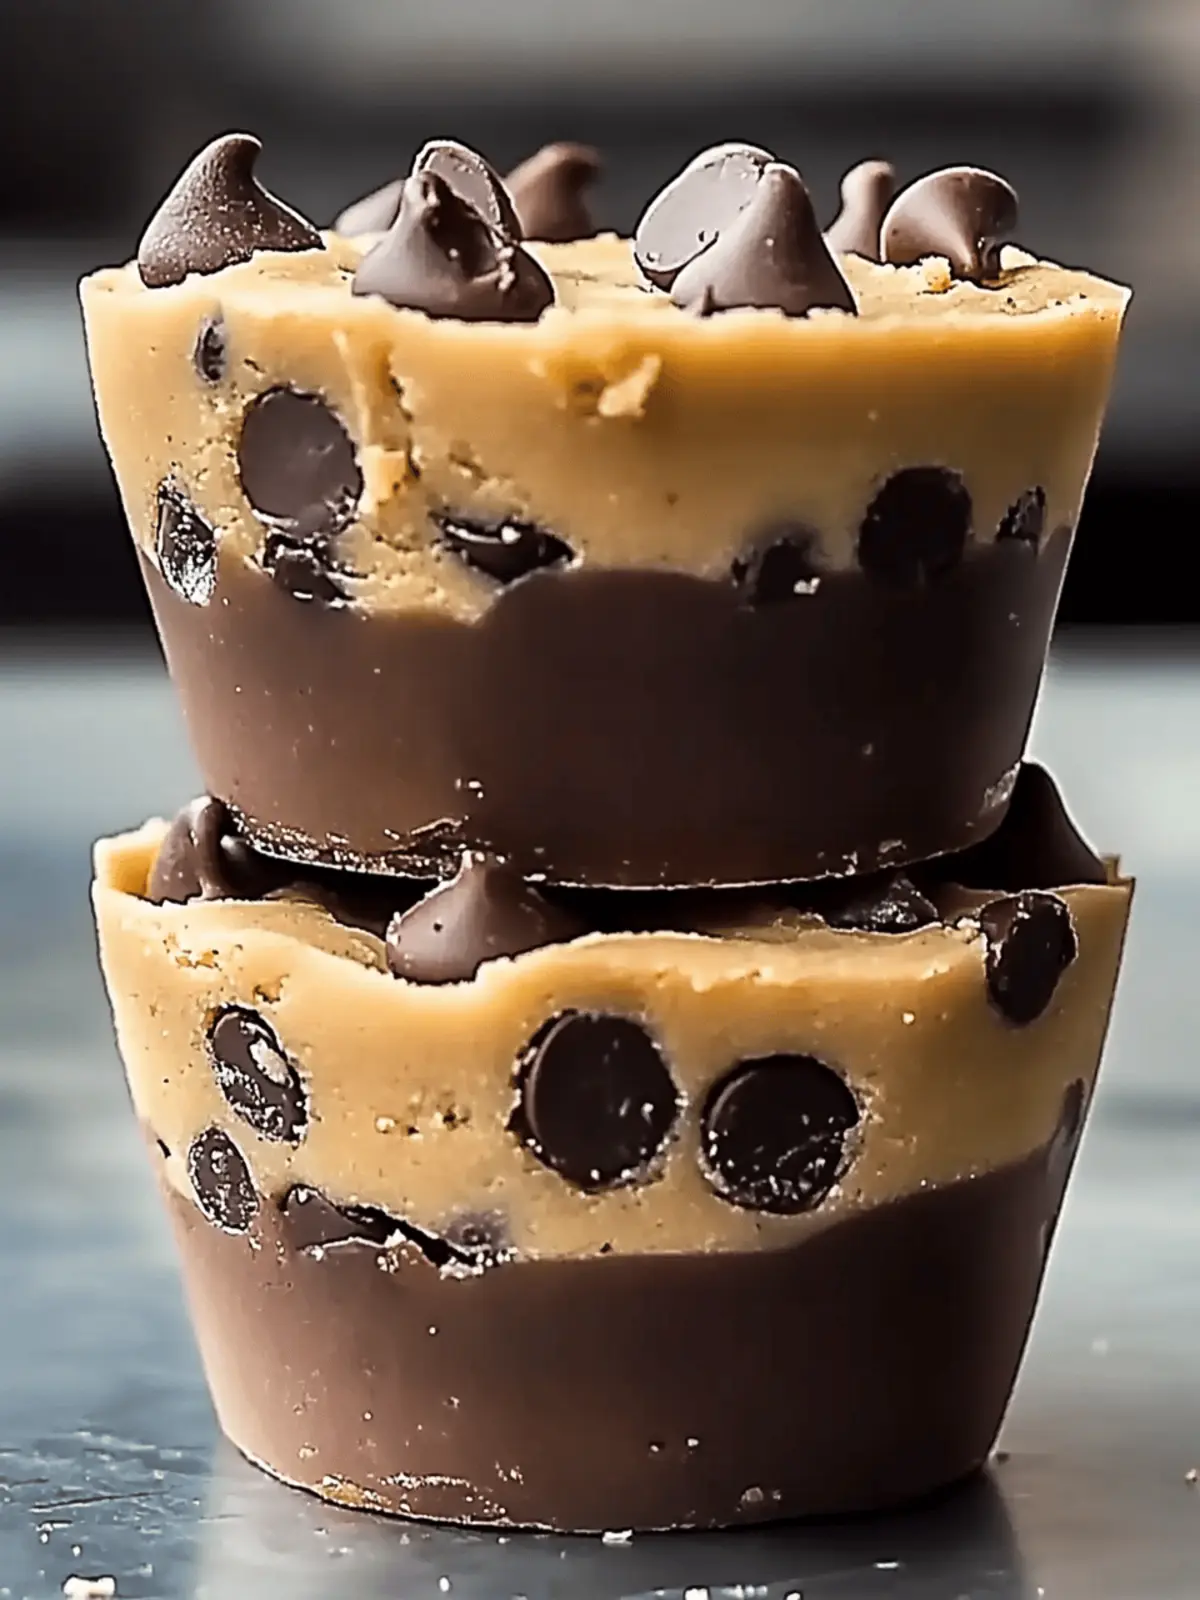
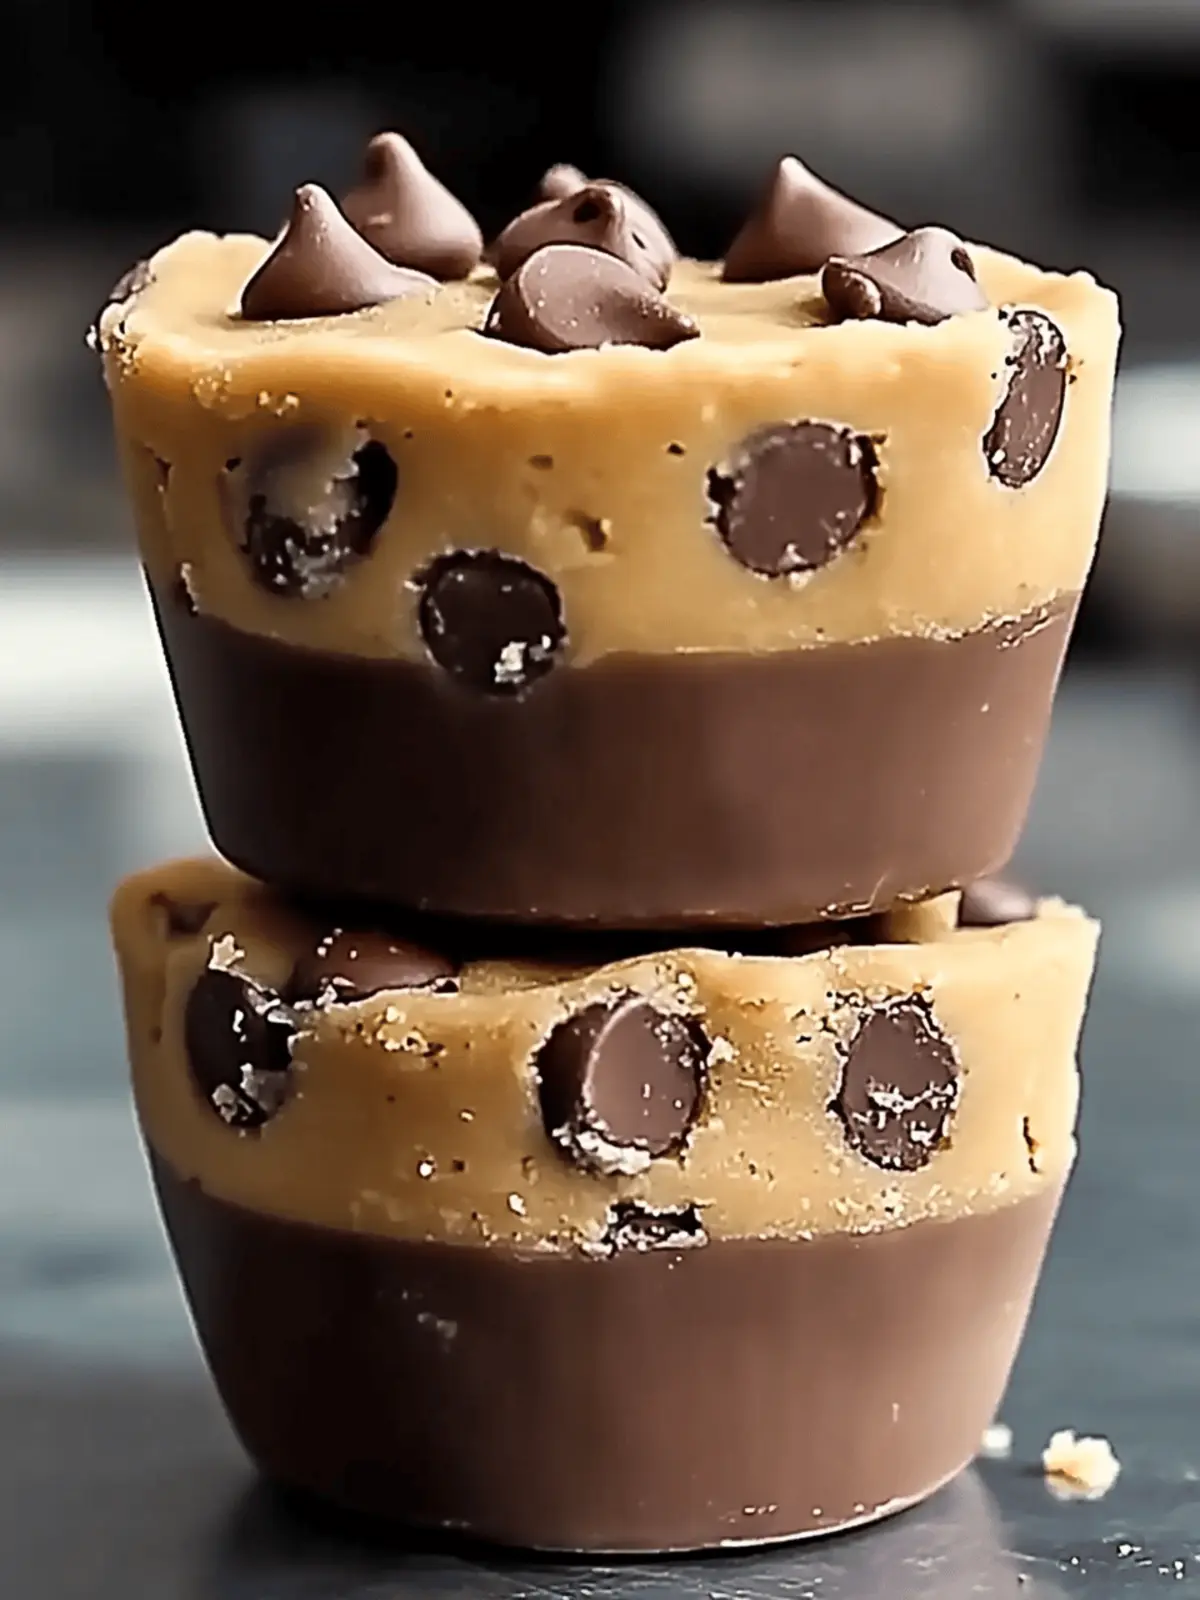
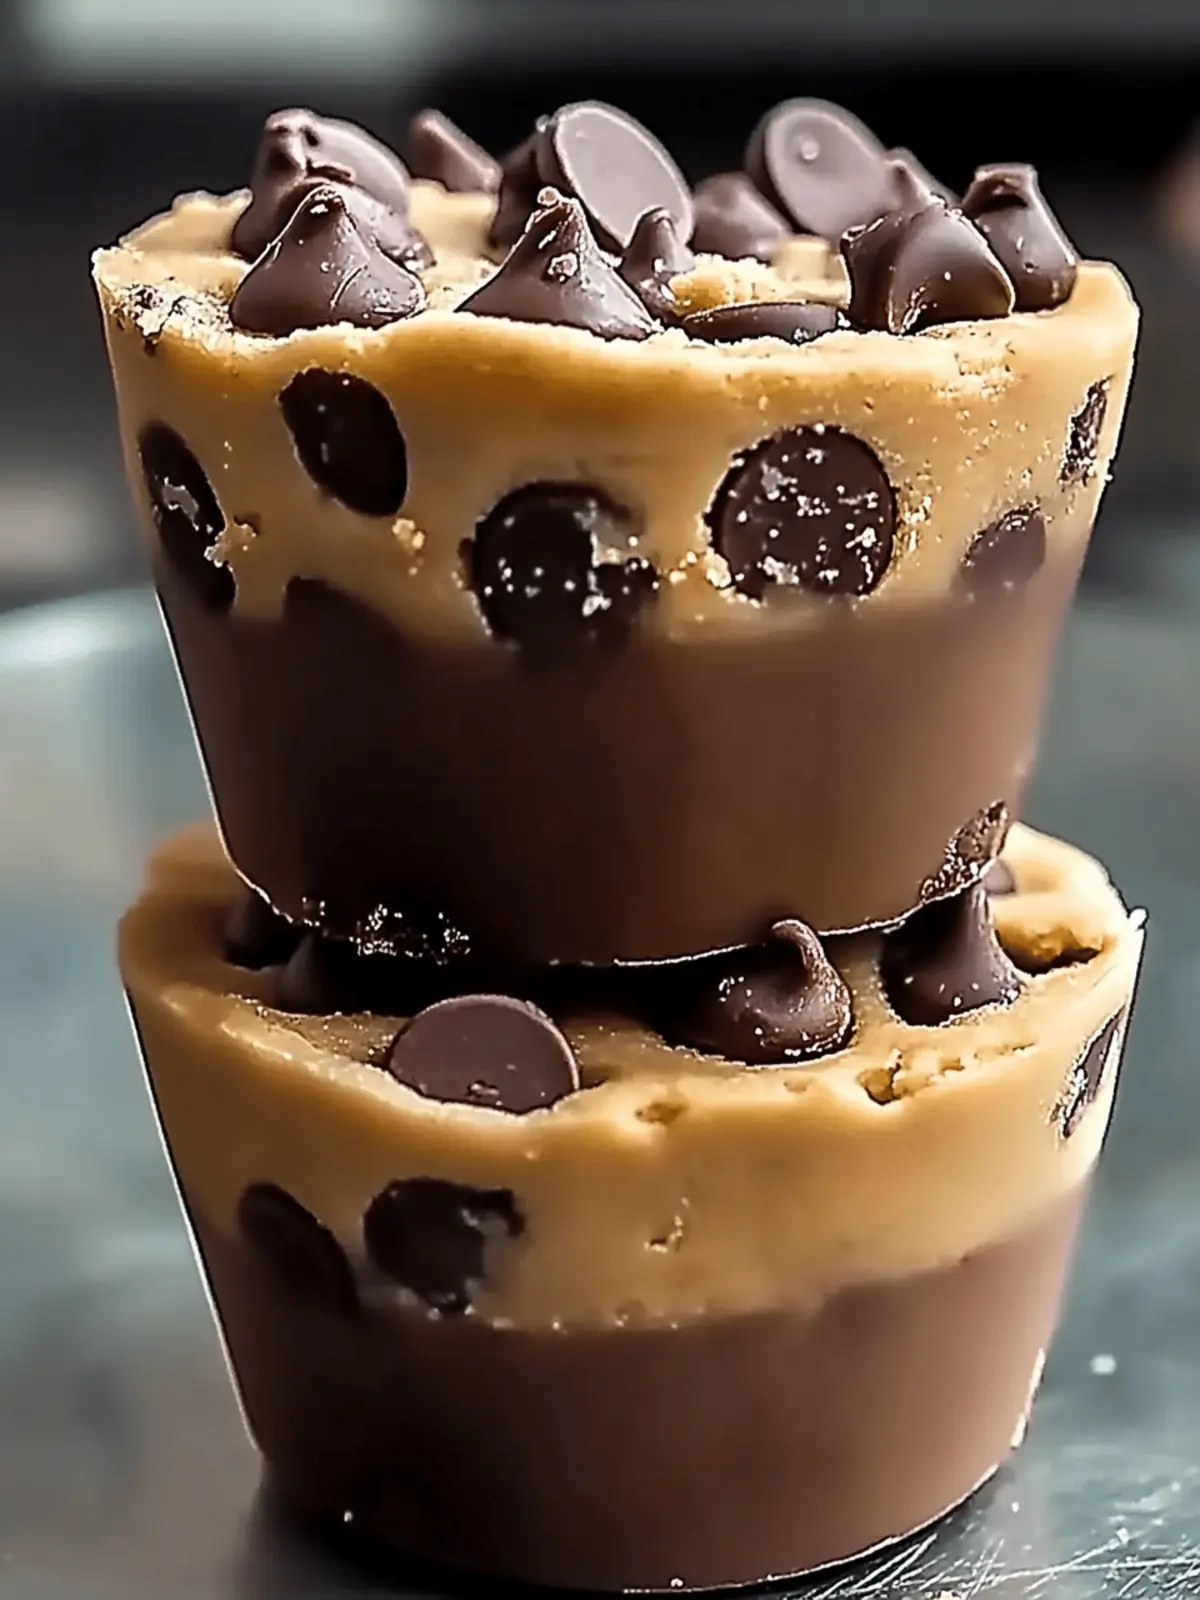
The moment I pull these Cookie Dough Cups out of the oven, the sweet, warm aroma fills my kitchen, whisking me back to carefree childhood days spent baking with loved ones. Imagine soft and chewy dough kissed with chocolate chips, lovingly cradled in a delicate muffin cup—each bite is a delightful explosion of nostalgia and indulgence.
These little gems have become my go-to dessert for everything from casual weeknight treats to fancy gatherings with friends. The best part? They’re incredibly easy to whip up, making them perfect for anyone craving a delicious homemade dessert without the fuss. Plus, you can customize them with your favorite toppings, turning a simple recipe into a personal masterpiece.
Join me as we delve into the delightful world of Cookie Dough Cups. Whether you’re a baking novice or a seasoned chef, this recipe is guaranteed to impress—and likely disappear before your eyes!
Why are Cookie Dough Cups so irresistible?
Delicious nostalgia: These Cookie Dough Cups bring back memories of childhood baking, filling your home with sweet aromas.
Simple preparation: Whipping up these delights requires minimal effort, making your baking experience enjoyable and stress-free.
Customizable toppings: Personalize each cup with your favorite treats—think crushed cookies or rich ganache—for a unique twist.
Perfect for any occasion: From casual snacks to party desserts, they’ll impress family and friends alike!
Quick baking time: Enjoy freshly baked goodness in just 10-12 minutes, transforming your cravings into reality before you know it.
Cookie Dough Cups Ingredients
• These Cookie Dough Cups are a delightful treat, and you’ll want to gather these ingredients!
For the Batter
- Unsalted Butter – Use room temperature butter for effortless creaming and a rich flavor.
- Brown Sugar – Opt for light brown sugar for a caramel-like taste; coconut sugar works as a great substitute.
- Granulated Sugar – Adds sweetness and helps achieve that golden color in your cups.
- Large Eggs – They bind all ingredients together; skip eggs for an edible dough version.
- Vanilla Extract – This enhances the overall flavor; feel free to swap it with almond extract for a twist.
- All-Purpose Flour – Essential for structure; substitute with gluten-free flour for a gluten-free version.
- Baking Soda – A small but mighty ingredient that helps your cups rise.
- Salt – A pinch balances the sweetness perfectly and enhances flavor.
- Semi-Sweet Chocolate Chips – Adds delightful sweetness; try milk chocolate or peanut butter chips for a fun variation.
For Optional Toppings
- Mini Chocolate Chips – Perfect for sprinkling on top for an extra chocolatey touch.
- Crushed Cookies – Great for adding texture and flavor to your cups.
- Caramel or Ganache – Can be used to fill the cups for a rich, decadent surprise.
- Sprinkles or Frosting – Easy and fun ways to decorate and elevate your treats!
How to Make Cookie Dough Cups
-
Preheat: Start by preheating your oven to 350°F (175°C). Grease a muffin tin or line it with cupcake liners to prevent sticking.
-
Cream Together: In a large bowl, cream together the room temperature butter, brown sugar, and granulated sugar until light and fluffy, about 2-3 minutes.
-
Add Eggs and Vanilla: Mix in the large eggs and vanilla extract until well combined, creating a smooth and velvety batter.
-
Combine Dry Ingredients: In a separate bowl, whisk the all-purpose flour, baking soda, and salt together. Gradually add this to your wet ingredients, mixing on low speed until just combined.
-
Fold in Chocolate Chips: Gently fold in the semi-sweet chocolate chips, ensuring they are evenly distributed throughout the dough.
-
Scoop the Dough: Using a cookie scoop or spoon, scoop about 2 tablespoons of dough into each muffin cup, pressing the dough slightly up the sides to create a cup shape.
-
Bake: Place the muffin tin in the oven and bake for 10-12 minutes. The edges should be golden brown, while the centers remain soft and slightly underbaked.
-
Shape the Cups: Once baked, remove the tin and use the back of a spoon to gently press down the centers of the cups. This keeps the shape and creates a perfect cavity for filling.
-
Cool Down: Allow the cookie dough cups to cool in the tin for 10 minutes before transferring them to a wire rack to cool completely.
-
Fill and Serve: Once cooled, fill your cookie cups with desired toppings and serve to enjoy the delightful treats!
Optional: Drizzle with melted chocolate for an extra indulgent touch.
Exact quantities are listed in the recipe card below.
Make Ahead Options
These Cookie Dough Cups are perfect for meal prep enthusiasts! You can prepare the dough up to 24 hours in advance by mixing all ingredients and storing it in an airtight container in the refrigerator. This helps maintain freshness and flavor. Additionally, the unbaked cups can be filled and shaped, then covered and refrigerated for up to 3 days before baking. Just remember to let the dough sit at room temperature for about 15 minutes before popping it in the oven. When you’re ready to enjoy them, simply bake as directed for a delicious, fresh treat with minimal effort—perfect for busy weeknights or unexpected guests!
Storage Tips for Cookie Dough Cups
- Room Temperature: Store cooled cookie dough cups in an airtight container at room temperature for up to 3 days to maintain their delightful chewiness.
- Fridge: For longer storage, place the cups in the fridge where they can last up to a week. Ensure they are well-wrapped to avoid drying out.
- Freezer: For extended freshness, freeze unfilled cookie dough cups in a single layer on a baking sheet. Once solid, transfer them to an airtight container for up to 2 months.
- Reheating: When ready to enjoy, reheat frozen cups in a preheated oven at 350°F (175°C) for 5-7 minutes, making them perfect for a quick treat!
Cookie Dough Cups Variations
Feel free to play with these Cookie Dough Cups and get creative—these ideas will tease your taste buds and keep things interesting!
-
Nutty Delight: Fold in chopped walnuts or pecans for a satisfying crunch. The added texture will create a delightful contrast to the soft dough.
-
Double Chocolate: Stir in cocoa powder along with the flour for a rich chocolate flavor. These double chocolate wonders are sure to please any chocolate lover!
-
Festive Flavors: Mix in pumpkin pie spice or cinnamon for a warm, seasonal twist. Imagine enjoying these during the holidays—the aroma will be irresistible!
-
Fruit Fusion: Incorporate dried fruits like cranberries or cherries for a sweet and chewy surprise. They add a lovely burst of flavor and a pop of color to your cups.
-
Peanut Butter Bliss: Mix in peanut butter chips along with chocolate for a decadent treat. This flavor combination hits all the right notes for peanut butter fans!
-
Savory Crunch: Add a sprinkle of sea salt on top to enhance the sweetness and provide a sophisticated finish. It creates a wonderful sweet-savory balance in each bite.
-
Mini Dessert Bar: Set up a toppings station with crushed cookies, whipped cream, or sprinkles. Encourage guests to fill their own cups for a fun, interactive dessert experience!
-
Vegan Version: Swap the eggs for a flaxseed mixture and use plant-based butter to create a vegan-friendly treat. Everyone can enjoy these delights together!
What to Serve with Cookie Dough Cups?
Imagine a gathering where your cookie dough cups shine alongside delightful companions that enhance their charm. Let’s create a well-rounded experience that will leave everyone smiling!
- Whipped Cream: A light and airy topping that adds a creamy texture, balancing the sweetness of the cookie dough cups beautifully.
- Fresh Berries: Juicy strawberries or raspberries bring a refreshing contrast, cutting through the richness for a delightful bite.
- Scoop of Vanilla Ice Cream: A classic pairing, the cool creaminess of vanilla ice cream contrasts perfectly with the warm, chewy cookie cups.
- Chocolate Drizzle: A simple drizzle of melted chocolate over the top adds an extra indulgent touch that enhances the overall presentation.
- Coffee or Espresso: Serve steaming cups of coffee alongside for a warm and comforting combination that enhances the sweetness and adds depth to each bite.
- Milk: Because nothing beats the classic pairing of cookie dough and milk! A glass of cold milk makes every bite feel like a nostalgic treat.
Elevating your cookie dough cups into a sweet spread will make your gathering unforgettable!
Expert Tips for Cookie Dough Cups
- Temperature Matters: Make sure your butter is at room temperature for easy mixing and a fluffy texture in your cookie dough cups.
- Flour Measurement: Spoon your flour into the measuring cup rather than scooping directly to prevent dry dough. This ensures perfect consistency!
- Mix Gently: Avoid overmixing the dough; mix just until combined to keep your cookie dough cups soft and chewy.
- Pressing Technique: Remember to press down the centers of the cups right after baking to maintain their shape for filling later.
- Airtight Storage: Store cooled cookie dough cups in an airtight container at room temperature for up to 3 days for maximum freshness.
Cookie Dough Cups Recipe FAQs
What is the best way to select ripe ingredients for Cookie Dough Cups?
Absolutely! When selecting ingredients, opt for unsalted butter that is soft and at room temperature for easy creaming. Choose eggs that are fresh and large for adequate binding. For flour, ensure it’s fresh and has not clumped, which can lead to uneven baking. The chocolate chips should be semi-sweet for that perfect melt-in-your-mouth experience, but feel free to substitute with your favorites for a personalized touch.
How should I store leftover Cookie Dough Cups?
Very good question! Once your delightful Cookie Dough Cups have cooled, store them in an airtight container at room temperature for up to 3 days. If you want to keep them longer, you can place them in the refrigerator where they’ll last up to a week. Just make sure they’re well-wrapped to retain that soft, chewy texture!
Can I freeze Cookie Dough Cups, and how do I do it?
Absolutely! To freeze your Cookie Dough Cups, do this: first, ensure the cups are completely cooled. Then, place them on a baking sheet in a single layer and freeze until solid—about 1 to 2 hours. Once firm, transfer them to an airtight container or ziploc bag, separating layers with parchment paper. They can be stored in the freezer for up to 3 months. When you’re ready to enjoy them, simply reheat from frozen in a 350°F (175°C) oven for about 5-7 minutes or until warm.
Advertisement
What should I do if my Cookie Dough Cups turn out flat?
No worries! If your Cookie Dough Cups end up flat, it may be due to overmixing the batter or improper measuring of the flour. Make sure to measure flour accurately by spooning it into the measuring cup and leveling off, rather than scooping directly. Additionally, ensure your baking soda is fresh for optimal rising. If you notice your dough feeling too soft, you might refrigerate it for about 30 minutes before baking to help them maintain shape.
Are there any dietary considerations for Cookie Dough Cups regarding allergies or pets?
Great question! For those with allergies, always check the ingredient labels for common allergens like gluten (in the flour) and dairy (in the butter). You can easily make these treats gluten-free by using a 1:1 gluten-free flour blend and substitute with dairy-free butter options for a dairy-free version. When it comes to pets, the chocolate chips are toxic to dogs and cats, so keep these delicious Cookie Dough Cups out of their reach!
Can I customize my Cookie Dough Cups with different toppings?
The more the merrier! Personalizing your Cookie Dough Cups is part of the fun. You can top them with mini chocolate chips, crushed cookies, or drizzles of caramel for a rich twist. Frosting or sprinkles can also be used for decoration, making them festive for any occasion. Mix and match according to your taste preferences!

Cookie Dough Cups You Can't Resist: Easy and Chewy Delight
Ingredients
Equipment
Method
- Preheat the oven to 350°F (175°C) and grease a muffin tin or line it with cupcake liners.
- Cream together the room temperature butter, brown sugar, and granulated sugar until light and fluffy, about 2-3 minutes.
- Mix in the large eggs and vanilla extract until well combined.
- In a separate bowl, whisk the flour, baking soda, and salt together. Gradually add this to the wet ingredients, mixing on low speed until just combined.
- Gently fold in the semi-sweet chocolate chips.
- Scoop about 2 tablespoons of dough into each muffin cup, pressing the dough slightly up the sides.
- Bake for 10-12 minutes until edges are golden and centers remain soft.
- Remove from oven and gently press down the centers with a spoon.
- Cool in the tin for 10 minutes before transferring to a wire rack to cool completely.
- Once cooled, fill your cookie cups with desired toppings and serve.


