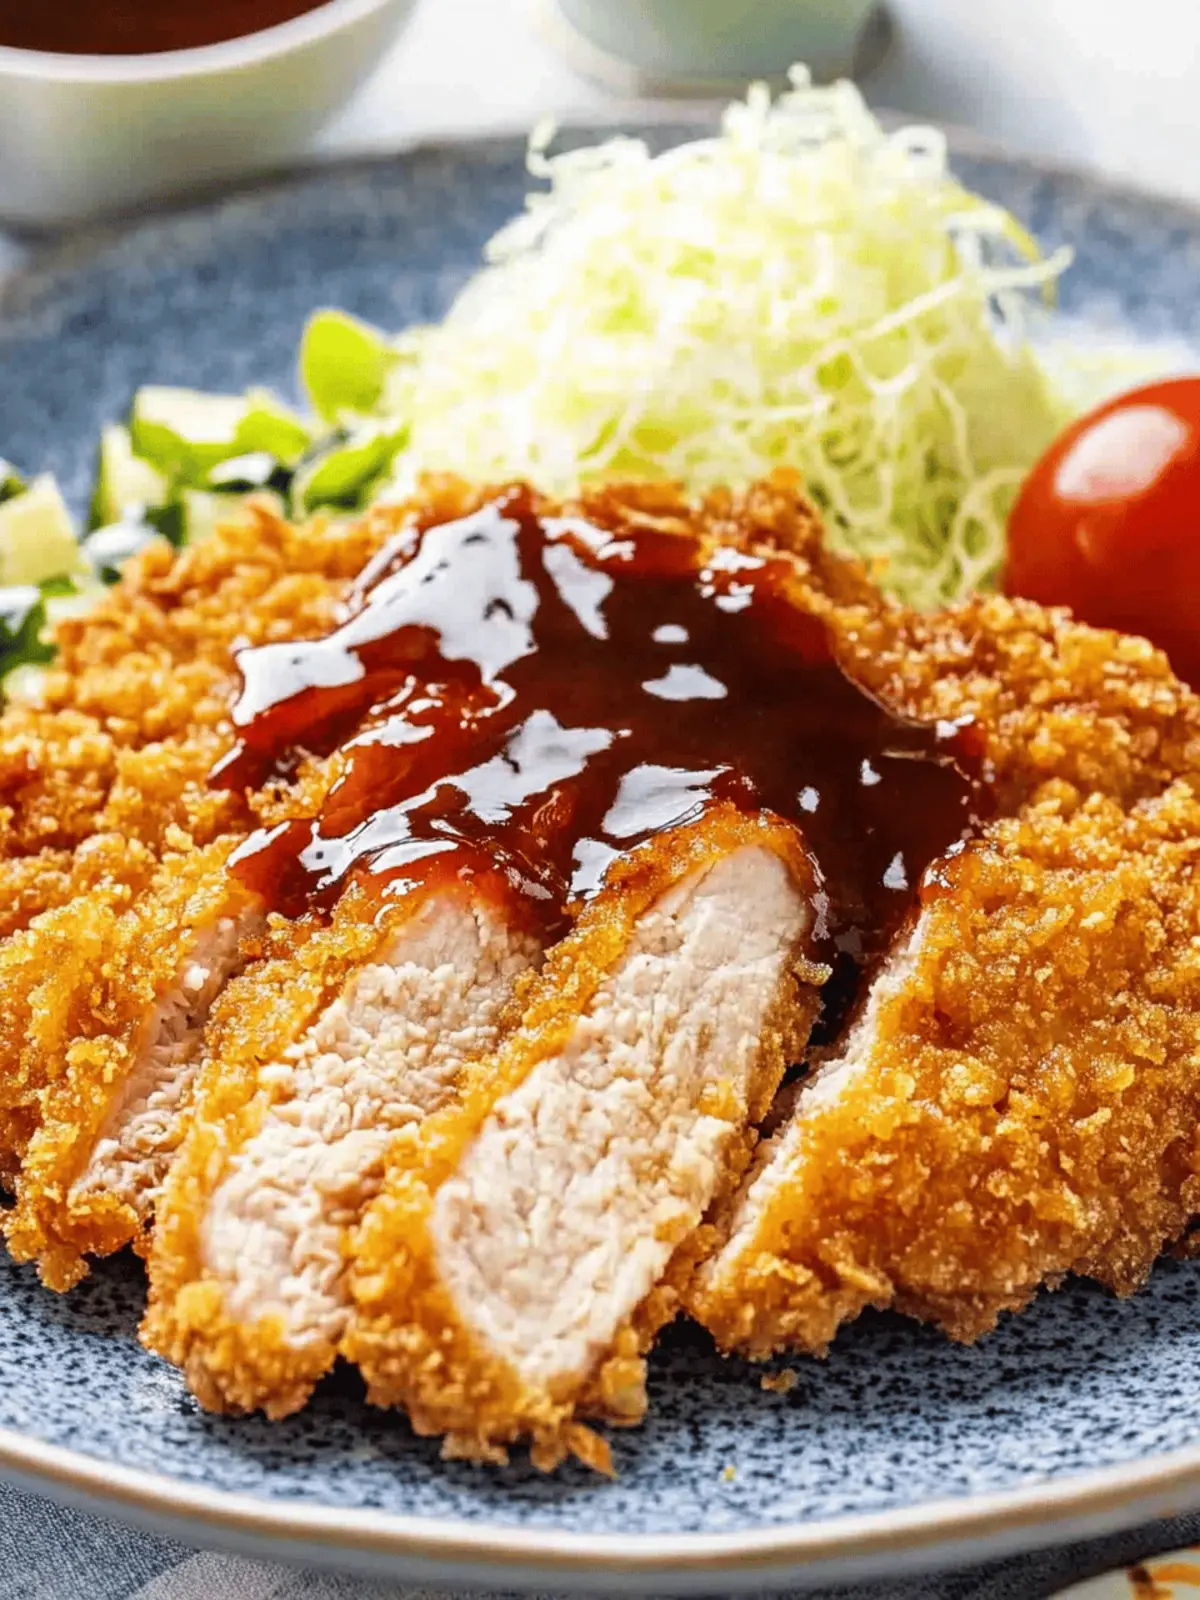
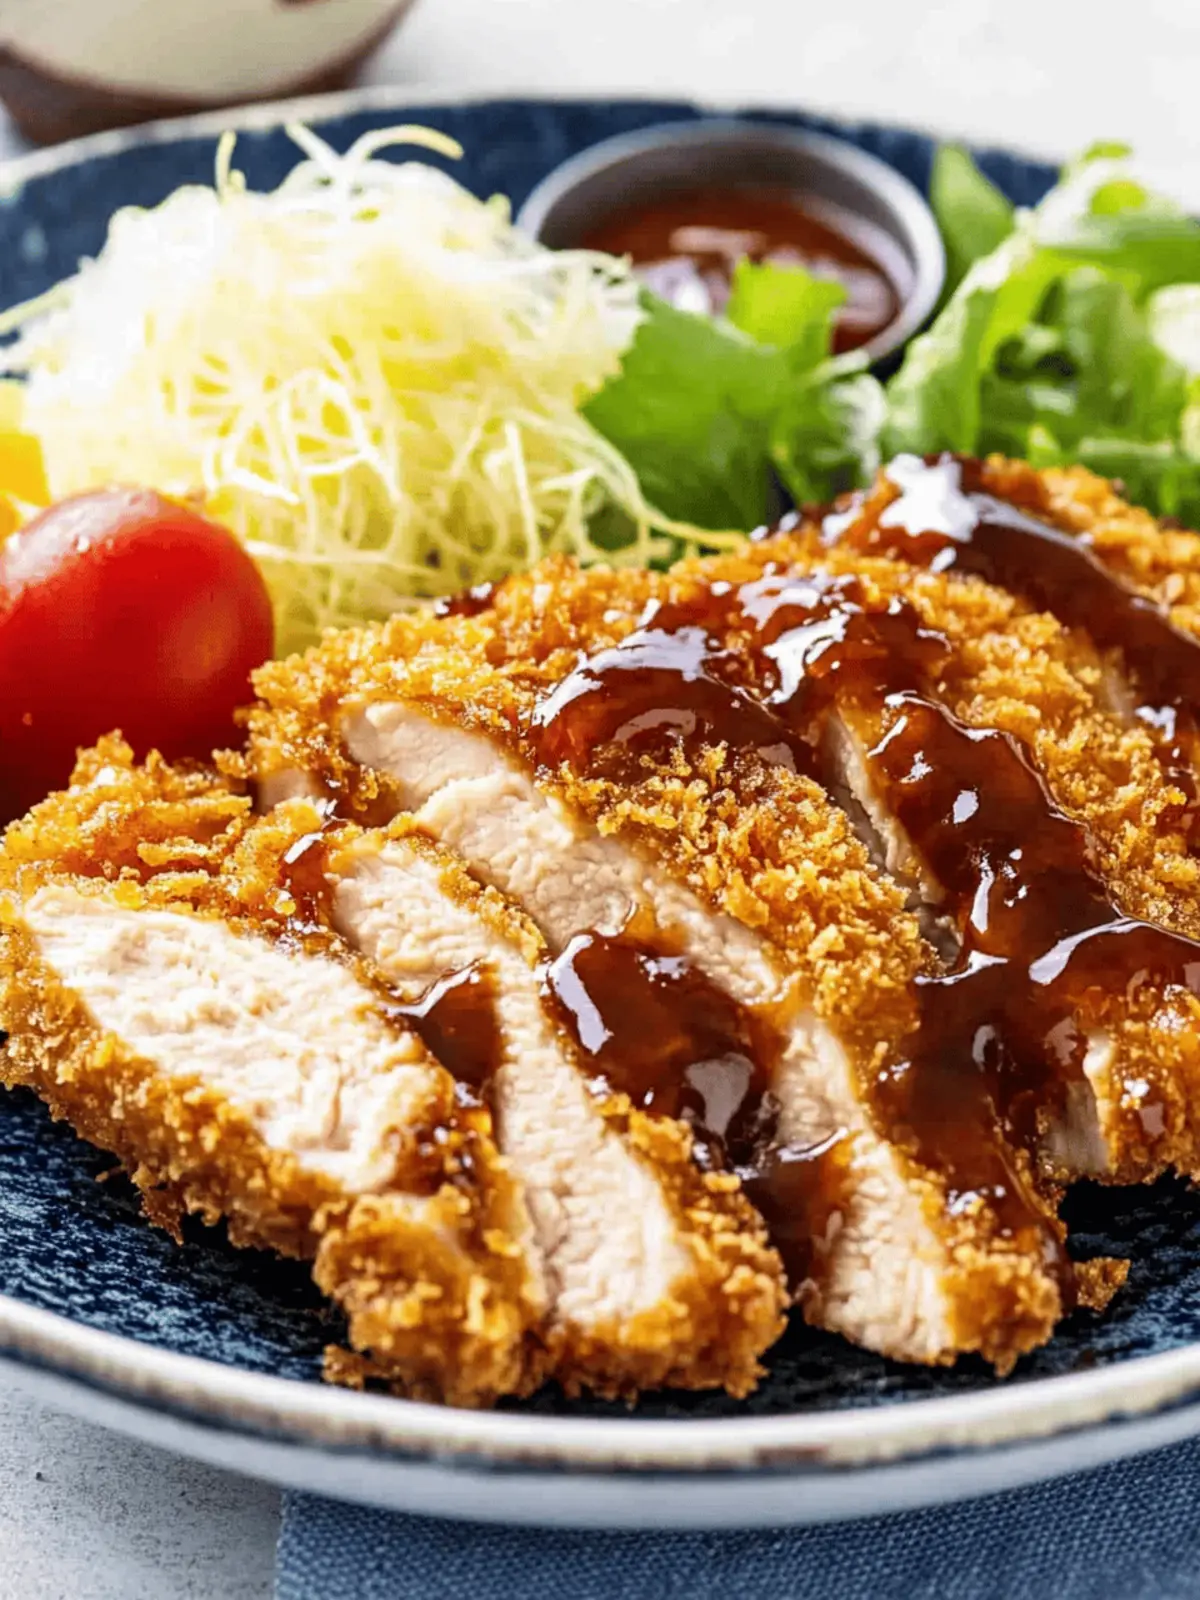
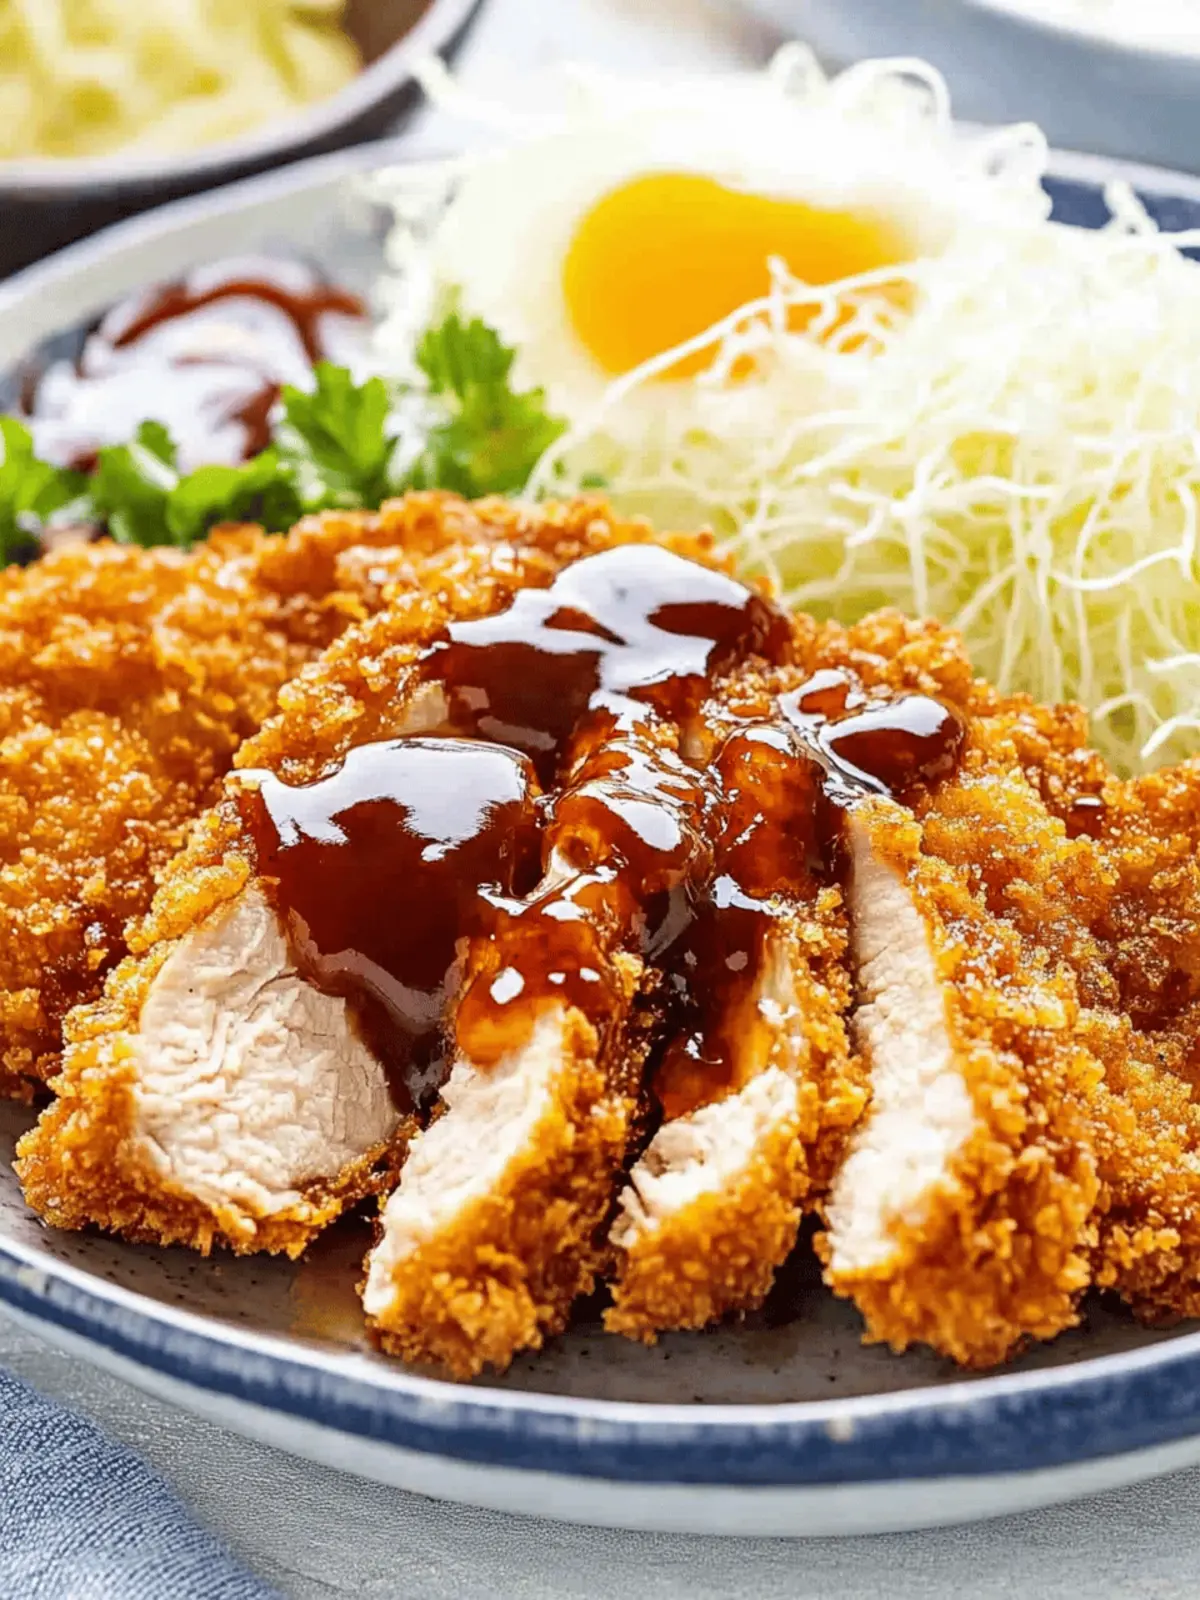
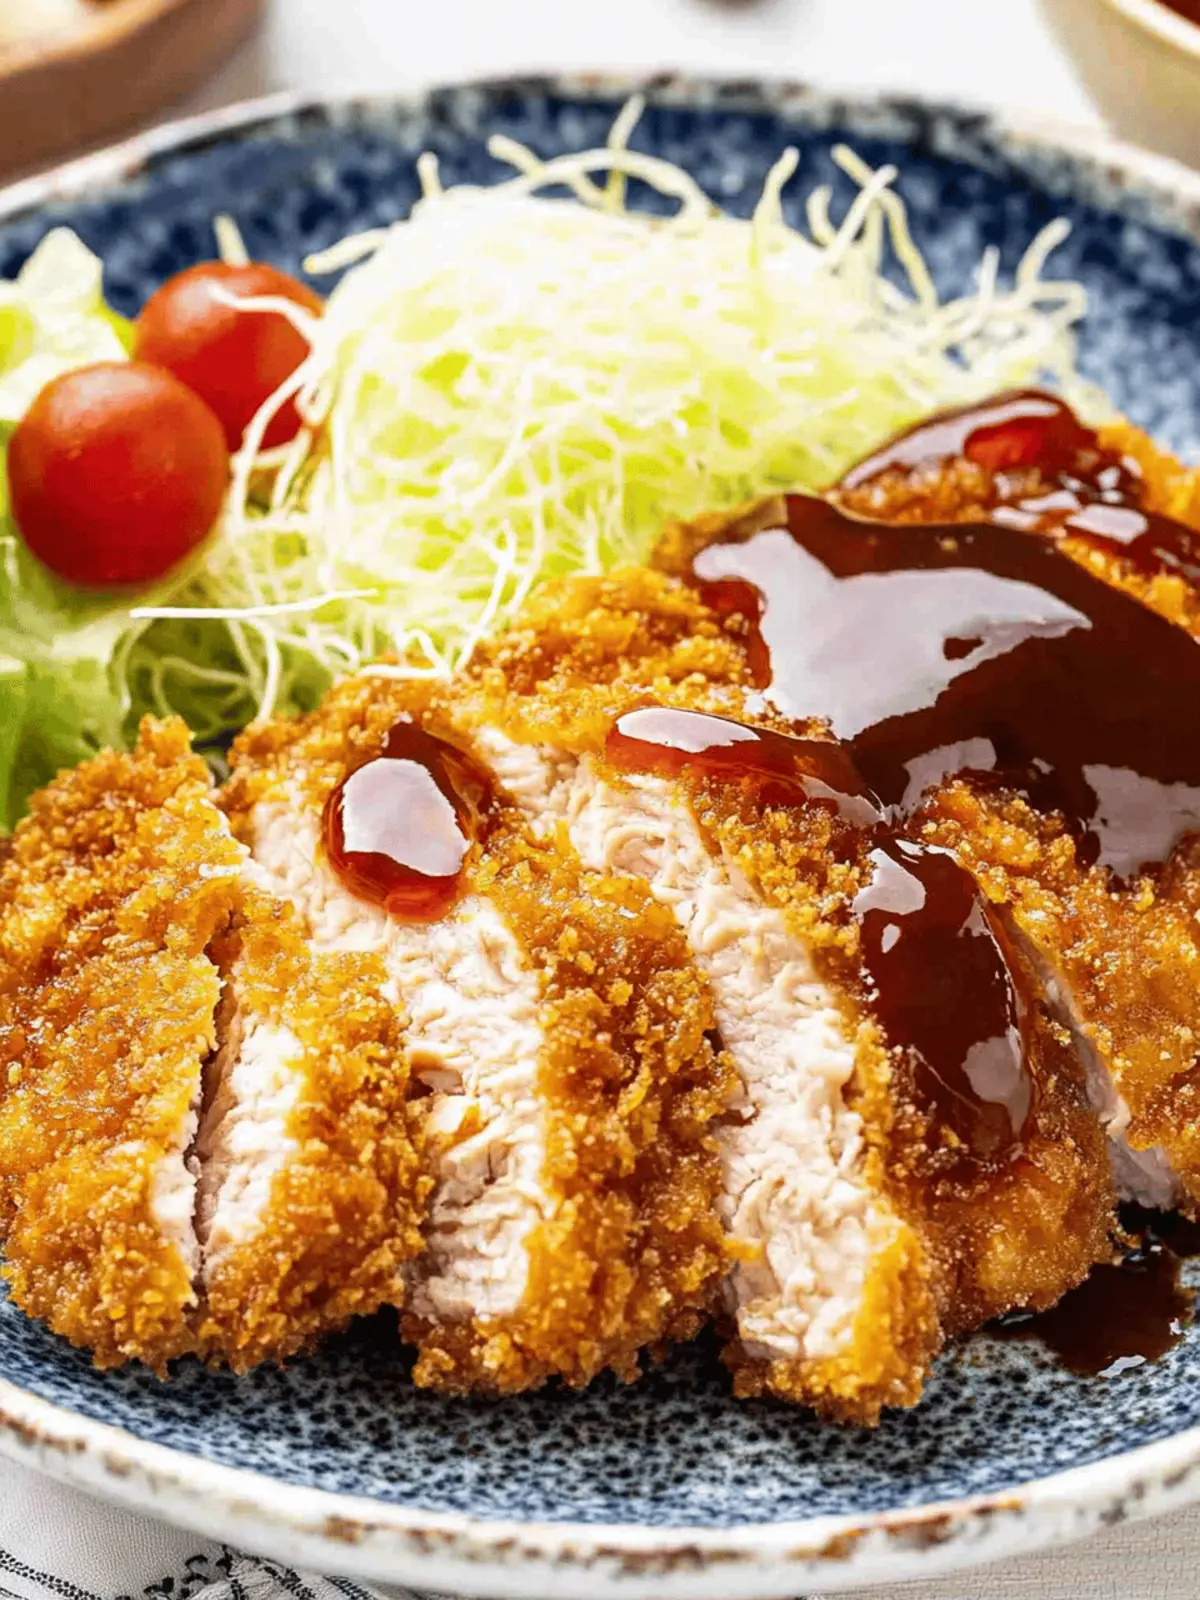
There’s a certain joy that fills the kitchen when you hear the delightful crunch of crispy chicken katsu hitting the plate. This dish isn’t just another meal; it’s a culinary hug—the kind that warms you from the inside out. While I was on a quest to revitalize my weeknight dinners, I stumbled upon the magic of this Japanese classic, and I haven’t looked back since.
With tender chicken thighs or breasts enveloped in a flaky layer of panko breadcrumbs, this recipe transforms simple ingredients into a crowd-pleasing centerpiece. What I love most about this chicken katsu is its effortless charm; it pairs wonderfully with fluffy rice and a tangy katsu sauce, making it a versatile option for any occasion.
Join me as I guide you through the steps to perfect this crispy delight, ensuring every bite is a perfect balance of juicy and crunchy. Say goodbye to bland fast food and hello to a satisfying homemade experience that the whole family will adore!
Why is Crispy Chicken Katsu a must-try?
Crispy texture: Experience the delightful crunch with every bite of panko-coated chicken that elevates your meal.
Simple preparation: With minimal ingredients and straightforward steps, you’ll have dinner ready in no time.
Versatile dish: Serve it with rice, in a sandwich, or as a rice bowl to satisfy everyone’s cravings.
Crowd-pleaser: This recipe is perfect for family dinners or impressing guests with a unique homemade twist.
Flavor-packed katsu sauce: The tangy blend of sauces enhances the dish, ensuring it bursts with umami goodness at each meal.
Indulge your taste for homemade goodness with this delicious crispy chicken katsu!
Crispy Chicken Katsu Ingredients
For the Chicken
• Chicken Thighs or Breasts – Use skinless for a healthier option or skin-on for added flavor.
For the Coating
• Japanese Panko Bread Crumbs – Provides a light, crunchy coating; opt for genuine panko for the best texture.
• All-Purpose Flour – Ideal for dredging; it helps the egg wash adhere to the chicken. Substitute with gluten-free flour for a gluten-free option.
• Egg – Acts as a binding agent for the panko; be sure to beat it for a uniform coating.
For Frying
• Vegetable Oil – Essential for achieving that crispy exterior; any neutral oil works well.
For the Katsu Sauce
• Ketchup – Adds sweetness to balance savory elements.
• Worcestershire Sauce – Contributes tanginess and depth to your sauce.
• Soy Sauce – Brings in umami flavor, making your katsu even more delicious.
• Garlic and Onion Powder – Enhances the flavor profile of the sauce.
• Sugar (optional) – Adjust sweetness to your taste for the perfect dip.
With these ingredients, your Crispy Chicken Katsu will embody a comforting home-cooked feel that delights the whole family!
How to Make Crispy Chicken Katsu
-
Make Katsu Sauce: In a mixing bowl, combine ketchup, Worcestershire sauce, soy sauce, and garlic & onion powder. Stir well to mix all the flavors, adjusting sweetness with sugar if desired. Set aside as it develops its flavors.
-
Prepare Chicken: Season your chicken thighs or breasts with salt and pepper to taste. Dredge each piece in flour, ensuring it’s coated evenly. Dip it into the beaten egg, then thoroughly cover it with panko breadcrumbs, pressing them in for better adhesion.
-
Heat Oil: Preheat vegetable oil in a deep pan to 340°F (170°C). Test the oil by dropping a few breadcrumbs in; they should sizzle and turn golden within a few seconds, indicating it’s ready for frying.
-
Fry Chicken: Carefully lay the chicken cutlets in the hot oil. Fry for about 4 minutes on each side or until they turn a beautiful golden brown. Avoid overcrowding the pan, as this can lower the oil temperature and affect crispiness.
-
Serve: Once cooked, slice the chicken katsu into 1-inch pieces and serve immediately. Pair with katsu sauce, a bowl of fluffy rice, and a side of shredded cabbage for a complete meal.
Optional: Drizzle with fresh lemon juice for an added zing of flavor!
Exact quantities are listed in the recipe card below.
What to Serve with Crispy Chicken Katsu?
Imagine a table filled with vibrant colors and delicious aromas, all perfectly complementing your crispy delight.
- Fluffy White Rice: The perfect base, soaking up the savory katsu sauce while providing a comforting texture alongside the crispy chicken.
- Shredded Cabbage Salad: Lightly dressed, this crunchy salad adds a refreshing contrast to the rich, fried chicken, brightening every bite.
- Japanese Pickles (Tsukemono): These tangy bites introduce a zesty balance, enhancing the umami flavors of your chicken katsu and refreshing the palate.
- Miso Soup: A warm bowl of miso soup pairs perfectly, bringing a comforting umami layer that harmonizes with the crispy chicken.
- Steamed Broccoli: With its vibrant green color and nutritious benefits, broccoli provides a delightful crunch, rounding out your meal beautifully.
- Fruit Salad: Offer a sweet and juicy contrast with a variety of fresh fruits like melon and citrus, cleansing the palate and enhancing your dining experience.
- Iced Green Tea: A refreshing, detoxifying drink choice that complements the rich flavors of katsu while offering a soothing finish to your meal.
- Matcha Ice Cream: For dessert, indulge in a scoop of creamy matcha ice cream; it’s a delightful way to end your meal with a hint of sweetness.
Craft a balanced meal around your Crispy Chicken Katsu, making each bite a delightful journey of flavors and textures!
Crispy Chicken Katsu Variations
Feel free to put your own spin on this delicious dish by trying some fun variations!
-
Pork Cutlets: Swap chicken for thin pork cutlets to enjoy a different yet equally crispy experience.
The savory flavor of pork brings a rich twist to the traditional katsu, transforming your meal into a new favorite. -
Tofu Option: Use firm or extra-firm tofu instead of chicken for a delightful vegetarian take.
When coated in panko and fried, tofu absorbs all the flavors while still delivering that satisfying crunch. -
Spicy Twist: Add cayenne pepper or chili flakes to the panko for an exciting heat boost.
It’s a simple way to spice up your dish, offering a delightful kick that pairs perfectly with the sweet katsu sauce. -
Herbed Panko: Mix dried herbs like oregano or basil into the panko for a fragrant flavor infusion.
This variation adds complexity, making each bite a delightful surprise that complements the crispy exterior wonderfully. -
Cheesy Katsu: Sprinkle grated Parmesan cheese into the panko mix for a cheesy twist.
The richness of the cheese rounds out the flavors, resulting in a delectable crust that’s utterly irresistible. -
Katsu Sandwich: Serve your crispy chicken katsu in a soft bun with mayo and shredded cabbage for a delightful sandwich.
It’s an enjoyable way to enjoy this dish on the go, perfect for lunch or a quick dinner alternative. -
Curry Katsu Don: Layer over a bowl of rice topped with Japanese curry for a heartwarming katsu don.
The comforting combination of flavors makes this a unique, hearty meal that’s still easy to prepare. -
Sweet & Sour Version: For a sweet twist, drizzle honey or a sweet chili sauce over the finished katsu just before serving.
This contrast of flavors adds a delightful complexity that will make your taste buds dance!
Make Ahead Options
These Crispy Chicken Katsu are perfect for meal prep enthusiasts! You can prepare the chicken by seasoning and dredging it in flour, dipping it in beaten egg, and then coating it with panko breadcrumbs up to 24 hours in advance. Just refrigerate the coated chicken in an airtight container to maintain its crunch. Additionally, the katsu sauce can be made ahead and stored in the fridge for up to 3 days; this allows the flavors to meld beautifully. When you’re ready to fry, simply heat the oil and cook the chicken cutlets for about 4 minutes on each side until they are golden brown. This approach saves you precious time during busy weeknights while ensuring your chicken remains just as delicious!
Expert Tips for Crispy Chicken Katsu
-
Choose the Right Oil: Use a neutral-flavored vegetable oil with a high smoke point to achieve a crispy chicken katsu without any burnt flavors.
-
Room Temperature Chicken: Let your chicken sit at room temperature for about 15 minutes before frying. This helps ensure it cooks evenly and stays juicy inside.
-
Press the Panko: When coating the chicken, press the panko breadcrumbs firmly into the meat. This not only enhances adhesion but also creates a more satisfying crunch.
-
Monitor Oil Temperature: Keep an eye on the oil’s temperature to maintain crispiness. If the oil is too hot, the coating may burn before the chicken cooks through; too cool, and you’ll end up with soggy breadcrumbs.
-
Serve Fresh for Best Results: Enjoy your crispy chicken katsu right after frying for the best flavor and texture. If you have leftovers, reheat them in the oven to regain that delightful crunch.
With these thoughtful tips, your crispy chicken katsu will be a show-stopping success at the dinner table!
How to Store and Freeze Crispy Chicken Katsu
Fridge: Store leftover crispy chicken katsu in an airtight container for up to 3 days. Ensure it’s fully cooled before sealing to maintain freshness and prevent sogginess.
Freezer: For longer storage, freeze chicken katsu in a single layer on a baking sheet until solid, then transfer to a freezer-safe bag. It can last for up to 1 month without losing texture.
Reheating: For the best results, reheat frozen crispy chicken katsu in an oven at 375°F (190°C) for about 15-20 minutes until heated through and crispy again. Enjoy the crunchy texture just like it was freshly made!
Crispy Chicken Katsu Recipe FAQs
What type of chicken is best for crispy chicken katsu?
I recommend using chicken thighs or breasts for your katsu, both of which deliver tender, juicy results. Skinless thighs are healthier, while skin-on breasts provide extra flavor. Choose based on your preference—both are delicious!
Advertisement
How should I store leftover crispy chicken katsu?
Store your crispy chicken katsu in an airtight container in the refrigerator for up to 3 days. Allow the chicken to cool down completely before sealing it, as sealing hot items can create moisture, leading to sogginess.
Can I freeze crispy chicken katsu?
Absolutely! To freeze, place your cooked chicken katsu in a single layer on a baking sheet until solid. Once frozen, transfer it to a freezer-safe bag. It can last for up to 1 month. When you’re ready to enjoy it, simply reheat in the oven for maximum crunch!
What can I do if the panko coating falls off during frying?
If you find the panko doesn’t adhere well, try pressing the breadcrumbs more firmly onto the chicken before frying. Additionally, incorporating about a tablespoon of flour to the egg wash can help create a thicker coating that sticks better.
Is crispy chicken katsu safe for certain dietary restrictions?
Yes, but be cautious. Make sure to use gluten-free flour and panko to accommodate those with gluten sensitivities. Also, be mindful of allergies related to soy sauce; opting for a gluten-free soy sauce can help make this dish safe for those with soy allergies.
How can I make the katsu sauce sweeter or spicier?
To adjust the flavor of your katsu sauce, simply incrementally add sugar for sweetness or a splash of hot sauce for spice until you reach the desired taste. Start with small amounts and mix well, tasting as you go. The resulting sauce will enhance your crispy chicken katsu beautifully!

Amazing Crispy Chicken Katsu: Your New Favorite Comfort Food
Ingredients
Equipment
Method
- Make Katsu Sauce: In a mixing bowl, combine ketchup, Worcestershire sauce, soy sauce, and garlic & onion powder. Stir well and adjust sweetness with sugar if desired. Set aside.
- Prepare Chicken: Season chicken with salt and pepper. Dredge in flour, dip in beaten egg, then coat with panko breadcrumbs.
- Heat Oil: Preheat vegetable oil in a deep pan to 340°F (170°C) and test readiness with breadcrumbs.
- Fry Chicken: Fry chicken cutlets for about 4 minutes on each side until golden brown. Avoid overcrowding the pan.
- Serve: Slice chicken katsu into 1-inch pieces and serve immediately with katsu sauce, rice, and cabbage.


