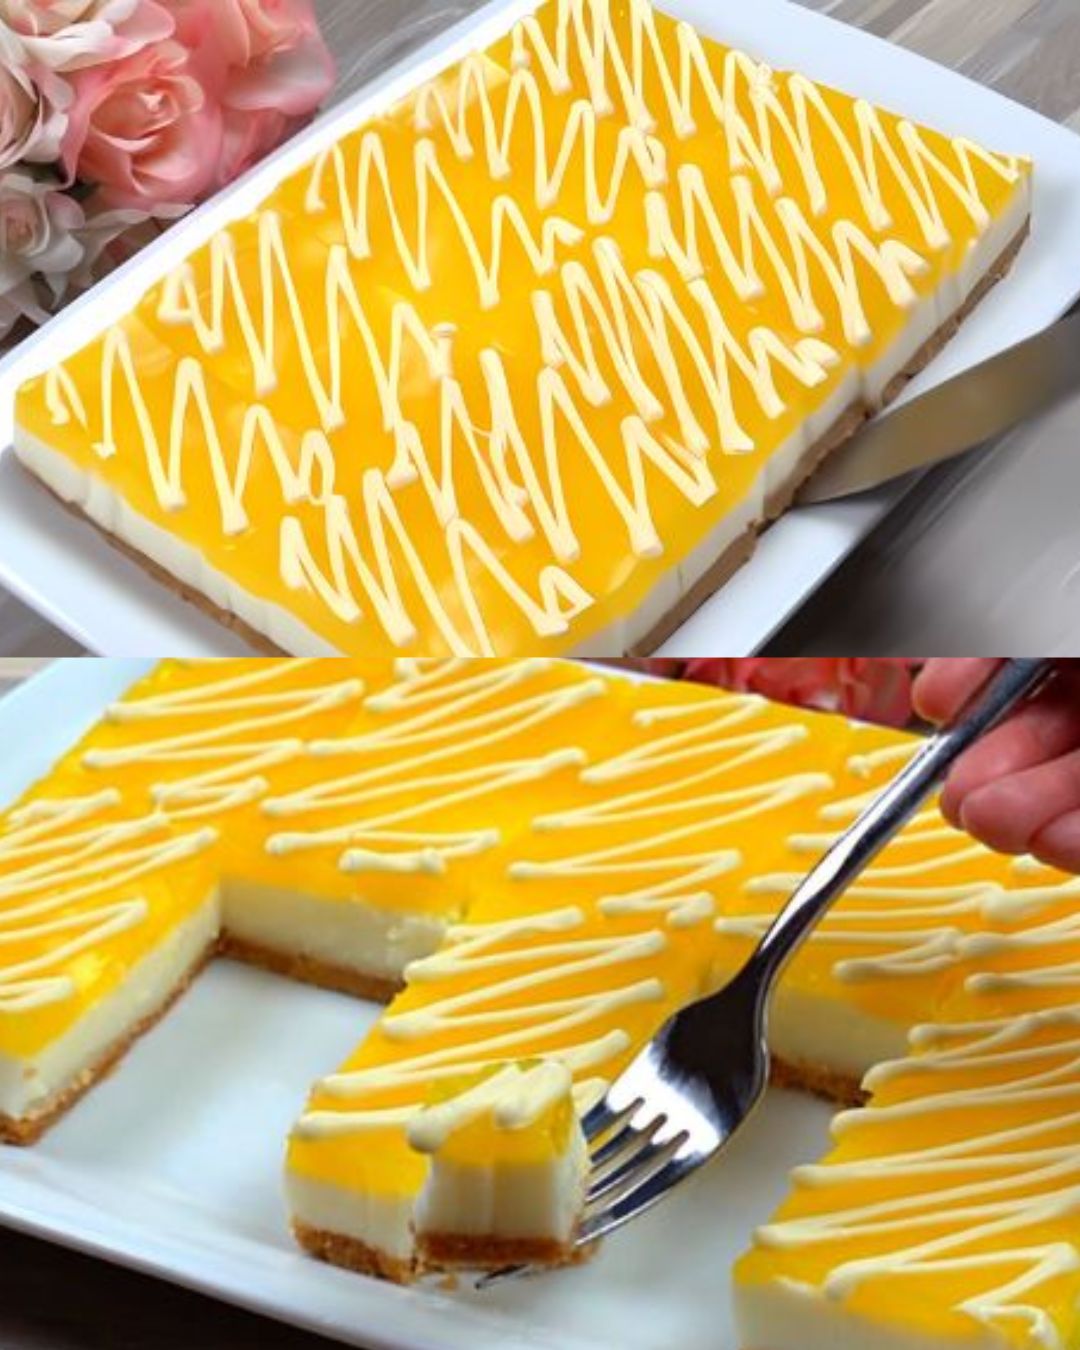
The Lemon Mousse Bars are a delightful treat that brings together the creamy texture of a mousse with the zesty punch of lemon, all atop a buttery biscuit crust. Each bite is a harmonious blend of sweet and tangy flavors, complemented by the smooth richness of melted white chocolate.
Perfect for a summer dessert, these bars are easy to make and require no baking, making them an ideal choice for hot days when you crave something sweet and refreshing. Serve them chilled, cut into neat squares, and watch them disappear quickly at any gathering or as a special treat for yourself.
Full Recipe:
Ingredients:
For the Crust:
- 200g Biscuits
- 6 tablespoons Melted Butter (80g)
For the Mousse:
- 4 cups Milk (950 ml)
- 3/4 cup Sugar (170g)
- 5 tablespoons Cornstarch (45g)
- 1/2 cup Plain Yogurt (120g)
- 1 teaspoon Vanilla Extract
For the Lemon Layer:
- 1/3 cup Lemon Juice (100 ml)
- 1 1/4 cups Water (300 ml)
- 3 tablespoons Cornstarch (25g)
- 1/2 teaspoon Turmeric or Yellow Food Coloring
- 1/4 cup Sugar (50g)
For Decoration:
- Melted White Chocolate
Directions:
- Prepare the Crust:
- Crush the biscuits into fine crumbs.
- Mix the biscuit crumbs with melted butter until well combined.
- Press the mixture into the bottom of an 8×11 inch (18×28 cm) cake mold.
- Chill in the fridge for 30 minutes.
- Make the Mousse:
- In a saucepan, combine the milk, sugar, and cornstarch. Cook over medium heat, stirring constantly until the mixture thickens.
- Remove from heat and let it cool slightly.
- Stir in the plain yogurt and vanilla extract until smooth.
- Pour the mousse over the chilled crust and spread evenly.
- Chill in the fridge for 30 minutes.
- Prepare the Lemon Layer:
- In a saucepan, combine lemon juice, water, cornstarch, turmeric (or food coloring), and sugar.
- Cook over medium heat, stirring constantly until the mixture thickens.
- Remove from heat and let it cool slightly.
- Pour the lemon mixture over the mousse layer and spread evenly.
- Chill in the fridge for 1 hour.
- Decorate:
- Once set, decorate the top with melted white chocolate as desired.
- Serve:
- Cut into squares and serve chilled. Enjoy your easy, no-bake lemon mousse dessert!
Prep Time: 20 minutes | Cooking Time: 20 minutes | Total Time: 1 hour 10 minutes
Kcal: 250 kcal | Servings: 12 servings
Possible Questions About This Recipe
- Can I use a different type of biscuit for the crust? Yes, you can use any type of biscuit you prefer. Graham crackers, digestive biscuits, or even gluten-free cookies would work well.
- Can I make this recipe dairy-free? Absolutely! You can substitute the milk with almond milk or any other plant-based milk. Use dairy-free yogurt and skip the white chocolate or use a dairy-free alternative.
- How long can I store these Lemon Mousse Bars? They can be stored in the fridge for up to 4 days. Make sure to keep them in an airtight container to maintain their freshness.
- Can I add other flavors to the mousse? Certainly! You can add a bit of lemon zest for extra tang or even a splash of another extract, like almond or coconut, for a different twist.
- Is there a way to make the lemon layer more tart? You can increase the amount of lemon juice slightly or reduce the sugar in the lemon layer to make it more tart.
Nutritional Information (per serving)
- Calories: 250 kcal
- Carbohydrates: 35g
- Protein: 4g
- Fat: 10g
- Saturated Fat: 6g
- Cholesterol: 25mg
- Sodium: 150mg
- Fiber: 1g
- Sugar: 25g
Storage Tips
- Refrigeration: Store the Lemon Mousse Bars in an airtight container in the refrigerator. They will stay fresh for up to 4 days.
- Freezing: For longer storage, you can freeze the bars. Wrap them individually in plastic wrap and then place them in a freezer-safe container. They can be stored for up to 1 month. Thaw in the refrigerator before serving.
Tips for Making the Best Lemon Mousse Bars
- Crush the biscuits finely: Use a food processor to get a fine crumb for the crust. This will help the crust hold together better.
- Chill between layers: Make sure to chill the crust and mousse layers adequately before adding the next layer. This helps in setting the dessert properly.
- Consistent stirring: While cooking the mousse and lemon layers, stir constantly to prevent lumps and ensure a smooth texture.
- Taste and adjust: Taste the lemon mixture before pouring it over the mousse. Adjust the sweetness or tartness according to your preference.
- Decorate creatively: Use a piping bag to drizzle melted white chocolate for a neat and appealing finish.
Conclusion
These Lemon Mousse Bars are a fantastic way to enjoy a light, refreshing dessert that combines the tangy brightness of lemon with the creamy richness of mousse. The no-bake method makes them incredibly easy to prepare, perfect for any occasion, especially during the warmer months. Whether you’re hosting a party or just want a delightful treat to enjoy at home, these bars are sure to impress. Their beautiful presentation and delicious taste make them a standout dessert that will have everyone asking for the recipe. Give them a try and bring a bit of zesty sunshine to your dessert table!

