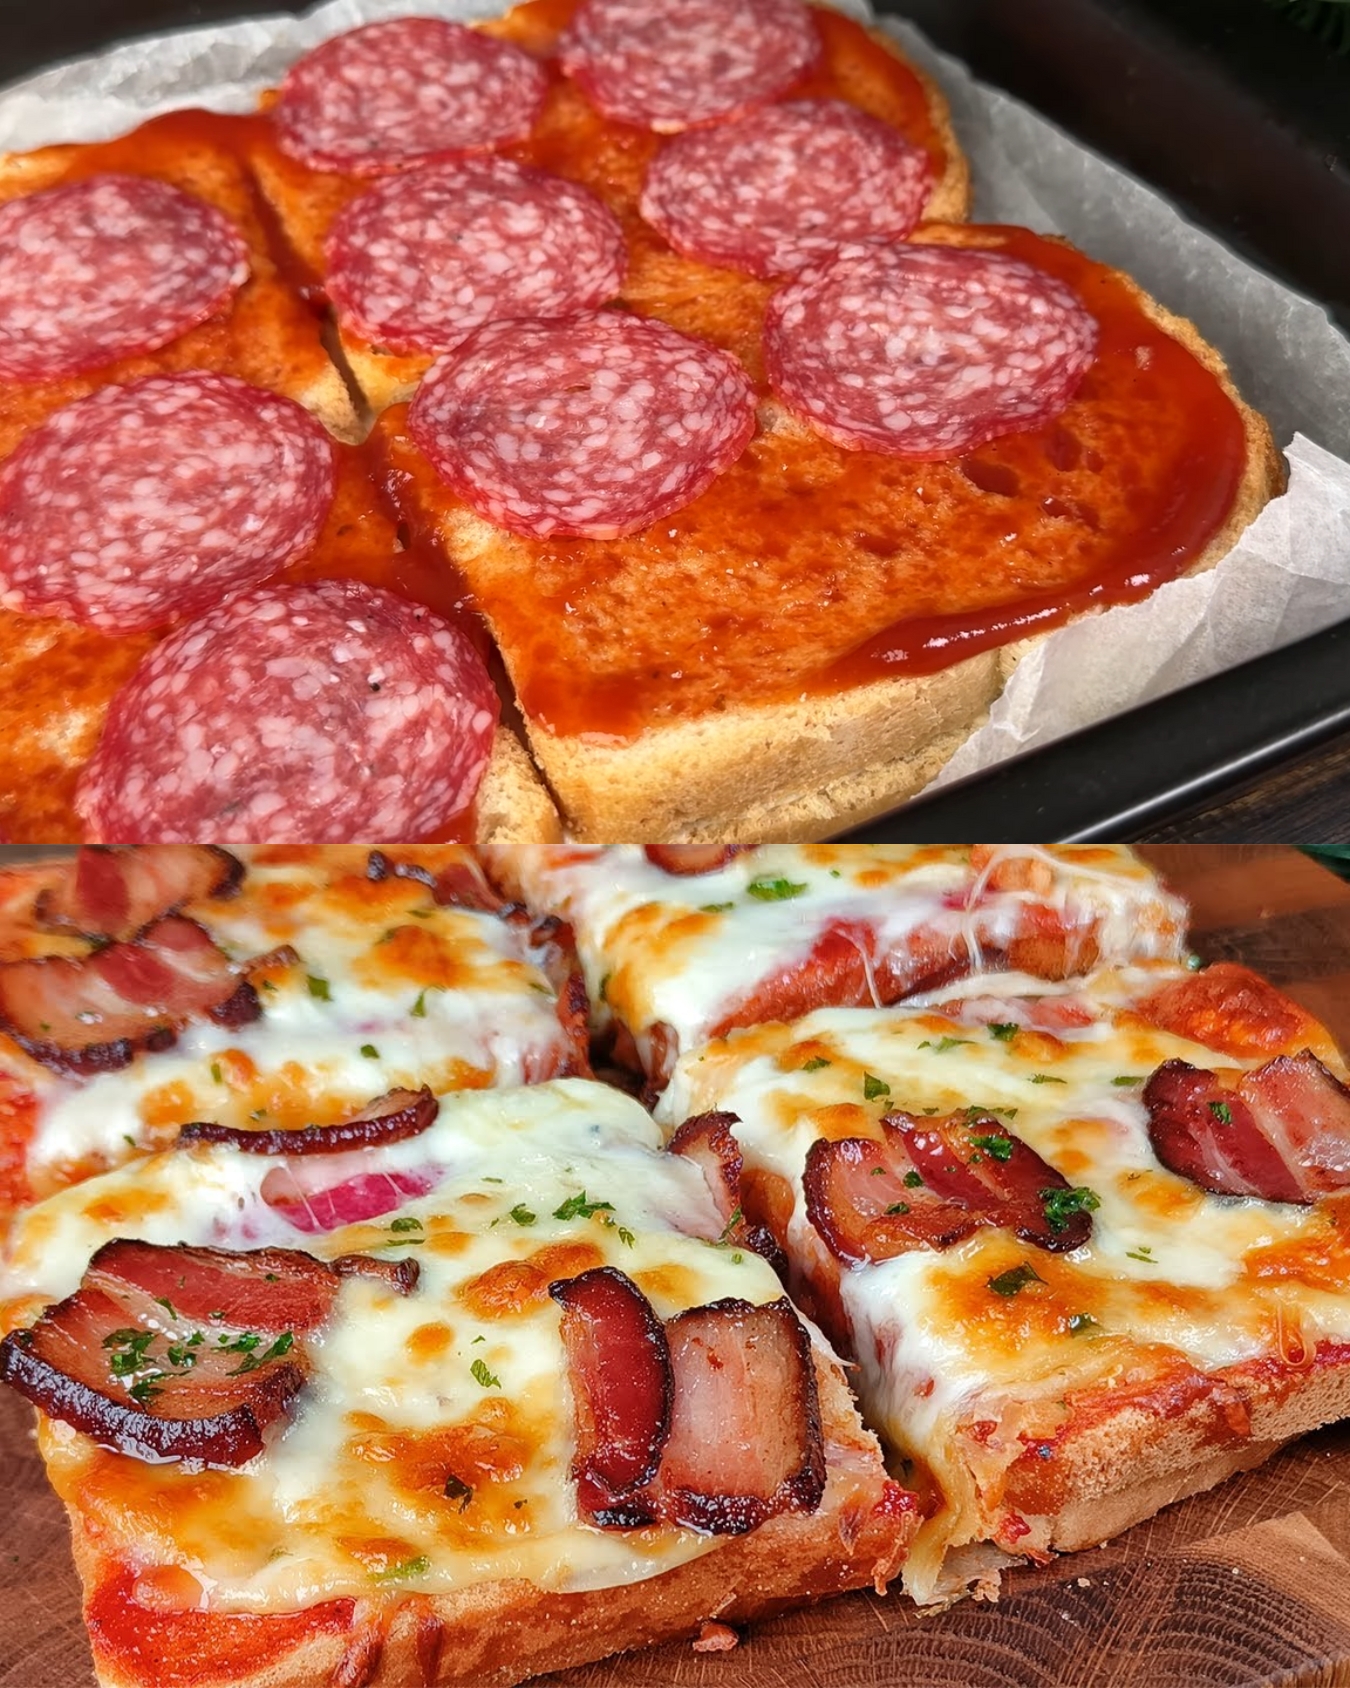
These Ultimate Baked Sandwich Stacks are a flavorful and indulgent twist on traditional grilled cheese and meat sandwiches. With layers of crispy bread, savory ham, bacon, smoked sausages, and melted cheese, each stack delivers gooey, golden perfection. Perfect for quick dinners, hearty breakfasts, or crowd-pleasing party snacks, this recipe features four mouthwatering variations that are easy to prepare and incredibly satisfying.
Total Time
-
Preparation Time: 20 minutes
-
Cooking Time (Frying + Baking): 25 minutes
-
Total Time: 45 minutes
Yield: 4–6 servings (depending on stack size)
Cuisine: European-inspired comfort food
Ingredients (for all variations)
Base Ingredients:
-
20 slices of sandwich bread
-
Mayonnaise
-
Ketchup
-
Cream cheese
-
Fresh parsley, chopped (for garnish)
Filling Options (Per Variation):
Variation 1: Ham & Bacon Melt
-
150 g (5.3 oz) ham, thinly sliced
-
100 g (3.5 oz) bacon, chopped
-
100 g (3.5 oz) cheese, shredded (cheddar or mozzarella)
Variation 2: Cheese, Tomato & Cream Cheese
-
8 slices of cheese (e.g., cheddar, gouda)
-
½ fresh tomato, thinly sliced
-
Cream cheese for spreading
Variation 3: Hunting Sausage & Cheese Stack
-
120 g (4.2 oz) smoked hunting sausages, sliced
-
100 g (3.5 oz) bacon, chopped
-
100 g (3.5 oz) cheese, shredded
Variation 4: Salami Bacon Deluxe
-
120 g (4.2 oz) bacon
-
100 g (3.5 oz) cheese
-
Salami sausage, sliced
Instructions
1. Prepare the Bread Base
-
Lightly spread mayonnaise or cream cheese on the first slice of each sandwich.
-
Optionally, spread ketchup on the top side before adding toppings.
2. Assemble Sandwich Layers (Per Variation)
Ham & Bacon Melt:
-
Place a layer of ham, sprinkle cooked bacon, and top with shredded cheese.
-
Cover with another slice of bread.
Cheese, Tomato & Cream Cheese:
-
Spread cream cheese, layer with cheese slices, and add thin tomato slices.
-
Top with another slice of bread.
Hunting Sausage & Cheese Stack:
-
Layer smoked sausage slices, cooked bacon, and shredded cheese.
-
Finish with a second slice of bread.
Salami Bacon Deluxe:
-
Spread ketchup and layer with sliced salami, bacon, and cheese.
-
Cover with a slice of bread.
3. Fry for Crispiness
-
In a non-stick pan, lightly fry each sandwich on both sides until golden brown (2–3 minutes per side).
-
This helps crisp the bread before baking.
4. Bake for Melty Perfection
-
Preheat oven to 180°C (350°F).
-
Place fried sandwiches on a parchment-lined baking tray.
-
Bake for 15 minutes until cheese is melted and sandwiches are hot throughout.
5. Garnish and Serve
-
Slice sandwiches in halves or quarters.
-
Sprinkle with chopped parsley.
-
Serve warm with dips like ketchup, mustard, or aioli.
Serving Suggestions
-
Serve with crispy fries or potato wedges.
-
Pair with tomato soup or a green salad.
-
Add a fried egg on top for a brunch twist.
-
Great for game day, casual lunches, or kid-friendly dinners.
Cooking Tips
-
Use a combination of cheeses for better melt and flavor.
-
Lightly butter the outer bread slices for a deeper golden color.
-
Don’t overcrowd the pan when frying.
-
Let baked sandwiches rest for 2–3 minutes before cutting to avoid cheese spillage.
Nutritional Benefits (per sandwich, average)
-
Protein-Packed: Meat, eggs, and cheese provide ample protein.
-
Calcium: Cheese and milk-based products offer bone-supporting nutrients.
-
Customizable: Add veggies like spinach or arugula for a fresh boost.
Dietary Information
Advertisement
-
Contains gluten, dairy, and meat.
-
Vegetarian Option: Omit meat and double the cheese with tomato or sautéed mushrooms.
-
Not keto-friendly, but can be modified using low-carb bread.
Nutritional Facts (Approx. Per Sandwich)
-
Calories: ~450 kcal
-
Protein: ~22 g
-
Carbs: ~30 g
-
Fat: ~28 g
-
Fiber: 2 g
Storage
-
Refrigerate: Store in an airtight container for up to 2 days.
-
Reheat: Warm in a skillet or oven to re-crisp bread.
-
Freezer: Not recommended for best texture.
Why You’ll Love This Recipe
-
Quick and Flexible: Endless filling combinations with pantry staples.
-
Perfect for Sharing: Ideal for gatherings or lunchboxes.
-
Crispy and Melty: Irresistible textures with minimal effort.
-
Great for Leftovers: Use up deli meats, cheeses, or sauces.
Conclusion
These Baked Sandwich Stacks offer the ultimate in cheesy, savory, crispy comfort food. Whether you’re making just one variation or all four, they’re easy to prepare, highly customizable, and guaranteed to satisfy. Fry, bake, and devour—this is a sandwich experience elevated to perfection.
Frequently Asked Questions (FAQs)
-
Can I use different bread types?
Yes, whole wheat, rye, or sourdough also work well. -
Can I skip frying and bake only?
Yes, but frying gives extra crunch. Toasting beforehand is an alternative. -
How can I make these vegetarian?
Omit meats and fill with sautéed mushrooms, spinach, or roasted veggies. -
Can I use vegan cheese and mayo?
Absolutely. Use plant-based alternatives for a vegan-friendly version. -
What’s the best cheese for melting?
Mozzarella, gouda, cheddar, and Swiss all melt beautifully. -
Can I prep these ahead of time?
Yes. Assemble and refrigerate, then fry and bake when ready. -
How do I keep them warm for guests?
Keep sandwiches in a 90°C (200°F) oven loosely covered with foil. -
Can I add eggs inside?
Yes! Scrambled or fried eggs add richness and breakfast appeal. -
What sauces go best with these sandwiches?
Ketchup, garlic aioli, mustard, ranch, or spicy mayo. -
Are these good cold?
Best enjoyed warm, but leftovers can be eaten cold or reheated.

