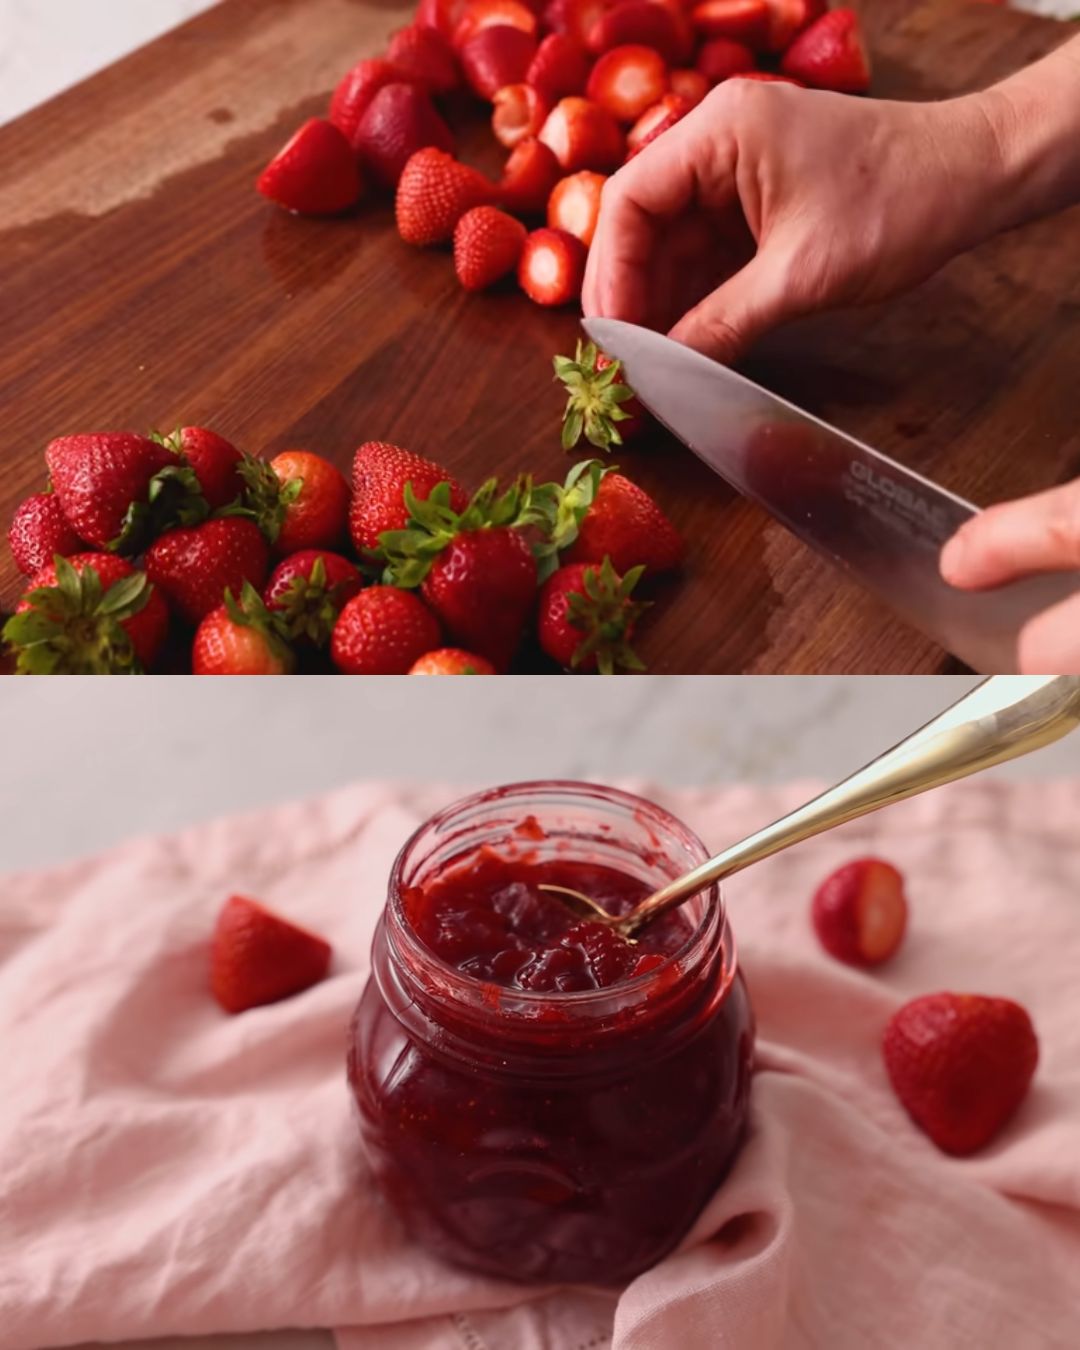
There’s nothing quite like the taste of homemade strawberry jam. The sweet, fragrant strawberries transformed into a luscious, spreadable jam bring a touch of summer to your kitchen year-round. Whether you’re a novice in the kitchen or a seasoned cook, this strawberry jam recipe is straightforward and rewarding.
Full Recipe:
Ingredients You’ll Need
To make this delicious strawberry jam, gather the following ingredients:
- 2 lbs strawberries (900g), halved
- 1¼ cup granulated sugar (250g)
- 2 tbsp lemon juice (30mL)
Step-by-Step Directions
Prepare the Strawberries
- Wash and Hull: Start by washing the strawberries thoroughly. Hull the strawberries by removing the green tops and any white core. Roughly chop the strawberries into smaller pieces to help them cook down more evenly.
Cook the Jam
- Combine Ingredients: Add the chopped strawberries, granulated sugar, and lemon juice to a large pot. The lemon juice not only adds a tangy flavor but also helps the jam set.
- Heat the Mixture: Place the pot over medium-high heat. Stir frequently to prevent the mixture from sticking to the bottom of the pot.
- Bring to a Boil: Stirring frequently, bring the berries to a boil. Once boiling, reduce the heat to medium-low to keep the mixture at a simmer. Be cautious, as boiling too hard can cause the mixture to overflow. Adjust the heat as needed to maintain a gentle simmer.
- Simmer the Jam: Let the jam simmer for about 45 minutes. Stir frequently to prevent sticking and burning. The jam will thicken and become syrupy. For accuracy, use a candy thermometer to ensure the jam reaches 220°F (104°C).
Test the Jam
- Check Consistency: To test if the jam is ready, place a small drop of jam on a frozen plate. Return the plate to the freezer for a few minutes. If the jam thickens to your liking, it’s ready. If not, continue simmering until the desired consistency is achieved.
Store the Jam
- Pour into Jars: Once the jam is ready, pour it into a sterilized mason jar. Let the jam cool slightly before sealing.
- Chill Overnight: Chill the jam in the refrigerator overnight to allow it to set fully.
Serve and Enjoy
- Serve: Enjoy your homemade strawberry jam on French bread, scones, or any of your favorite baked goods.
Kitchen Equipment Needed
To make this strawberry jam, you’ll need the following kitchen equipment:
- Large pot
- Stirring spoon (preferably non-metal)
- Candy thermometer
- Potato masher (optional, for breaking down fruit)
- Food processor (optional, for smoother jam)
- Mason jars (sterilized)
Storing Leftovers
Homemade strawberry jam can be stored in the refrigerator for up to three weeks. For longer storage, consider canning the jam using a water bath method, which allows it to be kept in a cool, dark place for up to a year.
Recipe Variations and Tips
- Choose Quality Strawberries: The flavor of your jam will largely depend on the quality of strawberries you use. Opt for red, fragrant strawberries that are ripe but not molded. Overripe berries that are too soft to eat fresh are perfect for jam.
- Add Flavor Variations: Enhance your jam with additional flavors. Add lemon zest for extra citrusy notes, or a sprinkle of freshly chopped herbs like basil, mint, or thyme just before the jam is ready. A dash of rose water can add a delicate floral hint.
- Stir Frequently: Stirring prevents the jam from burning and sticking to the pot. Use a long-handled spoon to avoid splattering hot jam.
- Break Down Fruit Pieces: For a smoother texture, use a potato masher to break down larger strawberry pieces during cooking. Alternatively, pulse the fresh berries in a food processor before cooking.
- Sterilize Jars: Sterilize your jars to prevent bacterial growth and extend the jam’s shelf life. Use the sterilize function on your dishwasher or boil the jars and lids in water for 15 minutes.
Frequently Asked Questions (FAQ)
Can I use frozen strawberries for this recipe?
Yes, you can use frozen strawberries. Thaw them first and drain any excess liquid before using them in the recipe.
How long does homemade strawberry jam last?
When stored in a sterilized jar in the refrigerator, homemade strawberry jam can last up to three weeks. If properly canned, it can last up to a year in a cool, dark place.
What if my jam doesn’t set?
If your jam doesn’t set, you can return it to the pot and simmer for a bit longer. Adding a bit more lemon juice can also help the jam to set.
Can I reduce the amount of sugar in this recipe?
While you can reduce the sugar, it may affect the jam’s set and shelf life. Sugar acts as a preservative and helps the jam to thicken.
Advertisement
How do I sterilize jam jars?
To sterilize jam jars, you can use the sterilize function on your dishwasher or boil the jars and lids in water for 15 minutes. Sterilizing helps prevent bacterial growth and extends the shelf life of your jam.
Conclusion
Making homemade strawberry jam is a delightful and rewarding process that brings out the best flavors of fresh strawberries. This simple recipe ensures that you have a delicious, versatile spread ready to enhance your breakfast or desserts. Try this recipe and savor the sweet, tangy taste of homemade strawberry jam!

