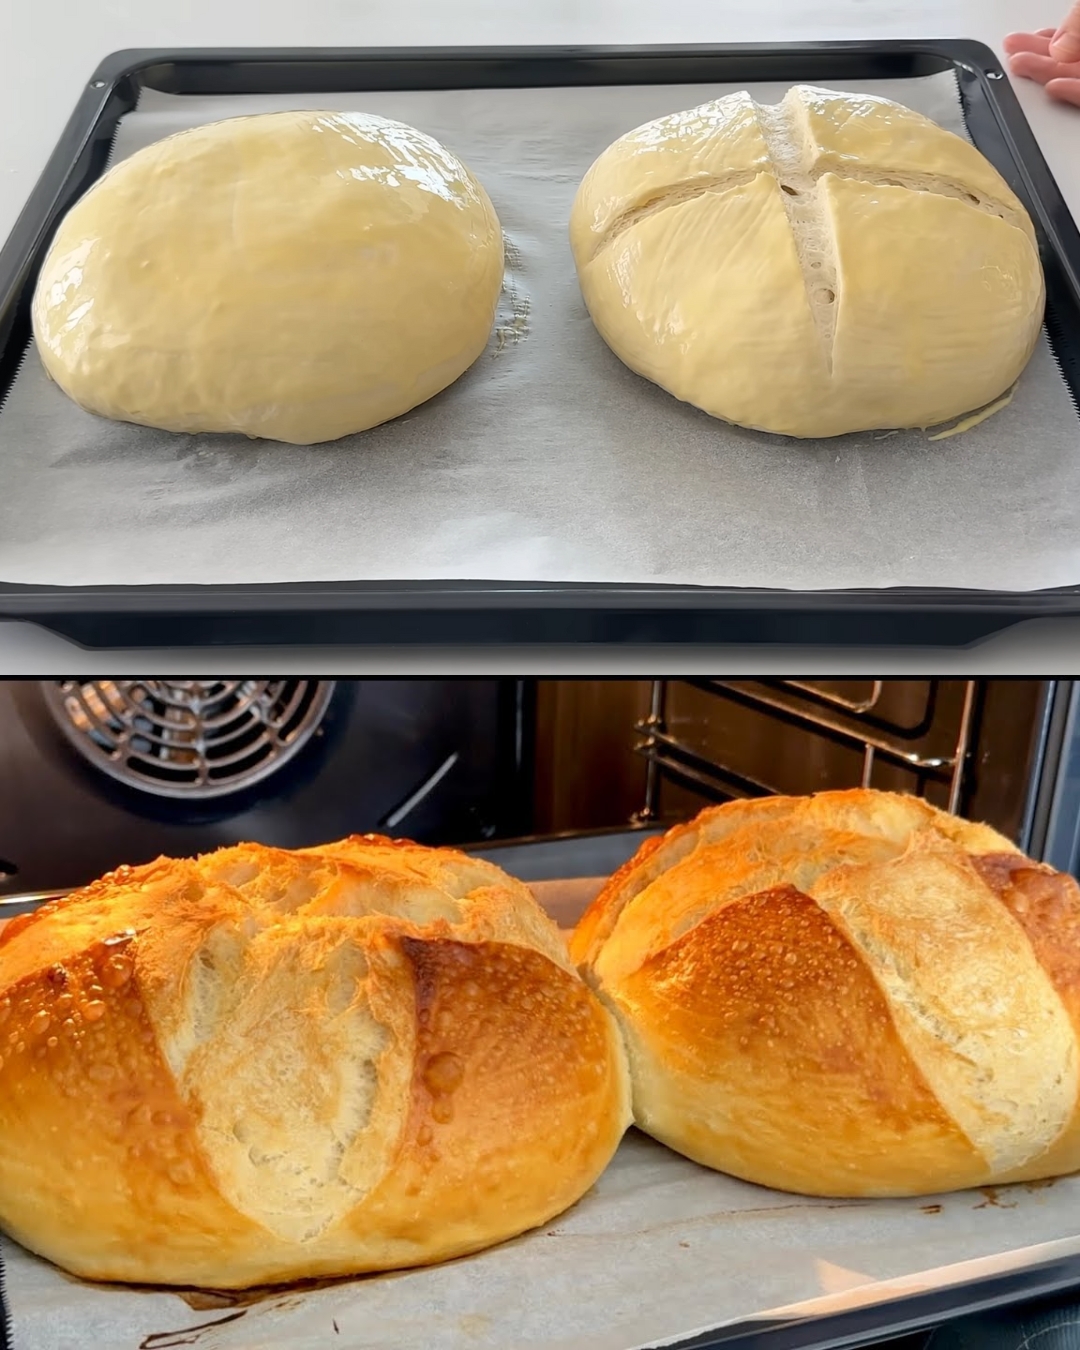
This homemade bread is simple to make and results in a crispy crust with a soft, airy interior. Whether you’re a beginner or an experienced baker, this recipe will give you delicious, fresh bread perfect for any meal. Enjoy the comforting aroma of warm, freshly baked bread filling your kitchen!
Preparation Time
- Prep Time: 15 minutes (plus 15 minutes resting)
- Cook Time: 25-30 minutes
- Total Time: About 1 hour 30 minutes (including rising time)
Ingredients (Cups and Grams)
- 10 grams (1 packet) dry yeast
- 200 ml (1 cup) warm water
- 720 grams (6 cups) all-purpose flour
- 120 grams (1 cup) flour (for initial mixing)
- 10 grams (1 teaspoon) salt
- 1 egg yolk (for brushing)
- 1 tablespoon milk (for brushing)
Directions
Step 1: Activate the Yeast
- In a bowl, dissolve 10 grams of dry yeast in 200 ml warm water. Stir until fully combined.
Step 2: Prepare the Initial Dough
- Add 120 grams of flour to the yeast mixture and stir until smooth.
- Cover and let it rest for 15 minutes.
Step 3: Mix and Knead the Dough
- Add 400 ml warm water to the yeast mixture.
- Gradually incorporate 720 grams of flour and 10 grams of salt while mixing.
- Knead the dough for 3-4 minutes until it is soft but slightly sticky.
Step 4: First Rise
- Cover the dough and let it rise for about 1-2 hours, or until doubled in size.
Step 5: Shaping the Dough
- Lightly knead the dough to remove air bubbles.
- Divide it into two equal portions and roll each into a ball.
- Let them rest for 10 minutes.
Step 6: Final Shaping
- Lightly flour your work surface.
- Stretch each dough ball slightly, then roll it inward to form a loaf shape.
Step 7: Final Rise and Bake
- Place the shaped dough on a lined baking tray.
- Cover and let it rise for another 20 minutes.
- Brush the tops with a mixture of egg yolk and 1 tablespoon milk.
- Bake in a preheated oven at 200°C (392°F) for 25-30 minutes, or until golden brown.
Serving Suggestions
- Breakfast: Serve warm with butter, honey, or jam.
- Lunch/Dinner: Use for sandwiches, soups, or stews.
- Snack: Toast and top with cheese, avocado, or nut butter.
Cooking Tips
- Use warm water, not hot, to properly activate the yeast.
- For a softer crust, cover the bread with a towel immediately after baking.
- To enhance the crust, place a dish of water in the oven while baking.
- Knead the dough well for a better texture.
Nutritional Benefits
- Rich in carbohydrates – great for energy.
- No preservatives or additives, unlike store-bought bread.
- Customizable – add seeds, herbs, or whole wheat flour for variety.
Dietary Information
- Vegetarian
- Dairy-Free (if skipping the egg wash)
- Vegan Option: Replace the egg wash with olive oil or plant-based milk.
Nutritional Facts (Per Slice – Approximate)
- Calories: 150
- Carbohydrates: 30g
- Protein: 5g
- Fat: 2g
Storage
- Room Temperature: Store in an airtight bag or container for up to 3 days.
- Refrigerator: Wrap in plastic wrap and store for up to 7 days.
- Freezer: Slice and freeze in a sealed bag for up to 3 months.
Why You’ll Love This Recipe
- Requires only simple pantry ingredients.
- Perfect for beginners or experienced bakers.
- Soft and fluffy inside, crispy outside.
- Customizable with herbs, cheese, or seeds.
Conclusion
Making homemade bread is easier than you think! With just a few ingredients and minimal effort, you can enjoy fresh, warm bread with a golden crust. This recipe is perfect for daily use, whether for breakfast, sandwiches, or alongside your favorite meals. Once you try it, you’ll never want store-bought bread again!
Frequently Asked Questions (FAQs)
- Can I use whole wheat flour instead of all-purpose flour?
- Yes, but the bread may be denser. Try using half whole wheat and half all-purpose flour for a balance of texture and flavor.
- Can I make this bread without yeast?
- This recipe requires yeast. However, you can try a quick bread version using baking powder or baking soda.
- What if my dough doesn’t rise?
- Make sure your yeast is fresh, and your water is warm (not hot). Let the dough rise in a warm, draft-free place.
- Can I make this recipe gluten-free?
- Yes! Use a gluten-free flour blend, but add 1 teaspoon of xanthan gum for better structure.
- How can I make the crust crispier?
- Bake with a pan of hot water in the oven, or spray the bread with water before baking.
- What’s the best way to reheat homemade bread?
- Wrap in foil and warm in the oven at 160°C (320°F) for 10 minutes. For toast, just reheat in a toaster.
- Can I add flavors to the dough?
- Yes! Try adding garlic powder, dried herbs, cheese, or seeds to the dough.
- Can I knead the dough by hand instead of using a mixer?
- Absolutely! Knead for 8-10 minutes by hand until smooth and elastic.
- Why do I need to let the dough rest?
- Resting allows gluten to relax, making the bread softer and easier to shape.
- Can I double this recipe?
- Yes! Just double all the ingredients and bake in two separate pans.
Enjoy your homemade bread, and happy baking! 🍞✨

