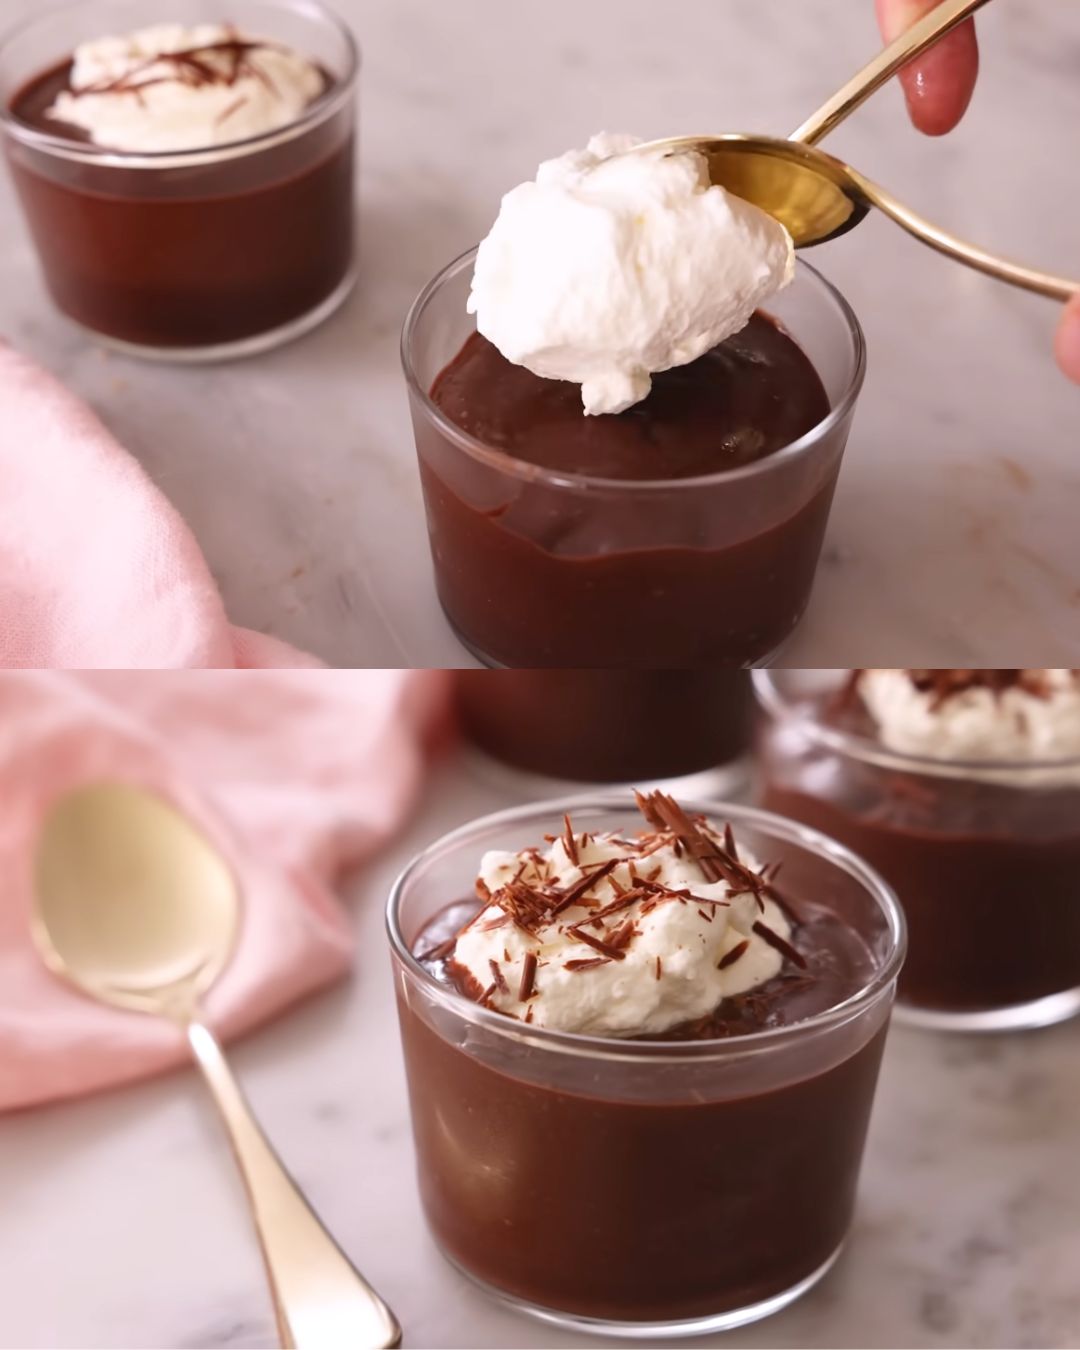
There’s something truly nostalgic and comforting about a bowl of homemade chocolate pudding. It brings back memories of childhood desserts, where a creamy, rich treat was always the highlight of the meal. This recipe takes the classic chocolate pudding and elevates it with deep cocoa flavor, silky texture, and the perfect balance of sweetness. Whether you’re making it for a special occasion or just because, this chocolate pudding is sure to become a favorite in your dessert repertoire.
Full Recipe:
Ingredients:
- 2¼ cups whole milk (540ml)
- ½ cup granulated sugar (100g)
- ⅓ cup unsweetened cocoa powder (33g)
- Pinch of salt
- 2 large egg yolks
- 2 tablespoons cornstarch
- 2 tablespoons unsalted butter, cubed
- 2 teaspoons vanilla extract
Instructions:
- Prepare the Chocolate Mixture:
- Begin by combining 2 cups of whole milk, granulated sugar, unsweetened cocoa powder, and a pinch of salt in a small saucepan. Whisk together until smooth and free of lumps, ensuring the cocoa powder is fully dissolved.
- Place the saucepan over medium heat, stirring frequently to prevent the mixture from sticking or burning. Heat until the mixture starts to steam and tiny bubbles appear around the edges, signaling that it’s close to simmering.
- Temper the Egg Yolks:
- While the chocolate mixture is heating, whisk together 2 large egg yolks, 2 tablespoons of cornstarch, and the remaining ¼ cup of milk in a large mixing bowl. This mixture will act as the thickening agent for your pudding.
- To prevent the eggs from scrambling, you’ll need to temper them. Gradually pour about a cup of the hot chocolate mixture into the egg yolk mixture, whisking continuously. This step slowly raises the temperature of the eggs, ensuring a smooth and lump-free pudding.
- Once tempered, pour the egg mixture back into the saucepan with the remaining chocolate mixture, whisking to combine.
- Cook the Pudding:
- Return the saucepan to medium heat and continue cooking the mixture, stirring constantly. As the mixture heats, it will thicken. This process usually takes about 3 minutes, during which you’ll notice the pudding becoming silky and rich.
- The pudding is ready when it begins to bubble and the whisk leaves visible trails in the mixture. For best results, the pudding should reach a temperature of approximately 170°F (77°C) on an instant-read thermometer.
- Finish and Chill:
- Remove the saucepan from heat and immediately stir in the cubed unsalted butter and vanilla extract. The butter adds richness and a glossy finish to the pudding, while the vanilla enhances the chocolate flavor.
- Pour the pudding into a large bowl and press a piece of plastic wrap directly onto its surface to prevent a skin from forming. Allow the pudding to cool to room temperature, then refrigerate for at least 3 hours, or until fully chilled.
- Serve:
- Before serving, stir the pudding to restore its creamy texture. Spoon it into individual serving dishes and, if desired, top with a dollop of whipped cream, a sprinkle of chocolate shavings, or fresh berries for an added touch of elegance.
Tips for Perfect Chocolate Pudding:
- Use high-quality ingredients: The flavor of your pudding heavily depends on the quality of the cocoa powder and vanilla extract. Opt for premium products to achieve the best taste.
- Avoid overcooking: Keep a close eye on the pudding as it cooks. Overcooking can cause it to become too thick or grainy. Stirring constantly helps ensure even cooking.
- Customize your pudding: This recipe is versatile and can be adapted to suit your preferences. Try adding a pinch of espresso powder for a mocha flavor, or stir in some finely chopped chocolate for a more intense chocolate experience.
Possible Questions:
- Can I make this pudding dairy-free?
- Yes, you can substitute the whole milk with almond milk, coconut milk, or another dairy-free alternative. The texture may be slightly different, but it will still be delicious.
- Can I reduce the sugar?
- If you prefer a less sweet dessert, you can reduce the sugar by a tablespoon or two. Keep in mind that this will also affect the sweetness of the final product.
- How long can I store the pudding?
- The pudding can be stored in the refrigerator for up to 4 days. Be sure to cover it with plastic wrap to prevent it from absorbing other odors in the fridge.
Nutrition Facts (Per Serving):
- Calories: 220 kcal
- Protein: 5g
- Fat: 9g
- Saturated Fat: 5g
- Carbohydrates: 32g
- Dietary Fiber: 1g
- Sugars: 26g
- Cholesterol: 90mg
- Sodium: 70mg
- Calcium: 130mg
- Iron: 1mg
Note: These nutritional values are approximate and can vary based on the specific brands and quantities of ingredients used.
Conclusion:
This homemade chocolate pudding is a true testament to the simplicity and joy of classic desserts. It’s rich, creamy, and indulgent—everything you could want in a chocolate treat. Making pudding from scratch not only gives you control over the ingredients but also allows you to create a dessert that’s far superior to any store-bought version.
Perfect for any occasion, this pudding can be dressed up with toppings or enjoyed as is. Whether you’re serving it at a dinner party, indulging in a late-night snack, or treating your family to a special dessert, this chocolate pudding is sure to impress.
With just a few simple steps and ingredients, you can create a luxurious dessert that’s both satisfying and comforting. So next time you’re craving something sweet, skip the instant pudding mix and treat yourself to the real deal. You’ll be rewarded with a dessert that’s rich in flavor, smooth in texture, and utterly delightful.

