Chocolate Layer Cake with Cream Cheese Filling and Chocolate Glaze

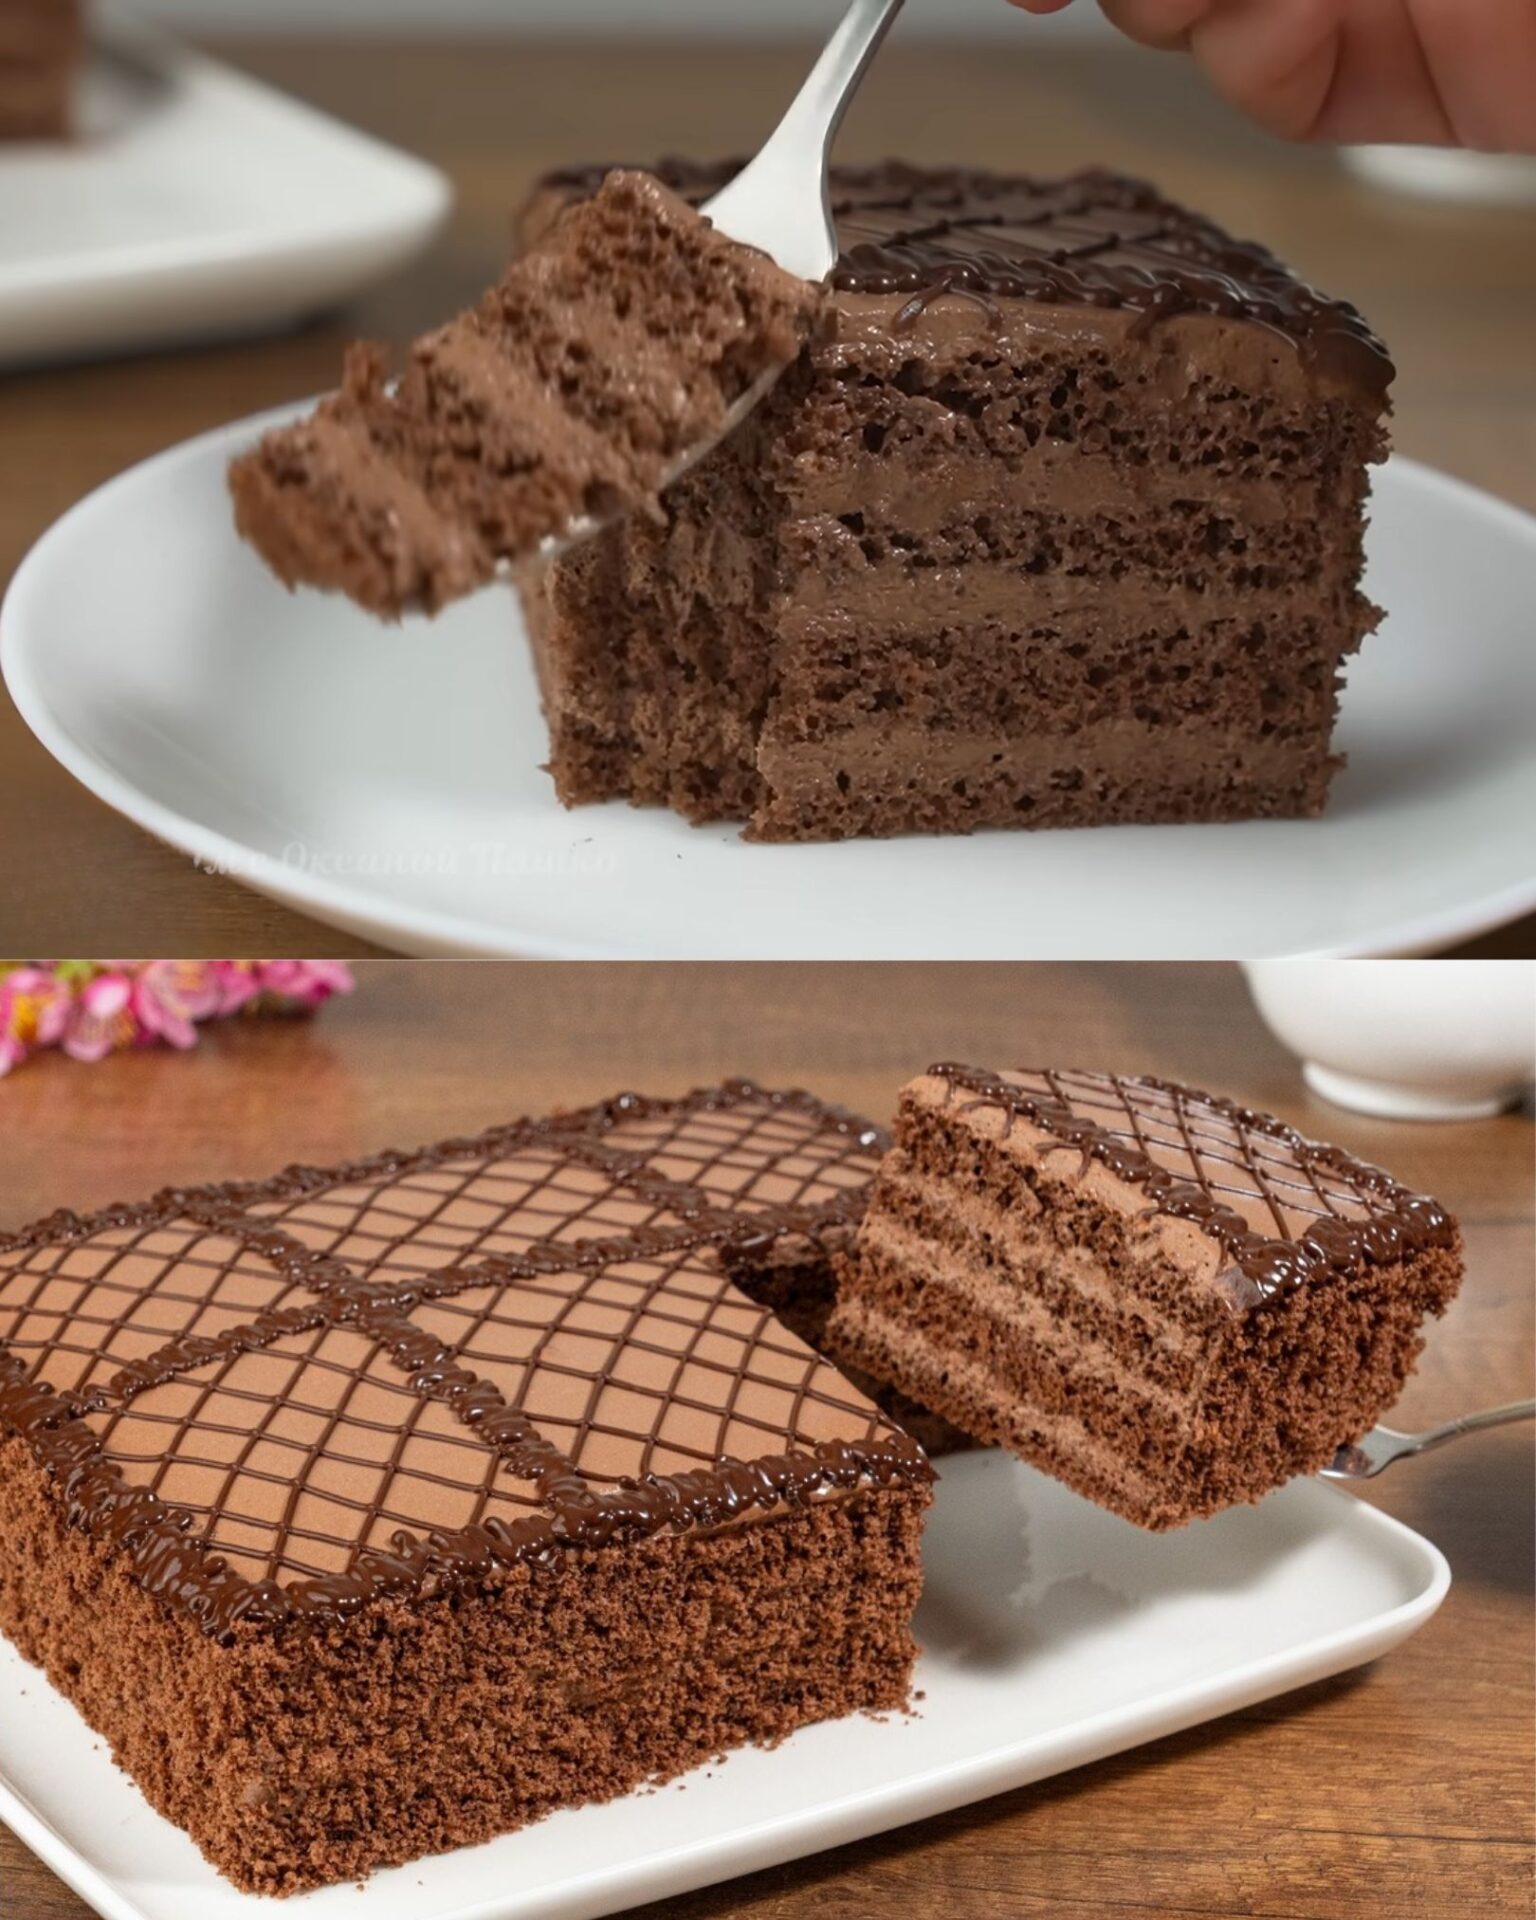
A chocolate layer cake is the ultimate symbol of celebration, indulgence, and comfort. Whether it’s a birthday, anniversary, or simply an occasion to treat yourself, few desserts rival the satisfaction of biting into a soft, spongy chocolate cake layered with creamy filling and topped with a glossy glaze. This Chocolate Layer Cake with Cream Cheese Filling and Chocolate Glaze is an elevated version of the classic dessert, combining the richness of cocoa with the tanginess of sour cream and cream cheese, all enveloped in a luscious chocolate topping.

The cake’s foundation is a light and airy cocoa biscuit, perfect for absorbing the creamy layers without becoming dense. The cream filling balances sweetness and tang, making every bite indulgent yet refreshing. Finally, the glaze adds an elegant, glossy finish, ensuring this cake is as stunning as it is delicious.

Whether you’re an experienced baker or a novice looking to create something impressive, this recipe is designed with clear steps to ensure success. Each component—the biscuit, cream, and glaze—comes together seamlessly to create a dessert that’s timeless, versatile, and absolutely unforgettable.

Full Recipe:

Ingredients

For the Biscuit:

  • 6 eggs
  • 125 g sugar (about 2/3 cup)
  • 100 g flour (about 3/4 cup)
  • 20 g cocoa powder (about 2 tbsp)
  • A pinch of salt

For the Cream:

  • 350 g sour cream (20% fat, about 1 1/2 cups)
  • 150 g sugar (about 3/4 cup)
  • 250 g cream cheese or cottage cheese (about 1 cup)
  • 1 tbsp cocoa powder

For the Glaze:

  • 40 g dark chocolate (about 1.5 oz)
  • 50 ml hot milk (about 1/4 cup)

Prep Time, Baking Time, and Total Time

  • Prep Time: 30 minutes
  • Baking Time: 25 minutes
  • Assembly and Cooling Time: 1 hour
  • Total Time: Approximately 1 hour and 55 minutes

Servings

This recipe yields 8-10 servings, making it ideal for gatherings or family desserts.

Step-by-Step Instructions

Step 1: Prepare the Biscuit

  1. Preheat your oven to 180°C (350°F) and line a round 9-inch baking pan with parchment paper.
  2. Separate the egg yolks from the whites.
  3. In a large bowl, whisk the egg yolks with half the sugar until pale and creamy.
  4. In another bowl, beat the egg whites with a pinch of salt until soft peaks form. Gradually add the remaining sugar, beating until stiff peaks are achieved.
  5. Gently fold the egg whites into the yolk mixture using a spatula. Take care to preserve as much air as possible.
  6. Sift together the flour and cocoa powder, then gradually fold this mixture into the eggs.
  7. Pour the batter into the prepared pan and bake for 20-25 minutes, or until a toothpick inserted in the center comes out clean.
  8. Allow the biscuit to cool completely before slicing it horizontally into two layers.

Step 2: Prepare the Cream

  1. In a medium bowl, combine the sour cream and sugar, mixing until smooth.
  2. Add the cream cheese or cottage cheese, blending thoroughly until no lumps remain. If you’re using cottage cheese, it’s best to blend the mixture with a food processor for a silky texture.
  3. Mix in the cocoa powder, ensuring it’s evenly incorporated. Refrigerate the cream while the biscuit cools.

Step 3: Prepare the Glaze

  1. In a small bowl, break the dark chocolate into pieces.
  2. Pour the hot milk over the chocolate, letting it sit for 1-2 minutes before stirring until smooth and glossy. Set aside to cool slightly.

Step 4: Assemble the Cake

  1. Place one biscuit layer on a serving plate. Spread half of the cream evenly over the layer.
  2. Place the second biscuit layer on top and spread the remaining cream evenly over the surface and sides of the cake.
  3. Pour the cooled glaze over the top of the cake, letting it drip down the sides for a dramatic effect. Use a spatula to smooth the glaze if necessary.

Step 5: Chill and Serve

  1. Refrigerate the assembled cake for at least 1 hour to allow the flavors to meld and the cream to set.
  2. Before serving, garnish with chocolate shavings, fresh berries, or a dusting of cocoa powder if desired.

Nutritional Information (Per Serving)

  • Calories: 320 kcal
  • Carbohydrates: 32 g
  • Protein: 8 g
  • Fat: 18 g
  • Fiber: 2 g
  • Sugar: 20 g

Note: Nutritional values are approximate and may vary depending on portion size and specific ingredients.

Why This Cake Is Timeless

Chocolate layer cakes have been cherished for decades because of their ability to adapt to various occasions and tastes. This particular recipe stands out because:

  1. Simple Yet Elegant: With minimal ingredients, it creates a sophisticated dessert that’s both homely and suitable for special occasions.
  2. Perfect Balance of Flavors: The combination of cocoa, sour cream, and cream cheese ensures the cake is rich without being overly sweet.
  3. Adaptability: You can customize this cake with different fillings, toppings, or decorations to suit any event.
  4. Universal Appeal: Chocolate is a universally loved flavor, making this cake a guaranteed crowd-pleaser.

FAQs

1. Can I use a different type of cheese for the cream?
Yes, mascarpone or ricotta can be used as substitutes for cream cheese. Cottage cheese works well when blended to a smooth consistency.

2. What if I don’t have dark chocolate for the glaze?
You can substitute dark chocolate with milk chocolate, but reduce the added sugar to maintain balance.

3. Can this cake be made ahead of time?
Absolutely! This cake tastes even better the next day as the flavors meld together. Store it in the refrigerator.

4. Can I freeze the cake?
Yes, you can freeze the unglazed cake. Wrap it tightly in plastic wrap and store it for up to 2 months. Thaw in the refrigerator before glazing.

Tips for Success

  • Sift Dry Ingredients: Sifting the flour and cocoa powder ensures a lump-free and airy batter.
  • Room Temperature Ingredients: Use room-temperature eggs and cream cheese for smoother mixing.
  • Don’t Overmix: Fold the ingredients gently to retain air, resulting in a light and fluffy sponge.
  • Chill Before Serving: Allow the cake to rest in the fridge for the best texture and flavor.

Storage Tips

  • Refrigerator: Store the cake in an airtight container in the fridge for up to 4 days.
  • Freezer: Freeze individual slices by wrapping them tightly in plastic wrap and storing them in a freezer-safe bag.

Conclusion

There’s something truly special about crafting a homemade chocolate layer cake. From whisking the eggs to watching the glaze drip down the sides, every step is a testament to the joy of baking. This Chocolate Layer Cake with Cream Cheese Filling and Chocolate Glaze is more than just a dessert—it’s a celebration of flavors, textures, and the art of creating something with love.

Whether it’s for a family gathering, a romantic dinner, or a casual tea party, this cake is a versatile choice that’s sure to impress. Its timeless appeal lies in its simplicity and adaptability, making it a recipe you’ll return to time and again. So gather your ingredients, preheat your oven, and let the magic of baking fill your home. There’s no greater reward than slicing into a cake you’ve made with your own hands and sharing it with the people you love.