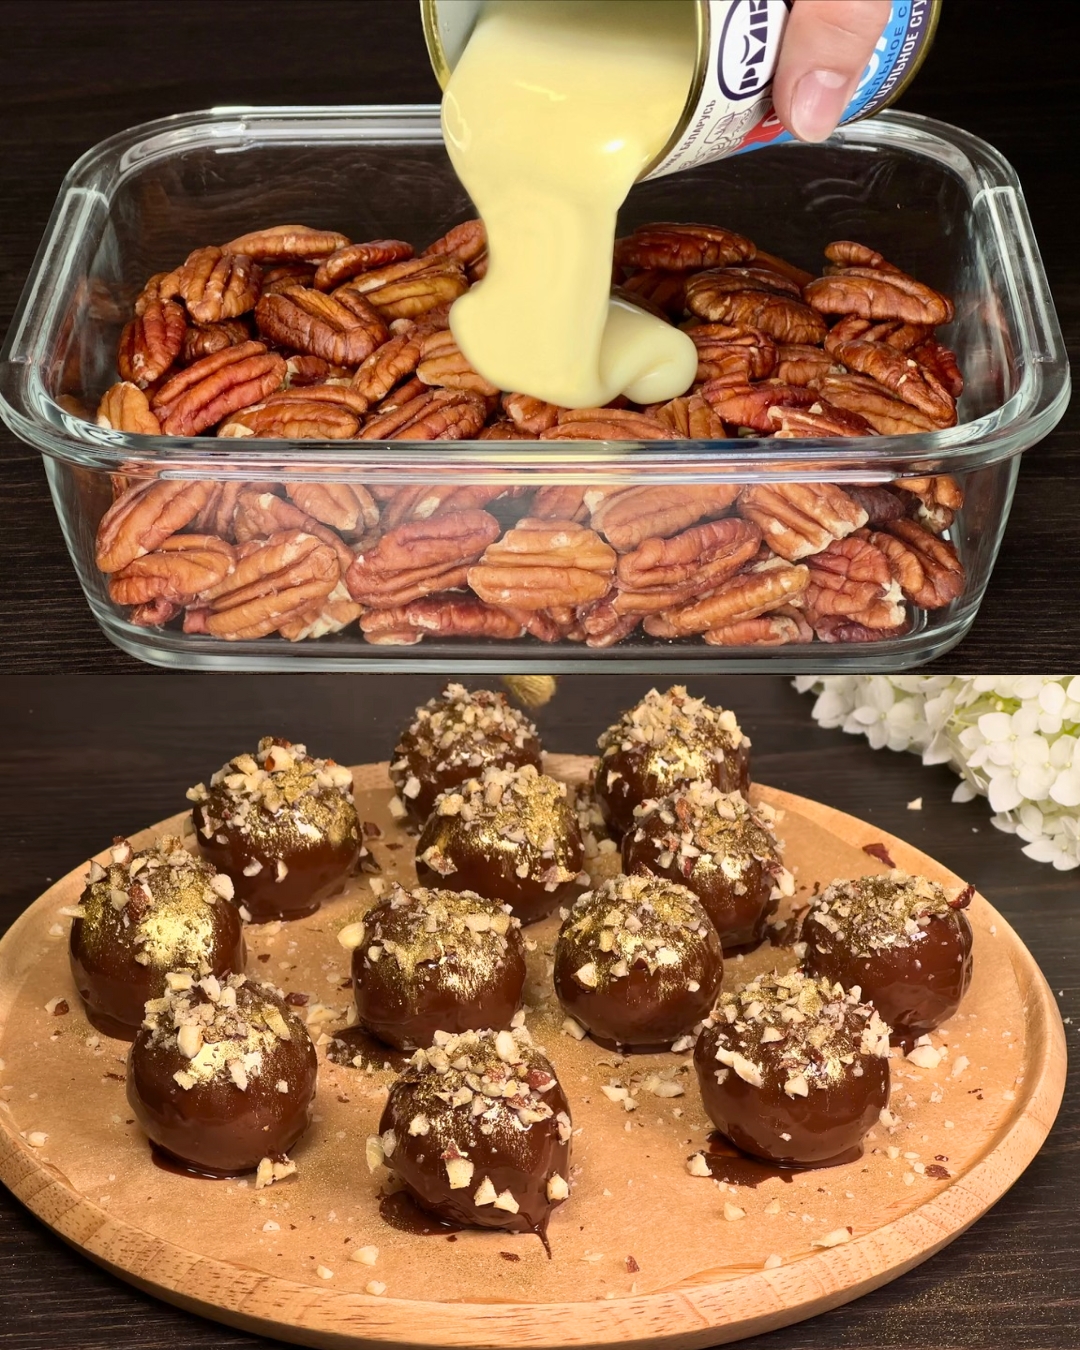
Indulge in this rich and delicious Chocolate Biscuit Cake with Roasted Peanuts. Perfect for satisfying your sweet tooth or impressing guests at any gathering, this no-bake treat combines simple ingredients to create a decadent dessert. Let’s dive into the details of crafting this delightful cake step by step.
Preparation Time
Preparation Time: 20 minutes
Cooling Time: 1 hour 30 minutes
Total Time: 1 hour 50 minutes
Ingredients:
- 300ml milk
- 120 grams sugar
- 10 grams vanilla sugar
- 60 grams cocoa powder
- 150 grams butter
- 400 grams biscuits
- 120 grams chocolate
- 30 ml vegetable oil
- 60 grams roasted peanuts
Directions:
1. Prepare the Chocolate Mixture:
- Heat Milk and Sugar:
- In a saucepan, combine 300ml of milk, 120 grams of sugar, 10 grams of vanilla sugar, and 60 grams of cocoa powder.
- Cook over medium heat until the mixture begins to boil, stirring constantly.
- Add Butter:
- Once boiling, remove from heat and add 150 grams of butter.
- Stir until the butter is completely melted and the mixture is smooth.
- Let the chocolate mixture cool down to room temperature.
2. Prepare the Biscuits:
- Crush Biscuits:
- Crush 400 grams of biscuits into fine crumbs using a food processor or by placing them in a ziplock bag and using a rolling pin.
- Combine Biscuits with Chocolate Mixture:
- In a large bowl, combine the crushed biscuits with the cooled chocolate mixture.
- Mix well until all the biscuit crumbs are evenly coated with the chocolate mixture.
3. Shape and Chill:
- Shape the Cake:
- Line a cake mold or a rectangular dish (approximately 27 x 14 cm) with parchment paper.
- Pour the biscuit and chocolate mixture into the mold and press it down firmly to form an even layer.
- Chill:
- Place the mold in the refrigerator and chill for 1 hour to set.
4. Prepare the Chocolate Topping:
- Melt Chocolate:
- In a double boiler or microwave, melt 120 grams of chocolate with 30 ml of vegetable oil until smooth.
- Add Roasted Peanuts:
- Stir in 60 grams of roasted peanuts into the melted chocolate mixture.
5. Final Assembly:
- Top the Cake:
- Remove the chilled cake from the refrigerator and pour the melted chocolate and peanut mixture over the top, spreading it evenly.
- Chill Again:
- Place the cake back in the refrigerator and chill for an additional 30 minutes or until the chocolate topping is set.
6. Serve:
- Slice and Serve:
- Once set, remove the cake from the mold, slice, and serve.
- Enjoy this rich and decadent treat!
Serving Suggestions:
- Serve chilled for the best texture and flavor.
- Pair with a scoop of vanilla ice cream or a dollop of whipped cream.
Cooking Tips:
- Ensure the chocolate mixture is completely cool before mixing with the biscuits to avoid soggy crumbs.
- Use high-quality chocolate for a richer flavor.
- For extra crunch, you can add more roasted peanuts or other nuts of your choice.
Nutritional Benefits:
- Provides a good source of energy from the carbohydrates in the biscuits.
- Contains antioxidants from the cocoa powder.
- Roasted peanuts add protein and healthy fats.
Dietary Information:
- Contains dairy and gluten; not suitable for those with allergies to these ingredients.
- Can be made gluten-free by using gluten-free biscuits.
Storage:
- Store leftovers in an airtight container in the refrigerator for up to 5 days.
- Can be frozen for up to 1 month; thaw in the refrigerator before serving.
Why You’ll Love This Recipe:
- No-Bake: Easy to prepare without the need for an oven.
- Rich and Decadent: Combines chocolate, biscuits, and peanuts for a deliciously indulgent treat.
- Perfect for Gatherings: An impressive dessert that’s sure to be a hit with guests.
Conclusion:
Enjoy this delightful Chocolate Biscuit Cake with Roasted Peanuts as a perfect treat for any occasion. Its rich flavors and easy preparation make it a favorite for both kids and adults. Share the joy and deliciousness with your loved ones, and don’t forget to leave a comment about how much you enjoyed it. Happy baking!

