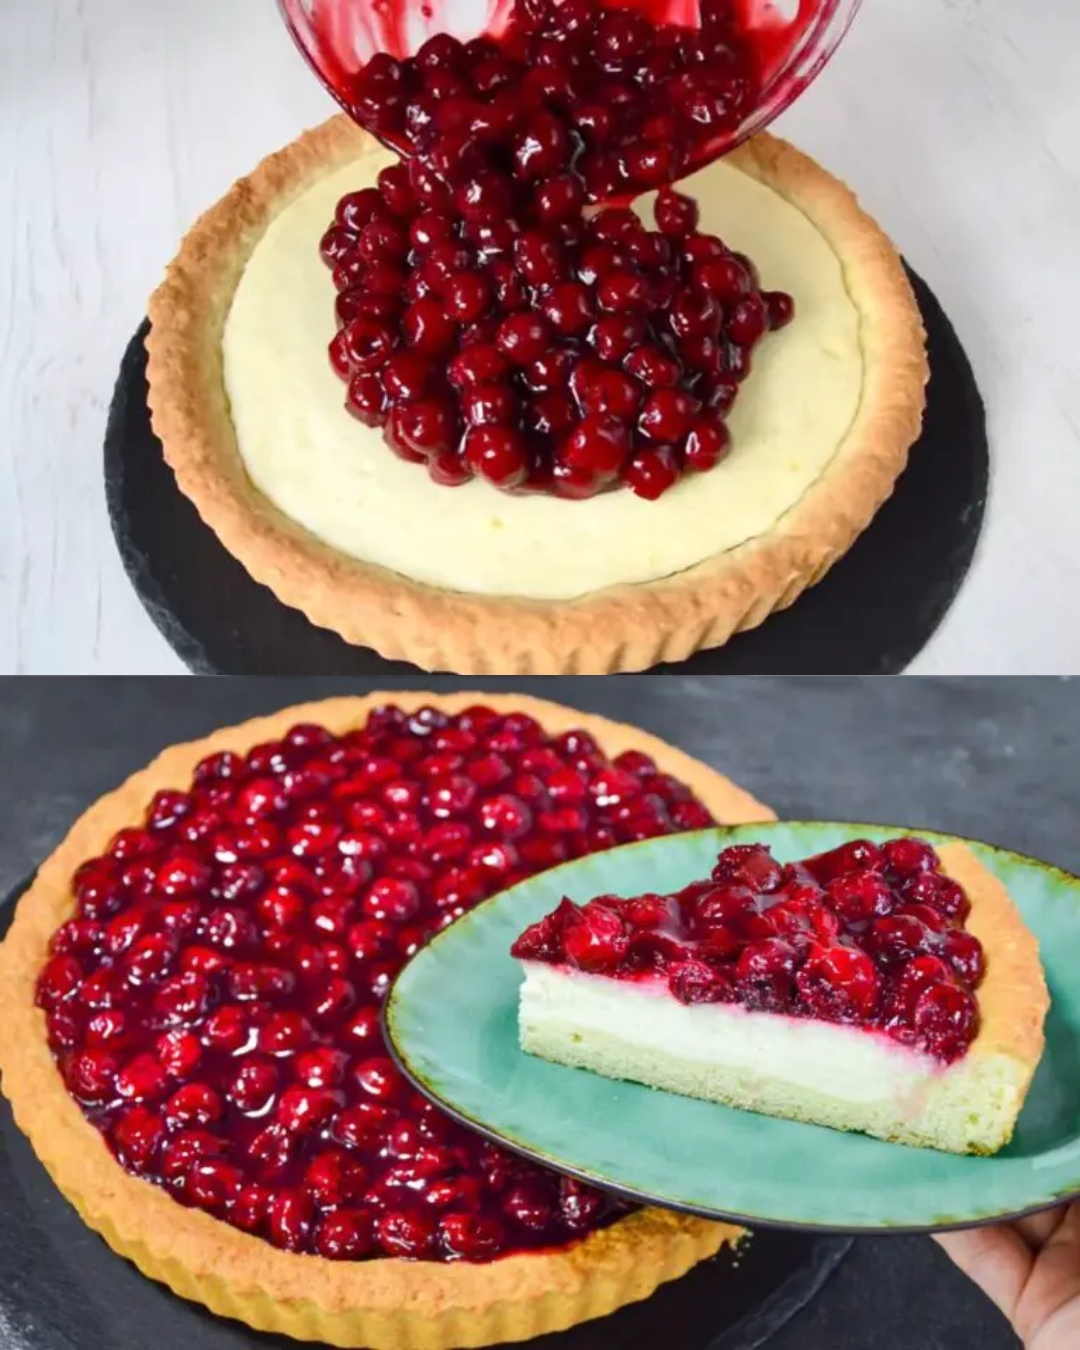
This Cherry Cheesecake combines a buttery base, creamy filling, and a marbled cherry topping for a show-stopping dessert that’s perfect for any occasion. Each slice bursts with tangy cherry flavor balanced by the smooth richness of cream cheese.
Preparation Time
- Prep Time: 30 minutes
- Cook Time: 60 minutes
- Cooling & Chilling Time: 4 hours
- Total Time: 5 hours 30 minutes
Ingredients
For the Base:
- 2 large eggs (about 1 cup or 100 g)
- 1/4 cup (60 g) sugar
- 1/4 teaspoon salt
- 2 cups (250 g) flour
- 1 teaspoon baking powder
- 7 tablespoons (100 g) butter, softened
For the Cheesecake Filling:
- 12.7 oz (360 g) cream cheese or cottage cheese
- 1/2 cup (150 g) sour cream or heavy cream
- 2/3 cup (140 g) sugar
- 2 large eggs
- 2 tablespoons (25 g) cornstarch
- 1 teaspoon vanilla extract
For the Cherry Filling:
- 14 oz (400 g) cherries, thawed if frozen
- 1/4 cup (60 g) sugar
- 1 tablespoon (12 g) cornstarch
- 1/4 cup (60 g) kirsch (or water/alcohol)
Directions
- Prepare the Base:
- In a large bowl, beat the eggs with sugar and salt until smooth.
- Gradually sift in flour and baking powder, then mix in the softened butter until dough forms.
- Press the dough into the base of a greased 8-9 inch springform pan. Chill while preparing the filling.
- Prepare the Cheesecake Filling:
- Beat cream cheese until smooth and creamy.
- Add sour cream and sugar, mixing until light and fluffy.
- Beat in eggs one at a time, then stir in cornstarch and vanilla extract.
- Prepare the Cherry Filling:
- In a saucepan, cook cherries with sugar until they release their juices (about 5-7 minutes).
- Dissolve cornstarch in kirsch, then stir into cherries and cook until thickened. Cool slightly.
- Assemble the Cheesecake:
- Preheat oven to 160°C (320°F).
- Pour cheesecake filling over the chilled base, then spoon cherry filling on top, swirling gently for a marbled effect.
- Bake:
- Bake for 50-60 minutes until the center is set but slightly jiggly.
- Cool and Serve:
- Let the cheesecake cool in the oven with the door slightly open for 15 minutes, then cool completely at room temperature.
- Refrigerate for at least 4 hours before serving.
Serving Suggestions
- Serve with whipped cream or fresh cherries for garnish.
- Drizzle melted chocolate over each slice for an elegant touch.
- Pair with a cup of coffee or tea for a delightful treat.
Cooking Tips
- Use room-temperature cream cheese for a smoother filling.
- If kirsch is unavailable, substitute with brandy, rum, or water.
- For added texture, bake the base for 10 minutes before adding the filling.
Nutritional Benefits
- Cherries: Packed with antioxidants and vitamins.
- Cream Cheese: A source of calcium and protein.
- Eggs: High in protein and essential nutrients.
Dietary Information
- Vegetarian: Yes
- Gluten-Free: Substitute all-purpose flour with gluten-free flour.
- Nut-Free: Ensure no cross-contamination in ingredients.
Storage
- Refrigerator: Store in an airtight container for up to 5 days.
- Freezer: Freeze individual slices for up to 2 months; thaw in the refrigerator before serving.
Why You’ll Love This Recipe
- Stunning marbled cherry topping adds visual appeal.
- Creamy texture with a perfect balance of sweetness and tanginess.
- Versatile dessert for celebrations or casual gatherings.
- Easy to make and can be prepared ahead of time.
Conclusion
This Cherry Cheesecake delivers a luxurious dessert experience, blending creamy cheesecake with a fruity cherry swirl. Its inviting appearance and delicious taste will make it the star of any dessert table. Share it with loved ones and create sweet memories together.
FAQs
- Can I use fresh cherries instead of frozen?
Yes, fresh cherries work perfectly; just pit them before cooking. - What can I substitute for kirsch?
Use brandy, rum, or even water as a substitute. - How do I prevent cracks in the cheesecake?
Cool the cheesecake in the oven with the door slightly open to avoid sudden temperature changes. - Can I make this gluten-free?
Yes, substitute the all-purpose flour with a gluten-free alternative. - How long should I chill the cheesecake before serving?
Chill for at least 4 hours, but overnight is ideal for best texture and flavor. - Can I make mini cheesecakes with this recipe?
Absolutely! Use a muffin tin with liners and adjust the baking time to about 20-25 minutes. - What if I don’t have a springform pan?
Use a deep pie dish, but slicing may be trickier. - Can I add other fruits to the topping?
Yes, a mix of berries or even sliced peaches can add a unique twist. - How do I store leftovers?
Refrigerate in an airtight container for up to 5 days or freeze for up to 2 months. - What’s the best way to cut the cheesecake?
Use a sharp knife dipped in hot water, wiping it clean between cuts for smooth slices.

