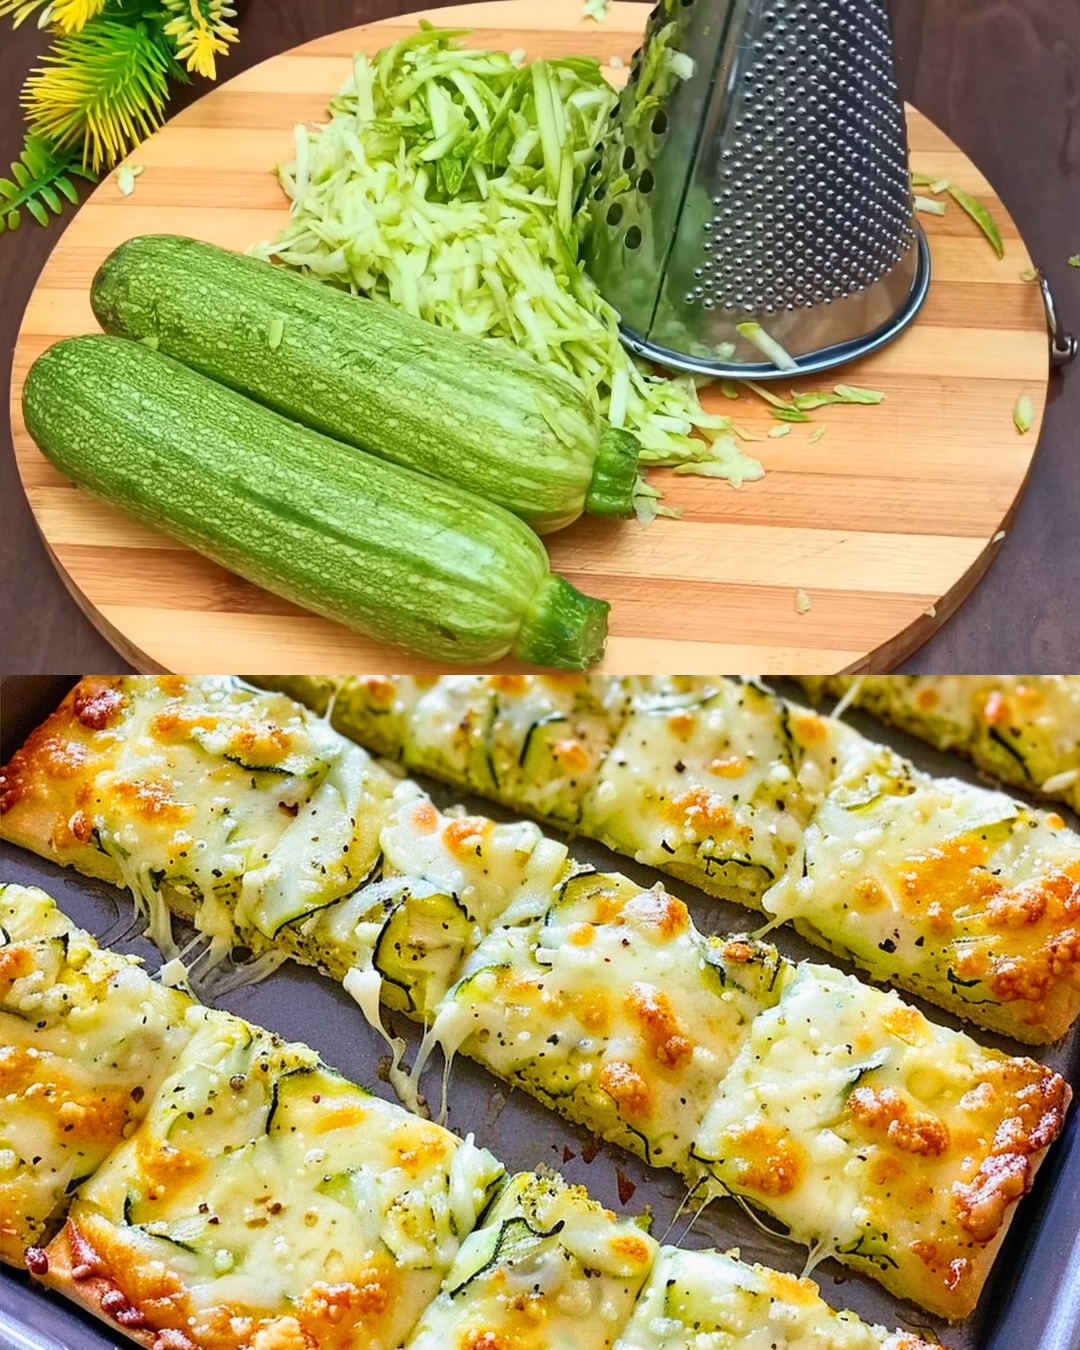
These Cheesy Zucchini Breadsticks are incredibly easy to make, requiring just a handful of ingredients and minimal prep time. Perfect for satisfying afternoon cravings, whipping up a quick appetizer, or packing in a lunchbox for a healthy on-the-go option, these breadsticks are naturally low-carb and gluten-free. They’re ideal for anyone following specific dietary restrictions but still wanting a flavorful, satisfying snack.
Preparation Time:
- Prep Time: 15 minutes
- Cook Time: 20 minutes
- Total Time: 35 minutes
Ingredients:
- 2 cups zucchini, shredded and firmly packed
- 1 large egg
- 1/4 cup almond flour
- 4 ounces mozzarella cheese, shredded (divided)
- 1/4 cup Parmesan cheese, shredded
- 1 teaspoon Italian seasoning
- 1/2 teaspoon salt
- 1/4 teaspoon white pepper, ground
- 1 tablespoon salted butter, melted
- 1 tablespoon parsley, finely chopped
Instructions:
1. Preheat for Perfection:
- Preheat your oven to 220°C (420°F). Line a baking sheet with parchment paper for easy cleanup and to prevent sticking.
2. Taming the Moisture:
- Using a clean kitchen towel or dishcloth, firmly squeeze the shredded zucchini to remove excess moisture. You’ll want about 1 cup of drained zucchini for the perfect consistency.
3. Mixing Up the Flavor:
- In a mixing bowl, combine the drained zucchini with the egg, half of the shredded mozzarella cheese, almond flour, Italian seasoning, salt, and white pepper. Mix everything well to ensure all the ingredients are evenly distributed.
4. Forming the Breadsticks:
- Spoon the zucchini mixture onto your prepared baking sheet. Using a spatula or the back of a spoon, gently press the mixture into a rectangle about 0.25 inches (6mm) thick. This creates the base for your delicious breadsticks.
5. Baking the Base:
- Place the baking sheet with the formed zucchini mixture into the preheated oven and bake for 15 minutes. Keep an eye on them – you want the edges to start turning golden brown.
6. Time for Cheese!:
- Remove the baking sheet from the oven and carefully flip the zucchini breadsticks over. Brush the tops of the breadsticks with the melted butter. Finally, sprinkle the remaining mozzarella cheese and Parmesan cheese on top.
7. Melty Perfection:
- Return the baking sheet to the oven and bake for an additional 5 minutes, or until the cheese is melted and bubbly. The golden brown cheese adds a delicious visual cue and irresistible flavor.
8. Fresh Touch:
- Once baked through, remove the breadsticks from the oven and let them cool slightly before serving. For a final flourish, sprinkle them with the finely chopped parsley.
9. Enjoy!:
- Serve your Cheesy Zucchini Breadsticks warm and enjoy a delicious and satisfying low-carb snack!
Serving Suggestions:
- Pair with marinara sauce or your favorite dip for added flavor.
- Serve as a side dish with soups, salads, or main courses.
Cooking Tips:
- Ensure the zucchini is well-drained to prevent the breadsticks from becoming too moist.
- Adjust seasoning according to your taste preference.
- Experiment with different herbs like basil or oregano for a unique flavor profile.
Nutritional Benefits:
- Zucchini: Low in calories, rich in vitamins C and A, and provides dietary fiber.
- Almond Flour: Adds protein and healthy fats while keeping the recipe gluten-free.
- Cheese: Offers calcium and protein, contributing to the satisfying texture and taste.
Dietary Information:
- Low-carb and gluten-free.
- Suitable for keto and vegetarian diets.
Nutritional Facts (Per Serving):
- Calories: 150 kcal
- Carbohydrates: 3g
- Protein: 8g
- Fat: 12g
- Fiber: 2g
Storage:
- Leftovers can be stored in an airtight container in the refrigerator for up to 2 days.
- Reheat gently in a pan over low heat until warmed through.
Why You’ll Love This Recipe:
- Healthy and Flavorful: These breadsticks are packed with nutrients and bursting with flavor.
- Quick and Easy: Minimal prep and cook time make this an ideal recipe for busy days.
- Versatile: Serve them as a snack, appetizer, or side dish to any meal.
- Low-Carb and Gluten-Free: Perfect for those following specific dietary restrictions.
Conclusion:
These Cheesy Zucchini Breadsticks are a testament to the fact that healthy eating can be flavorful and satisfying. With a crispy, cheesy crust and a tender zucchini base, they’re perfect for anyone looking to enjoy a delicious snack without compromising on health. So ditch the limitations and embrace the creative possibilities of zucchini!
10 Frequently Asked Questions:
- Can I use a different type of cheese?
Yes, feel free to experiment with different cheeses like cheddar, goat cheese, or even a feta crumble for a tangy twist. - How do I prevent the breadsticks from becoming soggy?
Make sure to thoroughly squeeze out the excess moisture from the zucchini before mixing it with other ingredients. - Can I freeze these breadsticks?
Yes, you can freeze them after baking. Reheat them in the oven until warm and crispy before serving. - What can I use instead of almond flour?
You can substitute almond flour with coconut flour or use all-purpose flour if gluten is not a concern. - Can I add garlic to the recipe?
Absolutely! Adding minced garlic or garlic powder to the mixture will give the breadsticks an extra layer of flavor. - How do I make these dairy-free?
Use dairy-free cheese alternatives and replace butter with a plant-based spread or oil. - Can I use frozen zucchini?
Yes, but make sure to thaw it completely and squeeze out all excess moisture before using. - How long do these breadsticks last?
They can be stored in the refrigerator for up to 2 days, but are best enjoyed fresh. - Can I double the recipe?
Yes, simply double the ingredients and follow the same steps to make a larger batch. - What dipping sauces go well with these breadsticks?
Marinara sauce, ranch dressing, or a garlic aioli are all great options for dipping.

