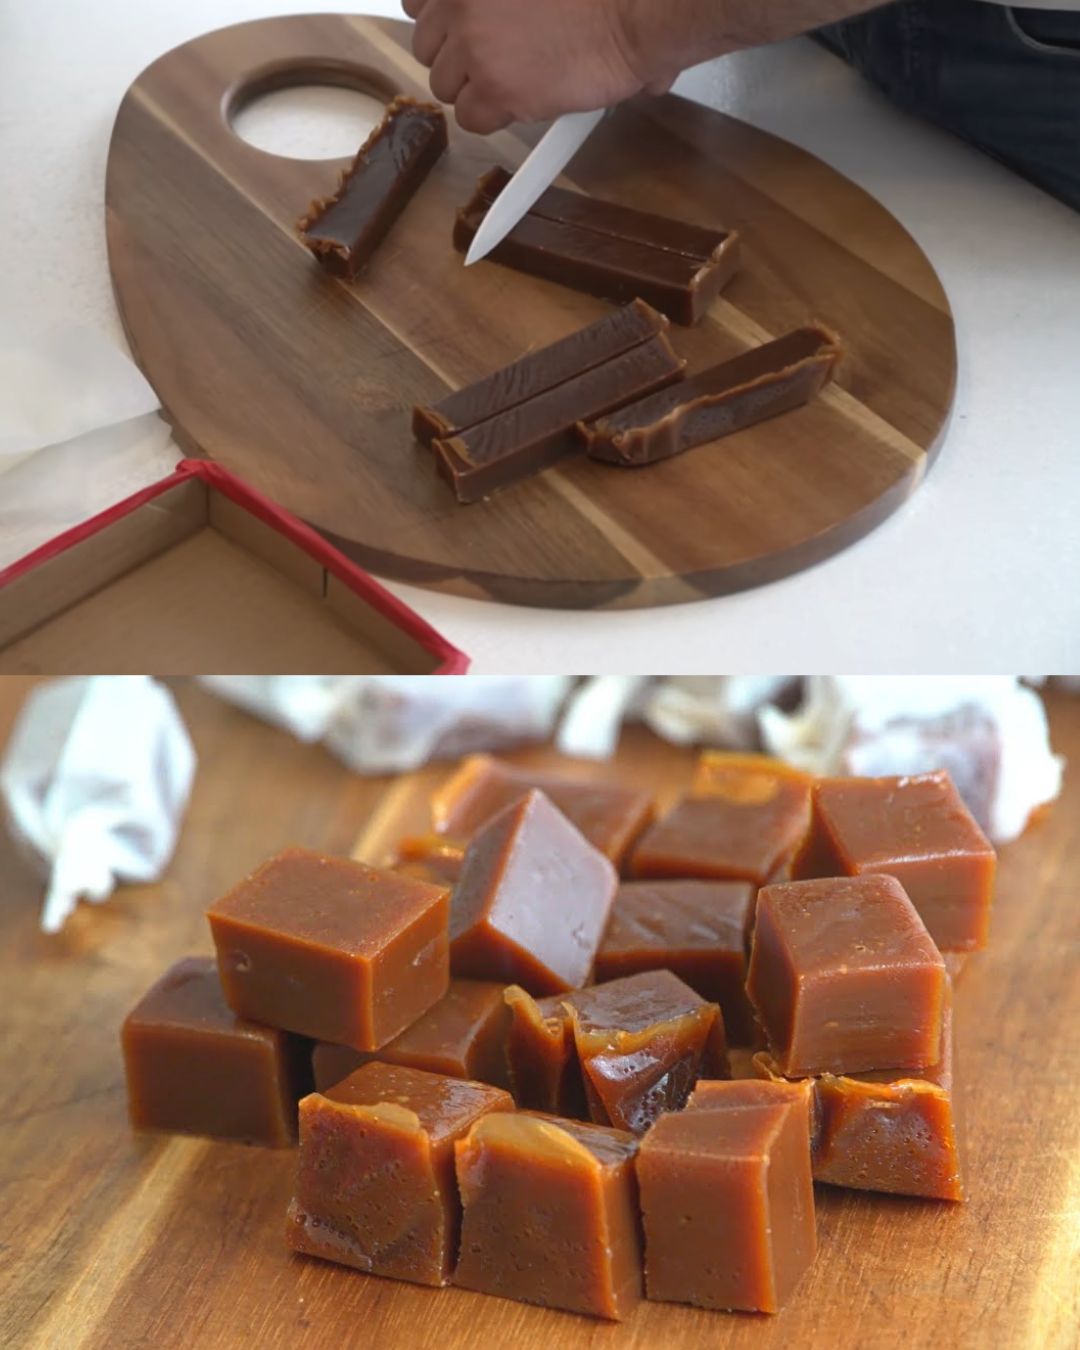
There’s something incredibly nostalgic and comforting about homemade caramel candies, especially when they’re made using Grandma’s tried-and-true recipe. These rich, buttery caramels are a classic treat that evokes fond memories of family gatherings and sweet indulgences. With just a few simple ingredients and some careful attention, you can create caramel candies that are delightfully creamy, perfectly sweet, and irresistibly smooth. This recipe is perfect for sharing with friends and family or enjoying as a special treat for yourself. Let’s dive into the process of making these delectable caramels.
Full Recipe:
Ingredients
- 250 grams of sugar (1 1/4 cups)
- 60 grams of butter (4 tablespoons, unsalted)
- 150 ml heavy cream (1/2 cup + 1 tablespoon)
Instructions
Step 1: Prepare Your Workspace
- Line a Pan:
- To make removal easier later, line an 8×8 inch (20×20 cm) baking dish with parchment paper. Ensure there is an overhang on the sides to lift the caramel out once it has cooled.
- Measure Ingredients:
- Gather and measure all your ingredients before starting. This helps in keeping the process smooth and prevents any mishaps while cooking.
Step 2: Cook the Sugar
- Heat the Sugar:
- Pour the sugar into a medium-sized, heavy-bottomed saucepan. Place the pan over medium heat.
- Stir Constantly:
- Use a heat-resistant spatula or wooden spoon to stir the sugar gently and continuously. As the sugar heats, it will begin to melt and change color. Be patient and continue stirring to ensure even melting and to prevent the sugar from burning.
- Melt Evenly:
- Allow the sugar to melt until it turns a deep amber color. This is the point at which the caramel flavor develops. Remove the pan from heat immediately once the sugar reaches this color to avoid burning.
Step 3: Add Butter and Cream
- Add Butter:
- Carefully add the butter to the melted sugar. The mixture will bubble up significantly. Stir the butter in thoroughly until it is completely melted and combined with the sugar.
- Incorporate Cream:
- Slowly pour the heavy cream into the caramel mixture, continuing to stir. The caramel will bubble up again, so proceed carefully. Stir until the cream is fully incorporated and the mixture is smooth and well-blended.
Step 4: Cook the Caramel
- Return to Heat:
- Place the saucepan back on the stove over medium-low heat. Stir the caramel continuously and allow it to cook until it reaches a temperature of 245°F (118°C) on a candy thermometer.
- Check Consistency:
- If you don’t have a thermometer, you can perform a consistency test by dropping a small amount of caramel into a glass of cold water. The caramel should form a firm but pliable ball. If it’s too soft, cook for a few more minutes and test again.
Step 5: Pour and Cool
- Pour into Pan:
- Carefully pour the hot caramel into the prepared baking dish. Use a spatula to smooth the top and ensure an even layer.
- Cool Completely:
- Let the caramel cool at room temperature for at least 2 hours, or until it is firm and set. The parchment paper will help you lift the caramel out of the pan once it has cooled.
Step 6: Cut and Serve
- Cut into Pieces:
- Once the caramel is completely cooled and set, use a sharp knife to cut it into squares or rectangles.
- Wrap Individually:
- For a traditional touch, wrap each piece of caramel in wax paper or parchment paper. This not only keeps them fresh but also makes them easy to gift.
Tips for Success
- Stirring: Stirring the sugar constantly ensures that it melts evenly and prevents any burnt spots.
- Temperature Control: Accurate temperature is crucial for the perfect texture. Use a candy thermometer for best results.
- Cream Addition: Add the cream slowly to avoid splattering and to ensure a smooth, creamy consistency.
Storage Tips
- Room Temperature: Store the caramel candies in an airtight container at room temperature. They will keep fresh for up to 2 weeks.
- Refrigeration: If you prefer, you can refrigerate the candies to extend their shelf life. However, they may become slightly firmer.
- Freezing: For longer storage, wrap the candies well and freeze them for up to 3 months. Be sure to thaw them at room temperature before enjoying.
Possible Questions
- Can I use salted butter instead of unsalted butter?
- Yes, you can use salted butter, but it will alter the flavor slightly. If using salted butter, you may want to reduce or omit any additional salt in the recipe.
- What if I don’t have a candy thermometer?
- You can use the cold water test described in the recipe to check the caramel’s consistency. Drop a small amount of caramel into a glass of cold water and check if it forms a firm but pliable ball.
- Can I add flavorings to the caramel?
- Absolutely! You can infuse your caramel with vanilla extract, sea salt, or other flavorings after removing the pan from the heat.
Conclusion
Making homemade caramel candies is a delightful and rewarding experience that brings a touch of nostalgia and sweetness to your kitchen. This classic recipe for caramel candies, with its rich and buttery flavor, is perfect for special occasions or everyday indulgence. The result is a batch of smooth, creamy caramels that will impress family and friends alike. With the right technique and a little patience, you’ll create confections that are not only delicious but also carry the warmth and love of a cherished family recipe. Enjoy the process of making and savoring these timeless treats!

