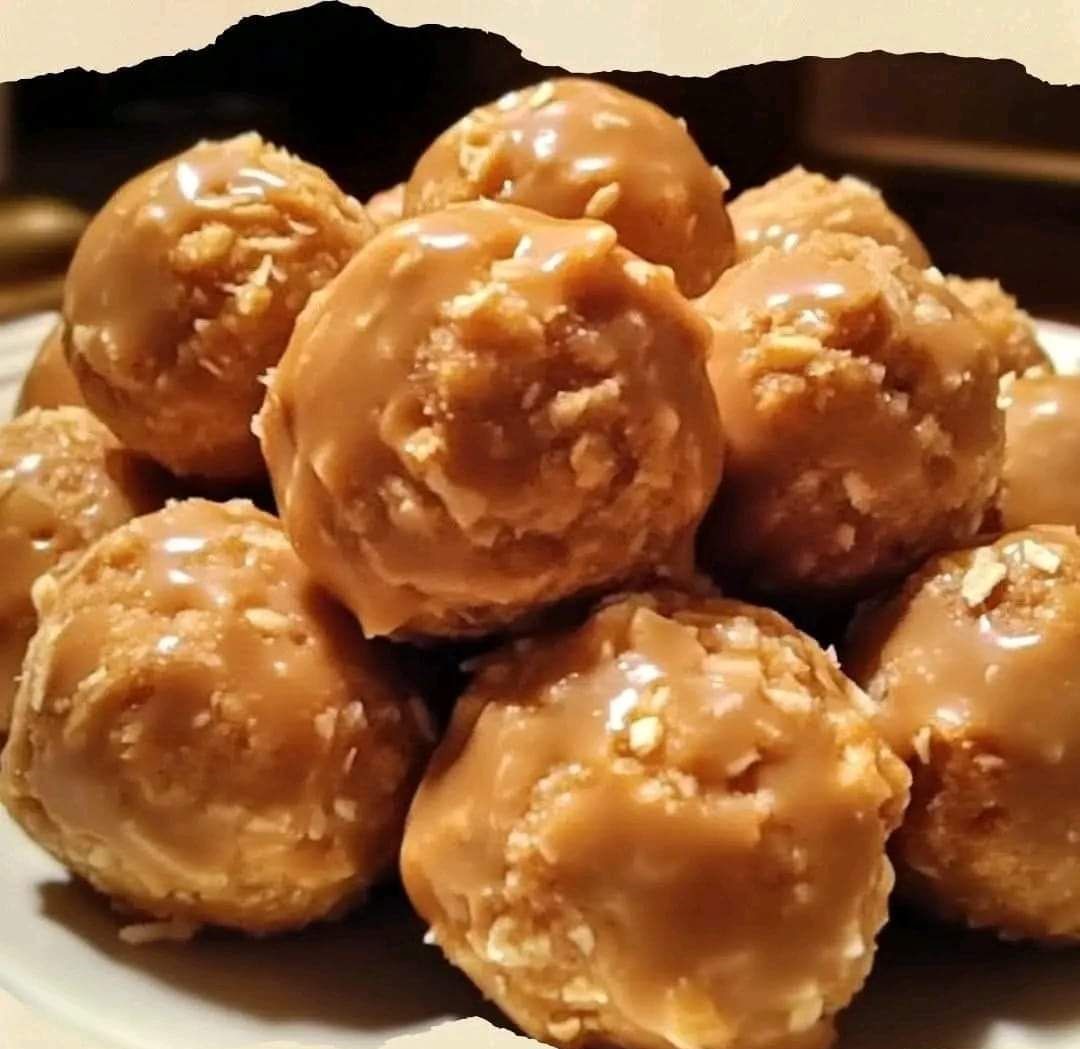
Butterfinger Truffles are a decadent, no-bake treat that combines the rich creaminess of chocolate with the irresistible crunch of Butterfinger candy bars. These truffles are incredibly easy to make, requiring only a few simple ingredients and a bit of creativity. Whether you’re preparing treats for a party, gifting them, or just indulging at home, these truffles are sure to satisfy any sweet tooth. Let’s dive into how to create these deliciously smooth, crunchy, chocolatey treats!
Full Recipe:
Ingredients:
- For the Truffles:
- 2 cups crushed Butterfinger candy bars (about 16 fun-sized bars)
- 8 oz. cream cheese, softened
- For the Coating:
- 2 cups semi-sweet chocolate chips
- 1 tbsp vegetable shortening (optional, for smoother dipping)
- For Decoration (Optional):
- Butterfinger or chocolate sprinkles
Instructions:
Step 1: Prepare the Butterfinger Mixture
- Begin by crushing the Butterfinger candy bars. You can do this by placing them in a sealed plastic bag and rolling over them with a rolling pin or by pulsing them in a food processor until they reach a crumbly consistency.
- In a medium-sized mixing bowl, combine the softened cream cheese and crushed Butterfinger candy. Use a spatula or a hand mixer to blend until the mixture is smooth and fully incorporated.
- Cover the bowl and place it in the refrigerator for about 30 minutes to chill. This will make the mixture easier to handle when shaping the truffles.
Step 2: Shape the Truffles
- Once the mixture is firm, remove it from the refrigerator.
- Scoop out small portions of the mixture (about a tablespoon each) and roll them into balls. Place the formed truffles onto a baking sheet lined with parchment paper.
- After forming all the truffles, place the baking sheet in the freezer for 15-20 minutes to allow them to set further. This helps keep their shape during the dipping process.
Step 3: Melt the Chocolate Coating
- In a microwave-safe bowl, melt the semi-sweet chocolate chips in 30-second intervals, stirring in between, until the chocolate is completely melted and smooth. Add 1 tbsp of vegetable shortening if you’d like a shinier and smoother coating.
- If you prefer to use a double boiler, place the chocolate chips and shortening in a heatproof bowl over a pot of simmering water, stirring constantly until smooth.
Step 4: Dip the Truffles
- Remove the truffles from the freezer.
- Using a fork or a dipping tool, dip each truffle into the melted chocolate, coating it completely. Let any excess chocolate drip off before placing the truffle back on the parchment-lined sheet.
- Before the chocolate sets, add Butterfinger or chocolate sprinkles to the tops of the truffles if desired.
Step 5: Let the Truffles Set
- Allow the chocolate coating to harden by placing the truffles in the refrigerator for about 10-15 minutes.
- Once set, your Butterfinger Truffles are ready to serve! For the best experience, let them sit at room temperature for a few minutes before enjoying.
Nutrition Facts (Per Truffle):
Note: Based on approximately 24 truffles
- Calories: ~120 kcal
- Fat: 8g
- Saturated Fat: 5g
- Carbohydrates: 10g
- Sugar: 8g
- Protein: 2g
- Sodium: 50mg
- Fiber: 1g
FAQs:
Q: Can I use milk chocolate instead of semi-sweet chocolate?
A: Yes! If you prefer a sweeter truffle, milk chocolate can be substituted for semi-sweet chocolate. Keep in mind it may be sweeter due to the candy filling.
Q: Can I freeze the truffles?
A: Yes, these truffles freeze well. Place them in a single layer in an airtight container and freeze for up to 3 months. Thaw in the refrigerator before serving.
Q: Do I need to use vegetable shortening in the chocolate?
A: The vegetable shortening helps create a smoother, shinier chocolate coating, but it is not essential. You can skip it if preferred.
Tips for Making Perfect Butterfinger Truffles:
- Choose Fresh Ingredients: Fresh candy bars and softened cream cheese make a big difference in flavor and texture. Make sure the cream cheese is completely softened to blend smoothly.
- Use a Food Processor for Crumbs: If you prefer finer Butterfinger pieces, use a food processor to get an even texture. For chunkier bites, crushing by hand works well.
- Dip Quickly: Work in batches to keep the truffles firm when dipping in chocolate. Freezing helps prevent melting when they’re dipped in the warm chocolate.
- Decorate for Festivities: These truffles make a great base for creative decoration. Try seasonal sprinkles, edible glitter, or even a drizzle of white chocolate for added flair.
Storage Tips:
Refrigerator: Store Butterfinger Truffles in an airtight container in the refrigerator for up to 5 days. They taste great chilled but can be brought to room temperature before serving if you prefer a softer texture.
Freezer: These truffles are freezer-friendly! Store them in a single layer in a freezer-safe container for up to 3 months. To enjoy, thaw in the refrigerator for a few hours, or take them out 15 minutes before serving for a slightly softer texture.
Conclusion:
Butterfinger Truffles are a true crowd-pleaser that combines the creamy richness of chocolate and cream cheese with the iconic crunch and flavor of Butterfinger candy. These treats are easy to make, with no baking required, and they offer a customizable experience with optional toppings. Perfect for any occasion, they’re great as a quick indulgent snack, a party dessert, or even a thoughtful homemade gift. With just a few ingredients and simple steps, you can create these delightful truffles that are sure to impress! Enjoy every bite of these decadent, chocolate-coated gems.

